July 21, 2026 by Debbie Westbrooks
Fall Pumpkin Welcome Sign With a Paper Bag Tag
Live Videos · DIY · Home Interior
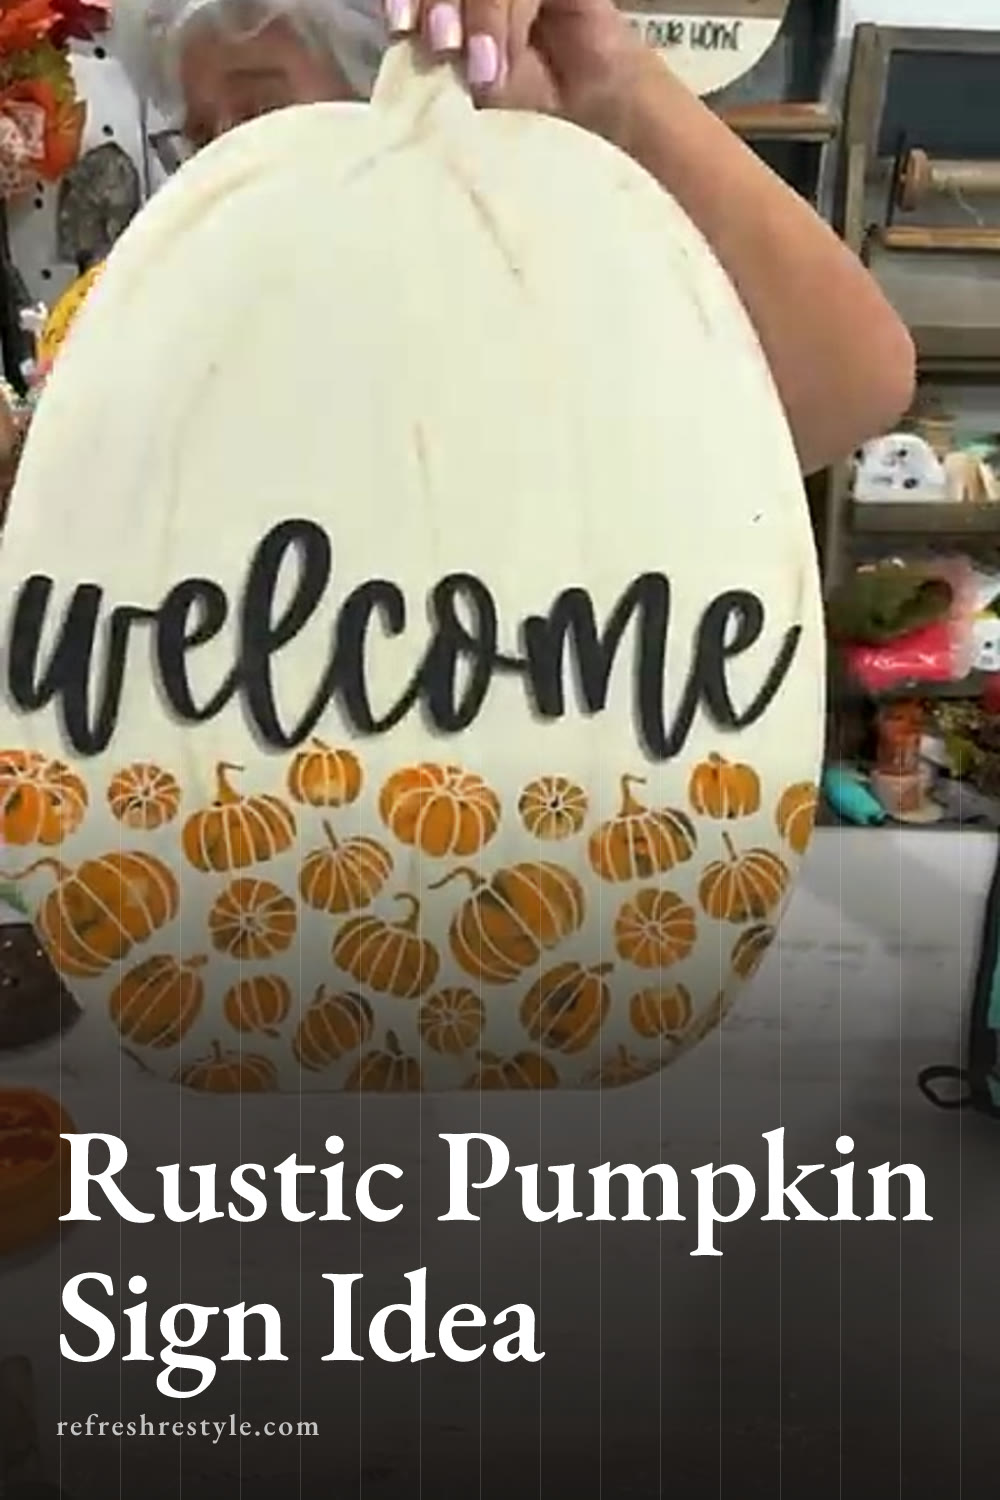
I made a rustic fall pumpkin welcome sign using a wooden cutout, layered paste colors, a full fabric bow, and a pumpkin seed tag cut from an Amazon paper bag. That crumpled and torn paper added the aged look I wanted while giving me a fun way to use something I already had.
Supplies I Used
For the base, I used a wooden pumpkin cutout that measures around 15 inches and a separate welcome cutout. I also gathered vanilla, black, espresso, and orange chalk paste, paintbrushes, a pumpkin silk screen design, a pumpkin seed silk screen design, squeegees, glue, a hot glue gun, and a sanding block.
To finish the pumpkin, I used fall greenery, fabric strips, burlap, twine, and raffia. The recycled Amazon bag became the tag, but a regular brown paper bag would work just as well. You could also use fabric, watercolor paper, or a wooden tag if that fits the supplies you have.
Painting the Wooden Pumpkin
I started by placing the wooden pumpkin on plastic to protect my work surface. I painted the welcome cutout black, making sure the paint reached into the narrow parts of the letters. I love the font on this cutout, and the dark color makes it stand out against the light pumpkin.
For the pumpkin base, I painted the entire surface with vanilla chalk paste. I like painting with paste because it gives me good coverage and dries quickly. I planned to add shading and sanding, so the finish only needed to be solid enough to create a light background.
Once the vanilla layer dried, I mixed a little espresso with vanilla and used a mostly dry brush to add curved lines. These soft lines followed the shape of the pumpkin and gave the flat cutout a little more dimension. A light touch works well here because you can always add another pass if you want deeper shading.
Making the Paper Bag Seed Tag
The tag may be my favorite part of this project. I cut a section from an Amazon paper bag and crumpled it to soften the paper. Since the silk screen was going onto paper, I added a little fuzz to the back of the screen with a towel before pressing it down firmly.
I used black paste for the pumpkin seed lettering and orange for the small pumpkin. The orange looked a little bright for the worn style I had in mind, so I dabbed a small amount of espresso over it with my finger. That softened the color and made the printed design look older.
After drying the paste completely, I tore around the edges instead of making straight cuts. I even tore into the design a little, which worked with the rustic look. The brown paper already had the appearance of an old seed packet, and another gentle crumple added even more texture.
Some shipping bags have a protective layer inside, so I paid attention to the direction I tore the paper. Tearing from the right side helped keep that inner material from showing along the edge.
Adding the Welcome and Pumpkin Design
When the painted pumpkin was dry, I used a Dollar Tree sanding block to distress the surface. I focused on the edges and a few raised areas, then wiped away the dust before adding the next pieces.
I glued the black welcome cutout into its matching area on the pumpkin. The placement was already marked in the wood, which made lining up the word much easier. I added a few small dabs of hot glue to hold it while the main glue set.
Across the bottom, I added a row of pumpkins with a silk screen design. I wanted several fall colors instead of one solid orange, so I used a hot mess technique. I dabbed orange, vanilla, and espresso paste over different areas of the design, then pulled the colors across the screen with a squeegee.
The colors blended as I worked, creating light and dark areas throughout the pumpkins. Vanilla softened the orange while espresso added depth. This technique gives each pumpkin a slightly different finish without requiring several separate layers.
Layering the Fall Greenery
I placed a few fall leaves and greenery near the top of the pumpkin, arranging them around the stem. When a leaf pointed in the wrong direction, I trimmed it away and kept the pieces that worked with the shape.
Next, I tucked the torn pumpkin seed tag into the greenery where the design would remain visible. You could punch a hole and hang the tag with twine, but I glued mine in place at a slight angle. That angle helped it look like an old tag that had been tied onto the pumpkin.
Making the Stacked Fabric Bow
For the bow, I cut several strips from three coordinating fabrics. My fabric pieces started at about a yard each, and I cut the bow strips to around seven inches, with a few pieces slightly shorter for a layered look.
I stacked the fabric and burlap strips, then cinched the middle tightly with twine. I left the twine ends visible so they became part of the design. I wrapped raffia around my hand to form loose loops, tied it into the center, and cut through the loops.
Twisting and separating the raffia made it look full and a little wild, almost like straw tucked into a fall arrangement. I left the fabric ends straight for a rustic finish, though dovetailed ends would also look pretty.
I glued the finished bow near the stem and adjusted the fabric, raffia, leaves, and paper tag until every layer could be seen. If you want to hang your finished fall pumpkin welcome sign, add a loop of twine to the back, or lean it against a wall as part of a fall display.
Chalk Couture supplies I used
You can shop my full Chalk Couture store here.
I am an independent Chalk Couture designer, so I earn a commission on these links. See my disclosure for more.