August 26, 2026 by Debbie Westbrooks
Interchangeable Fall Sign With a Green Pumpkin
Live Videos · DIY · Crafts
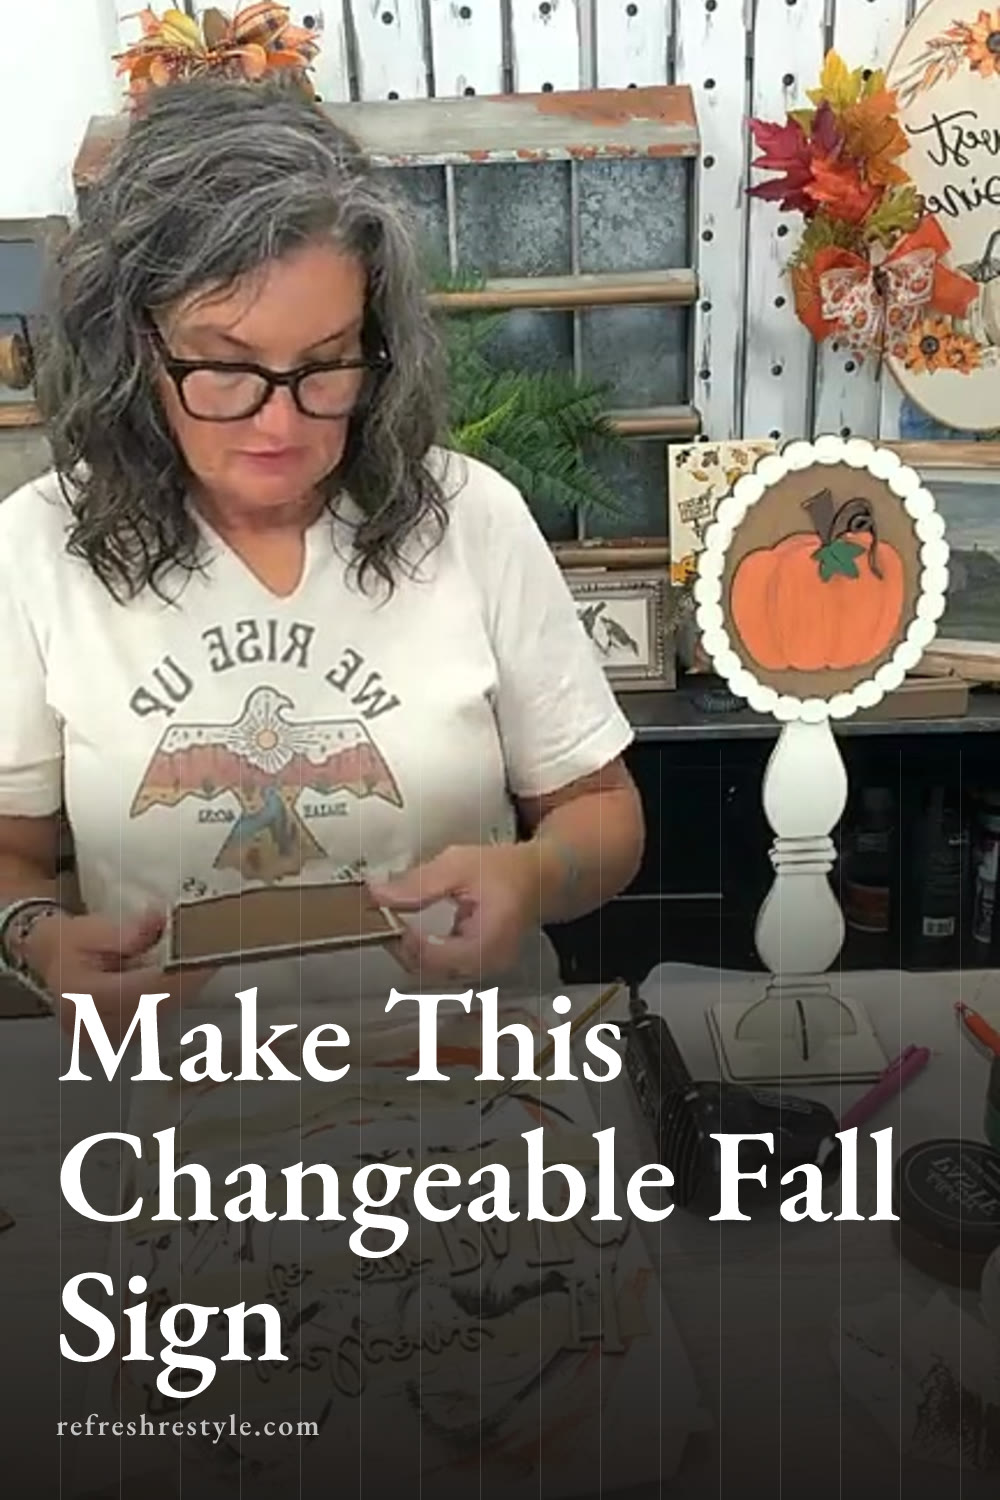
I made a Welcome to Our Patch sign for my interchangeable pedestal spindle, and the green pumpkin turned out so pretty for fall. I usually reach for orange when I’m painting pumpkins, but this soft eucalyptus color gave the finished piece a fresh look that still feels warm and seasonal. All the color on this one came from Chalk Couture chalk paste.
Creating the stained background
I started with the back piece of the sign and stained it with Dixie Belle Voodoo in Tobacco Road. It’s a warm, simple brown that works well with the creamy paint and muted greens I chose for the rest of the project.
I tend to put out more stain than I need, so I spread it over the surface and wiped away the extra with a paper towel. That brings out the wood look without leaving the finish too heavy.
You can finish both sides of your pieces if you prefer. I focused on the areas that would show once the sign was assembled and sitting on the pedestal.
Painting the frame and words
For the frame, I used Vanilla, which is a creamy off white. I applied it with a small sponge dauber, using a dabbing motion to build a good coat around the entire frame.
Those little sponge daubers are also handy for detailed words. They help press the paint onto the surface without pushing a lot of extra paint around the edges. Acrylic craft paint would work for this step too, so you can use the paint you already have.
I painted the Welcome to Our Patch lettering in the same creamy color as the frame. Keeping those two parts the same color helped them stand out against the brown background and gave the sign a simple, pulled together look.
Adding the interchangeable slide
The sign attaches to the pedestal with a small slide on the back. I placed the slide piece where I wanted it, checked the placement by eye, and marked a line with a pen. The line gave me a guide so I could glue the piece in the right spot.
I used Titebond Quick and Thick to attach it. I like this glue because it grabs fairly fast, especially when I spread it into a thin layer with a paintbrush. It also dries clear, which helps when a tiny bit squeezes out around an edge.
Once the slide piece was glued in place, I let it start drying while I worked on the front. I also glued the frame and lettering onto the stained background so those pieces could set while I painted the pumpkin.
Painting the eucalyptus pumpkin
I considered orange, white, and green for the pumpkin. Since another fall slide has three pumpkins that can be painted orange, white, and green, I decided this was a good chance to use Eucalyptus.
I covered the pumpkin with the soft green color, then used a sea sponge to dab a little cream over the surface. Real green pumpkins often have touches of white, gray, and blue, and the sponge helped me create that uneven variation. I added a little more eucalyptus and blended the colors with a gentle dabbing motion until I liked the finish.
You can paint your pumpkin any color that works with your home. Orange will give you a traditional fall look, white feels soft and neutral, and green works beautifully with natural wood tones.
Painting the leaf and stem
I used Wild Acre on the small leaf. It was a brighter green than I wanted for fall, so I added a little Tobacco Road stain to deepen the color. That small amount of brown made the leaf feel more natural and tied it back to the stained sign.
I also painted the stem and the little curling piece beside it. I called that piece the curly q while I was working because that description made perfect sense to me.
Distressing the finished pieces
Distressing is one of my favorite ways to finish a project. I used Distress Ink in Ground Espresso around the creamy frame and over the lettering, which softened the fresh paint and kept the words from looking too bright against the stained background.
I also worked a little darker color around the pumpkin and leaf. I like to concentrate the color near the edges and in the small details because that adds depth without covering the pretty eucalyptus finish.
This step is completely optional. A clean finish would look lovely too, especially if that suits your decorating style. I wanted my sign to have an aged, natural feel, so the darker edges were just right for mine.
Gluing the pumpkin together
After the painted pieces were dry, I spread a thin layer of Titebond Quick and Thick over the areas that needed glue. A small paintbrush made it easy to control the amount and cover the back of each piece evenly.
I attached the pumpkin, leaf, stem, and curly q, then pressed everything into place. The thin coat of glue grabbed quickly, but I still gave the pieces time to set before moving the sign around too much.
Once everything was assembled, the finished Welcome to Our Patch sign slid right onto the pedestal. That’s what I love about interchangeable decor. I can remove one design, slide on another, and use the same pedestal through different seasons.
I left the pedestal spindle unglued at the bottom so I can take it apart and store it flat. You can glue yours in place for a permanent display, or leave it loose if easy storage and changing the slides works better for you.
Chalk Couture supplies I used
You can shop my full Chalk Couture store here.
I am an independent Chalk Couture designer, so I earn a commission on these links. See my disclosure for more.