September 4, 2026 by Debbie Westbrooks
Chalk Couture Farmhouse Christmas Sign
Live Videos · DIY · Home Interior
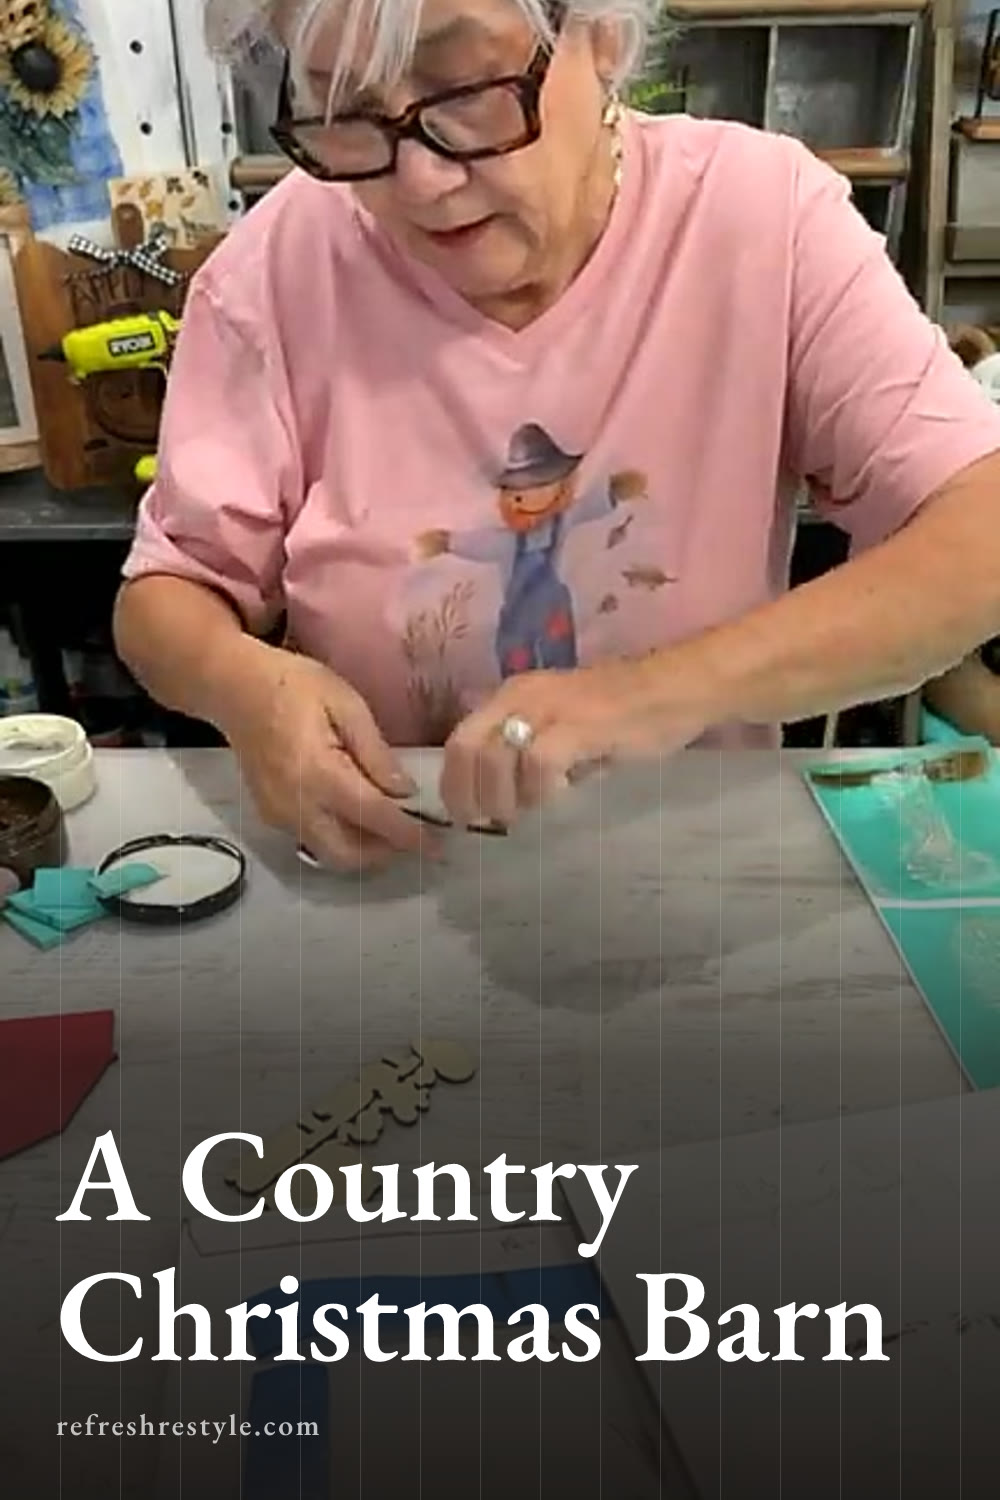
I made a rustic country Christmas sign with a red barn, a windmill, and a tiny wreath, using Chalk Couture chalk paste and reusable transfers to build the scene in layers. It reminds me of looking out the car window while riding down a country road in winter, and that aged wood finish fits the farmhouse design so well.
My farmhouse Christmas sign plan
The sign started with a white background, separate cutouts for the barn and windmill, and four pieces that form the frame. The surface included outlines that helped me see where every cutout needed to go, which made it much easier to line up the different parts of the design.
I wanted this to feel like winter, so I kept most of the background white and used several shades of brown for the fields and rustic frame. Cherry gave the barn that classic Christmas red, while the little wreath added one more holiday touch at the end.
For this project, I used these supplies.
- Farmhouse sign surface with matching cutouts
- Reusable farmhouse scene transfer
- Chalk Couture chalk paste in Cherry, Dune, Camel, Espresso, and Vanilla
- Black and white chalk paste
- Surface wax
- Squeegees and sponge applicators
- Paintbrush
- Sanding block
- Turbo Tacky glue
- Small wreath
- Hot glue
- Drying tool
Creating the distressed background
I began by covering the main board with white chalk paste. I worked quickly and left a little variation in the finish because I already knew I wanted an aged surface. One coat gave me plenty of coverage, and the slight unevenness worked in my favor once I started distressing it.
After drying the board, I went over it with my sanding block. I concentrated on creating the look of painted wood that has aged over time rather than sanding every part the same way. You can leave your background more solid if that suits your style, but I love a worn farmhouse finish.
Make sure the paste is dry before sanding, then wipe away the dust with a soft cloth. That gives you a clean surface for the transfer and keeps loose residue from getting into the next layer.
Painting a rustic wood frame
I painted the four frame pieces with Camel, which is a pretty light brown. Once that first color was down, I picked up a tiny amount of Espresso with a sponge and dragged it along each piece.
Changing the direction of a few strokes kept every board from looking exactly alike. I wanted darker streaks in different places, just like real wood grain.
I also dabbed on a little white and smeared it into the brown. Those small touches made the frame look as though it had been painted several times over the years. This technique is very forgiving, so you can keep adding light and dark areas until you like the finish.
Layering the Chalk Couture farmhouse scene
I worked on one section at a time because several parts of the transfer needed to line up with the separate cutouts. Before adding the transfer designs, I used a little surface wax around the areas where the pieces would sit. A small amount goes a long way and creates a smooth surface for the transfer.
I began with the ground beneath the windmill and used Espresso to give it the color of farm dirt. Then I placed the windmill cutout over its section of the transfer and added Vanilla on top of the black surface. The light design really popped against the dark windmill.
For the field and country landscape, I lined the transfer up with the marks on the main board and used Espresso again. Some of the design overlapped the area behind the windmill, which helped the separate pieces feel like one complete scene.
I also used Espresso for the words and the smaller background details. Keeping those parts in the same deep brown made the design feel connected, even though I created it in several steps.
Adding the red barn
Cherry was the perfect color for my barn because I wanted this sign to lean toward Christmas decor. Once the red base was dry, I lined the barn up with its transfer section and added the design in Vanilla.
A tiny bit of brown found its way into the Vanilla, but it suited the project. Real barns have age and character, and the softer finish looked right with my distressed background.
I used Espresso for the surrounding grass, clouds, and small details on the main board. You could choose a gray for the clouds, but I liked how Espresso tied them into the rest of my winter scene.
Assembling the farmhouse sign
Once every section was dry, I glued the windmill and barn into the etched areas on the board. I used Turbo Tacky glue and brushed it over the backs of the pieces. It dries fairly quickly, but I still had a little time to slide a piece into the right position when needed.
Next, I arranged the four rustic frame pieces around the outside edge before gluing them down. Dry fitting them first helped me check the corners and make small adjustments while the glue was still workable.
Giving it a country Christmas finish
The finished farmhouse scene already worked as winter decor, but the small wreath brought in the Christmas detail I had pictured from the start. I attached it near the red barn with hot glue, and that bit of greenery looked so sweet against the neutral fields and white background.
The design feels like a little country painting with rolled hay, open fields, a windmill, and a barn ready for winter. If I decide to hang it rather than lean it on a shelf, I can glue a simple piece of twine to the back.
Chalk Couture supplies I used
You can shop my full Chalk Couture store here.
I am an independent Chalk Couture designer, so I earn a commission on these links. See my disclosure for more.