August 28, 2026 by Debbie Westbrooks
Chalk Couture Transfer Mason Jar Kitchen Decor
Live Videos · DIY · Home Interior
I turned a large mason jar cutout into sweet kitchen decor with paint, cinnamon, ribbon, and a Chalk Couture transfer. The finished jar looks like it holds flour inside old blue glass, and the rusty lid and faux cookie give it plenty of warm Christmas character.
Supplies I used
For this project, I gathered a large mason jar cutout, white chalk paint, white and espresso colors, eucalyptus, ground cinnamon, Mod Podge, surface wax, and the Bake the World a Better Place transfer. I also used black and red paste, a small sponge, a paintbrush, and a squeegee.
For the finishing touches, I pulled out red ribbon, candy cane ribbon, striped ribbon, red yarn, decorative tubing from Dollar Tree, and a faux gingerbread snowflake ornament from Hobby Lobby. I love keeping leftover ornaments and ribbon because they often become the perfect detail for another project.
Painting the mason jar
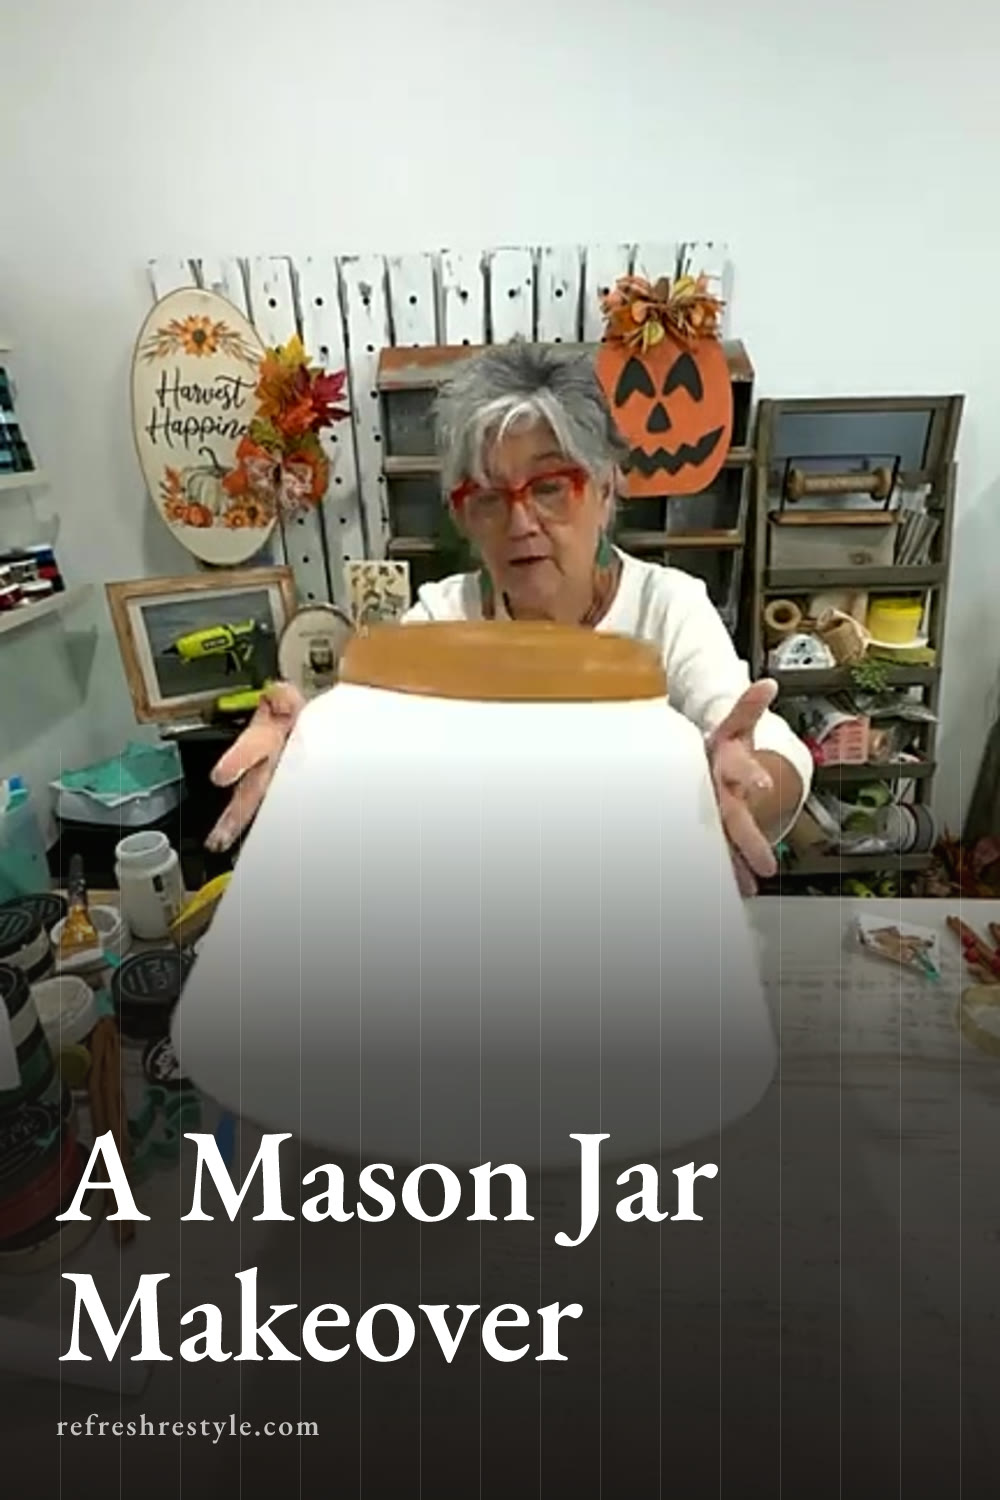
I started by painting the main part of the jar white. In my mind, the jar was filled with flour, so the white background gave me the look I wanted and created a good base for the design.
One coat covered the surface really well. After the paint dried, the wood grain felt slightly raised, which can happen when you paint unfinished wood. I rubbed a scrap piece of paper across the surface to smooth it. A paper bag or an Amazon shipping bag works too.
You can also use 220 grit sandpaper, but use a light touch because sandpaper may remove some of the paint. The paper smoothed the surface without giving it a distressed finish.
Creating the cinnamon rusty lid
Mixing the base color
For the lid, I mixed a little white with espresso and added a small amount of water. I kept the mixture loose and uneven because real rust has plenty of color variation.
I brushed that mixture over the lid and added a little straight espresso along the lines in the cutout. Those darker areas helped define the shape and gave the lid more depth.
Adding cinnamon texture
While the paint was still wet, I sprinkled ground cinnamon over the lid and gently pressed it into the surface. The cinnamon added texture and made the lid smell wonderful. If your paint dries before you add the cinnamon, brush on a little Mod Podge first so it has something to hold onto.
Once the cinnamon had settled into the paint, I added a clear coat of Mod Podge. I wanted a little shine because rusty metal can have a mixture of dull and shiny areas, and the sealer also helped keep the cinnamon in place. I dried the lid thoroughly before moving on.
Painting a vintage blue glass effect
I wanted the jar to resemble one of those pretty vintage mason jars with soft turquoise glass. I mixed a little eucalyptus with white, added water, and applied it lightly with a sponge.
I worked the color beneath the lid, around the outside edges, and in a few areas across the front. Then I added touches of white to break up the color and soften the lines. The goal was to suggest light reflecting through blue glass while still allowing the white flour color to show.
I kept the shading uneven and blended it with my fingers and sponge. That variation helped the flat wood cutout look more dimensional.
Adding the Chalk Couture transfer
Before adding the design, I made sure the painted surface was dry and smooth. I rubbed on a little surface wax to give the transfer a smooth place to sit.
Since I was working with a freshly painted surface and a newer transfer, I fuzzed the adhesive side before placing it on the jar. Fuzzing reduces some of the stickiness and helps protect the paint when you lift the transfer.
I centered the Bake the World a Better Place transfer on the jar and pressed it down well. I used black for the lettering and red for the decorative swirls. You could choose colors that coordinate with your own kitchen or the season you are decorating for.
Because paste can dry in the screened areas, I lifted portions of the transfer as I worked. I completed the black lettering first, lifted that section, and then added the red details. After removing the transfer, I took it to the sink and washed it with water so I could use it again.
Making the layered Christmas bow
I wrapped decorative red tubing around the neck of the jar and tied it in place. Then I cut pieces of plain red ribbon, candy cane ribbon, and striped ribbon.
I stacked the ribbon in alternating layers, starting with red and then adding the candy cane and striped patterns. I repeated those layers and tied the center tightly with red yarn. A few extra loops of tubing in the middle added more texture and carried the red detail from the jar into the bow.
After tying the bow to the side of the jar, I trimmed the ribbon ends at an angle. Dovetailed ends would look pretty too. I kept the bow slightly off center so it wouldn’t cover the words on the transfer.
Adding the faux cookie ornament
The final detail was a faux gingerbread cookie shaped like a snowflake. It was an older Hobby Lobby ornament that I had saved, and it fit the baking theme perfectly. I glued it to the center of the bow and held it in place until it felt secure.
The Christmas ribbon makes this version festive, but the baking design works throughout the year. Fall ribbon would make it lovely for Thanksgiving, while everyday ribbon could coordinate with your kitchen. Miniature spatulas or rolling pins would also be cute bow embellishments.
Chalk Couture supplies I used
You can shop my full Chalk Couture store here.
I am an independent Chalk Couture designer, so I earn a commission on these links. See my disclosure for more.