September 21, 2026 by Debbie Westbrooks
Chalk Couture Christmas Dove Sign Tutorial
Live Videos · Crafts · Home Interior
I made an elegant Christmas dove sign using a Chalk Couture Christmas transfer, gold paste, white lettering, and a reusable magnetic chalkboard. The soft white and gold combination turned out so pretty, and the removable dove makes this a Christmas project I can change whenever I want.
Supplies I Used
I started with the smaller magnetic chalkboard and a separate dove shape. The board also comes in a larger size, but the smaller one worked well for this project and gave me enough room for the dove and the Christmas phrase.
For the designs, I used the Christmas Dove transfer and the transfer that says The Most Wonderful Time of the Year. I chose white paste for the words and Nominee gold paste for the dove. I also used a little wax, magnets, hot glue, short pieces of gold and white ribbon, and a piece of gold rope for the bow.
The magnets were Hello Hobby magnets from Walmart. I buy them in a larger package because they come in handy for projects like this.
Preparing the Dove and Magnetic Board
I wanted the dove to have a white base because I knew the gold design would show up beautifully against it. Before adding the design, I sanded the surface smooth and added a little wax.
A smooth surface helps the transfer sit flat, and the wax makes it easier to lift the transfer when the design is finished. I also checked the hooks on the back of the magnetic board before deciding where everything should go. That little step matters because the hooks tell you which direction the board will hang.
I placed the dove on the board to get an idea of the spacing, then looked at the area left for the words. Planning the whole layout first helps keep the pieces from crowding each other.
Adding the Chalk Couture Christmas Transfer
Creating the Gold Dove
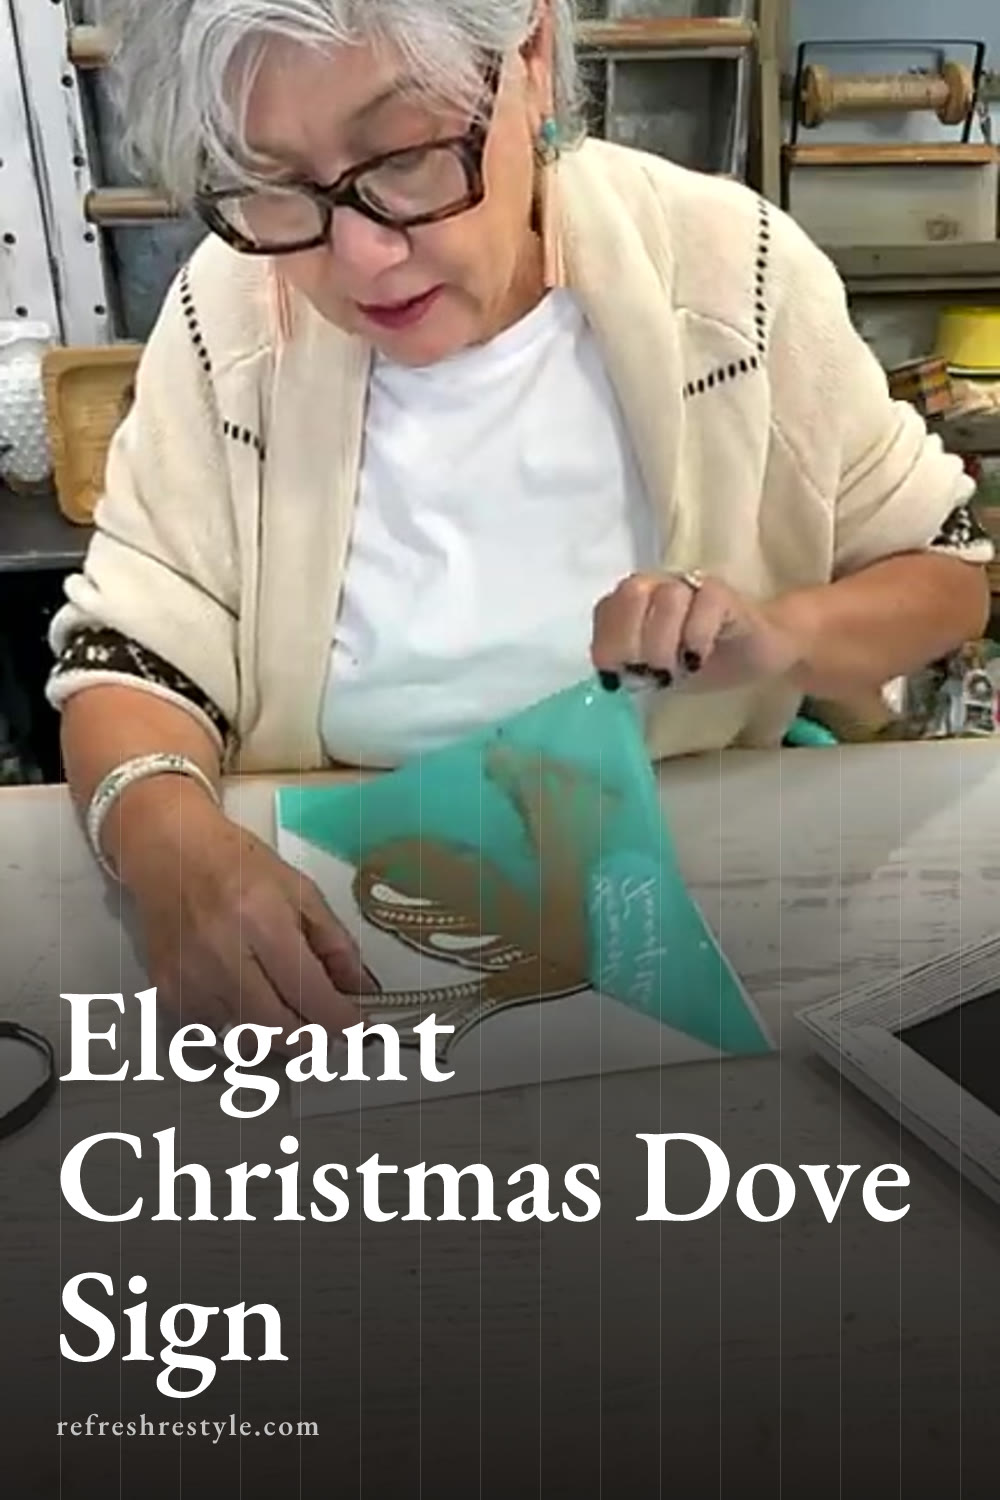
The Chalk Couture transfers are transparent, so I could see through the dove design while I lined it up. That made it much easier to center the pattern on the shape.
I spread the Nominee gold paste over the open areas of the transfer. This design has quite a bit of open space, which meant the dove would be mostly gold. I wondered for a moment if it might be too much, but I went with it because the color was so pretty.
Once the open areas were covered, I removed the extra paste and lifted the transfer. The gold against the white looked gorgeous. It had the elegant Christmas look I wanted, and a small amount of white still showed through the design.
After using the transfer, I cleaned it with water and gently wiped away the remaining paste. Keeping the transfer clean helps it stay ready for another project.
Adding the Christmas Words
I used white paste for The Most Wonderful Time of the Year. The first time I added the phrase, I placed it a little too high on the board. The dove covered part of it, and the spacing felt crowded.
The reusable chalkboard made that easy to fix. I wet the board, scraped away the dried paste, and cleaned the surface with my board eraser. Once the board was clean and dry, I could start over without any sign of the first placement.
For my second try, I checked the hooks on the back, placed the dove where I wanted it, and positioned the words lower on the board. Then I spread the white paste over the transfer and lifted it away. The new placement left enough room for the full phrase and balanced the dove nicely.
Turning the Dove Into a Magnet
I let the dove dry before adding the magnets. Once it was ready, I hot glued a couple of Hello Hobby magnets to the back.
Using two magnets helped the dove sit securely against the board. It also means I can move the dove around until the placement looks right. I can use the magnetic board with other designs too, so the whole display stays flexible from one project to the next.
This same dove idea could also become a meaningful ornament. A smaller dove with a loved one’s name would make a beautiful remembrance piece for Christmas. The design brought back memories of family for me, and I love the idea of creating something special in memory of someone you miss.
Making the Small Layered Bow
To finish the sign, I made a small gold and white bow. I kept it simple because I wanted the dove and lettering to remain the main part of the design.
I cut several short pieces of ribbon and trimmed dovetails into the ends. Then I stacked the pieces, cinched them together in the middle, and tied them with a small piece of gold rope.
I placed the bow near the top corner of the board without gluing it down. That lets me move it, fluff the layers, or remove it later. The little bit of gold in the bow ties in with the Nominee gold paste and gives the sign a finished look without covering the design.
Why a Reusable Board Works So Well
My favorite part of this project is how forgiving the magnetic chalkboard is. When my first placement was too high, I washed it away and tried again. After the correction, you couldn’t tell that anything had been there before.
You can also add other magnets, small banners, seasonal shapes, or different transfers to the same board. When Christmas is over, I can lift off the dove and bow, clean the chalkboard, and create a completely different display.
Chalk Couture supplies I used
You can shop my full Chalk Couture store here.
I am an independent Chalk Couture designer, so I earn a commission on these links. See my disclosure for more.