October 2, 2026 by Debbie Westbrooks
Chalk Couture Transfers for a Christmas Pet Sign
Live Videos · Crafts · Home Interior
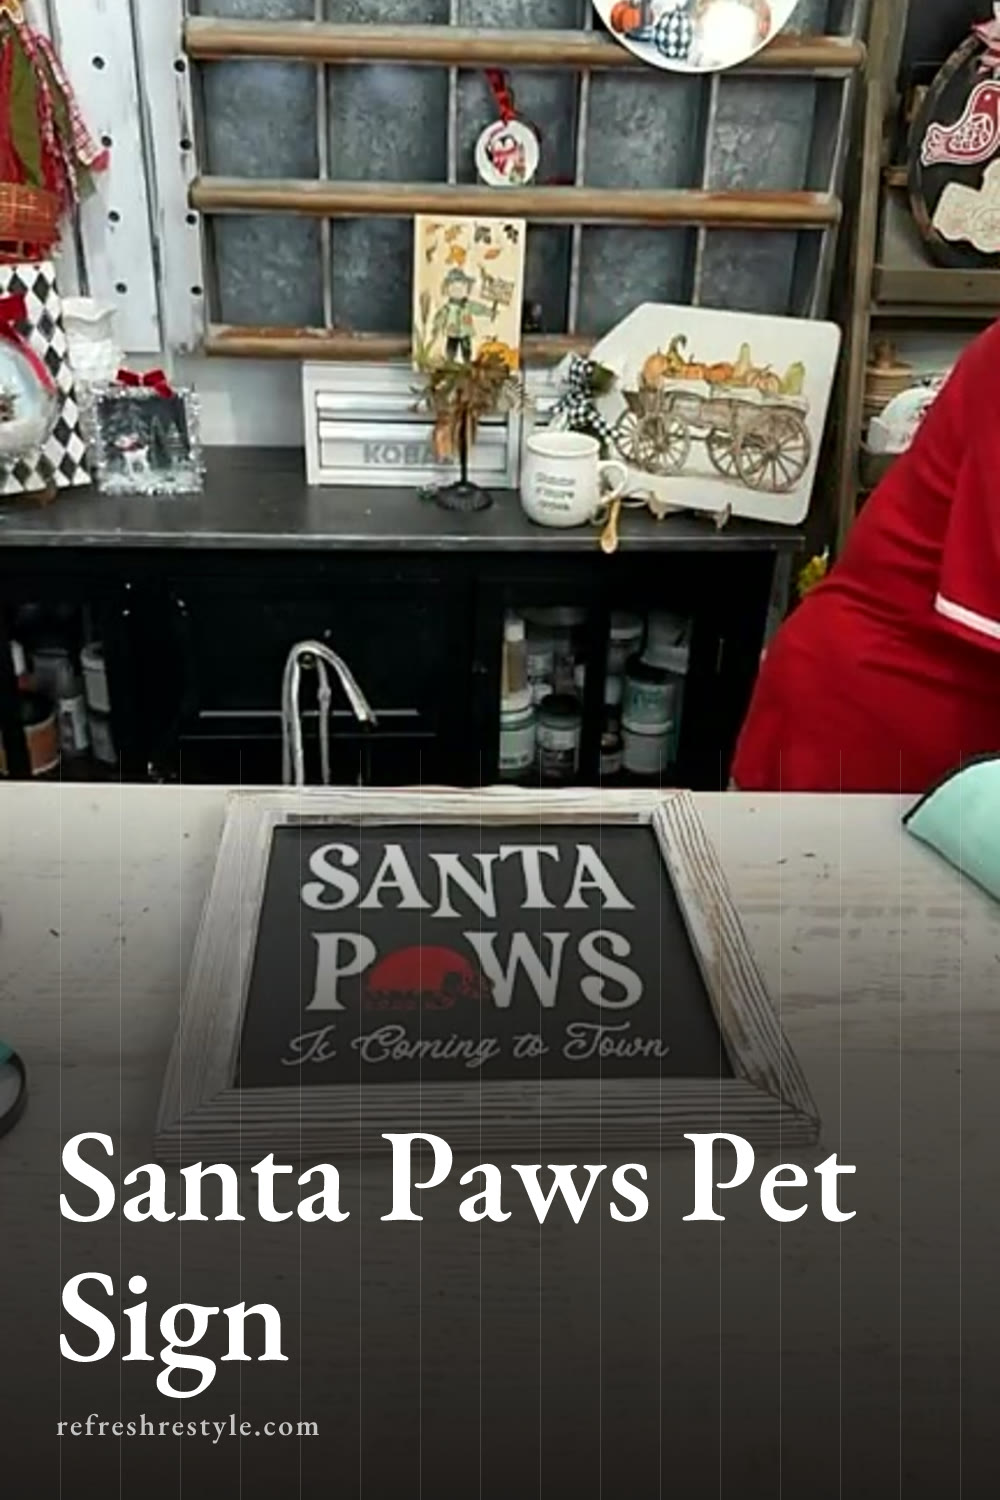
I made the cutest Christmas pet sign with Chalk Couture transfers, a reusable black chalkboard and a handful of homespun fabric strips. The Santa Paws wording looks crisp and bright, while the loose stacked bow gives the whole project a cozy country feel.
A Christmas sign for pet lovers
This design made me think about all the pets that become part of our families. I currently have grandpets, and I still love remembering Murphy and all the years we had together. A pet themed Christmas sign feels personal, whether you make it for your own home or give it to a friend who always has a leash hanging by the door.
The transfer says Santa Paws Is Coming to Town, so it works for dogs, cats or any other furry family member. I chose the Schoolhouse board because I love the look of a good black chalkboard, especially when a bright white design goes across it.
The board also has hangers on the back. I always check where those are before placing my transfer because I want the finished design facing the right direction when it goes on the wall.
Supplies I used
For this project, I used a small group of supplies.
- Schoolhouse chalkboard surface
- Santa Paws Is Coming to Town transfer
- Bright White paste
- Cherry color nearby while I planned the design
- Homespun fabric strips from a jelly roll
- Scissors
- Hot glue gun for the loose area on my board
I dropped the board right before starting and loosened part of it, so my glue gun was warming while I worked. Crafting keeps you flexible. Most little mishaps can be handled without giving up on the whole project.
Preparing the chalkboard surface
I started by checking the placement of the transfer on the board. Once I knew where the hangers were, I added a little fuzz to the transfer and slid it into position.
Take a moment to smooth the transfer against the surface, especially around the lettering and the smaller details. Good contact helps keep the paste from moving under the design, and it gives you those clean lines that make the finished chalkboard look so pretty.
The Schoolhouse board is wood around the chalkboard area, so the frame could also be painted if you wanted a different look. I kept mine as it was because the black center and wood frame worked well with the country fabric I planned to add.
Making the Chalk Couture design
I pulled out white and cherry while planning the colors, then I worked through the words and Santa hat with Bright White. The white showed up beautifully against the black board.
I spread the paste over one section of the screened design and lifted that part of the transfer while the paste was still wet. You want to keep moving as you work because paste that dries in the screen can pull up with the transfer.
Working in sections also gave me more control. I completed the Santa Paws wording, lifted the transfer and continued around the remaining white areas. When I peeled it back, the lettering looked clean and crisp.
That reveal is still one of my favorite parts. I first fell in love with Chalk Couture because of the way a design appears when the transfer lifts, and I still enjoy it every time.
Once the design was finished, I let the chalk paste dry. The design won’t smear after it dries, which makes the board easy to handle while adding the bow or hanging it in place.
Making the homespun fabric bow
I wanted a casual stacked bow rather than a traditional looped bow. My homespun fabric came in a rolled collection of strips that looked like a jelly roll, with several country colors and patterns mixed together.
These fabric rolls are handy for bows because the strips are already narrow. I made a small cut in the fabric and tore it the rest of the way, which gave the edges a soft, frayed look. One strip even reminded me of old mattress ticking.
I cut several pieces about eight inches long and stacked the different colors and patterns together. Mixing the fabrics added texture without covering the sign.
For the center, I tore a thinner strip and tied it around the top of the board just above the hanger. Then I used that strip to hold the stacked fabric pieces in place.
I left the bow removable instead of gluing it to the board. When I’m ready to clean the chalkboard and create a new design, I can untie the fabric and use it again. If the loose threads get a little wild, I simply trim the ones that bother me with scissors.
A paw print button would also look cute in the middle of the bow. I didn’t have one ready for this project, but it would be an easy detail to add later.
Reusing the chalkboard
One of my favorite things about this surface is that I can change it for another season. To remove the chalk design, I spray the board with water, let it sit for a moment and gently scrape away the paste.
The removable bow makes that even easier because nothing is permanently attached to the top. I can use the same board for another holiday design and choose new fabric strips to match.
This Santa Paws sign would be cute near a pet’s leash and collar station, hanging by the door or wrapped as a Christmas gift for a pet loving friend. I can picture it right above a small board with hooks where all those everyday pet supplies are ready to grab.
Chalk Couture supplies I used
You can shop my full Chalk Couture store here.
I am an independent Chalk Couture designer, so I earn a commission on these links. See my disclosure for more.