October 26, 2026 by Debbie Westbrooks
Chalk Couture Gingerbread Sign With a Foam Cutout
Live Videos · Crafts · Home Interior
I made the sweetest little milk and cookies sign using a Chalk Couture gingerbread transfer, a striped background, and thin craft foam. The foam gingerbread cookie gives the finished sign extra dimension, while the pink, red, black, and white color combination reminds me of an old fashioned soda shop.
Supplies I Used
I started with a white Basic Board that measures nine by twelve inches. The Weekly Wow bundle included this board and the milk and cookies transfer, which measures eight and a half by eleven inches.
Here are the other supplies I used for the project.
- A large striped transfer from my collection
- Peachy Keen paste
- Cherry paste
- Black Velvet paste
- White paste
- Gingerbread colored paste
- Thin craft foam
- Scissors
- A small paintbrush
- A low temperature glue gun
- A Dollar General ribbon bundle
The ribbon bundle was five dollars and included several coordinating Christmas patterns. I especially liked the ribbons with gingerbread cookies because they worked perfectly with this sign.
Making My Chalk Couture Gingerbread Sign
Add the Pink Striped Background
I began with the large striped transfer and Peachy Keen paste. Even though the name says peach, this color looks like a lovely pink to me, and it gave the board the playful background I wanted.
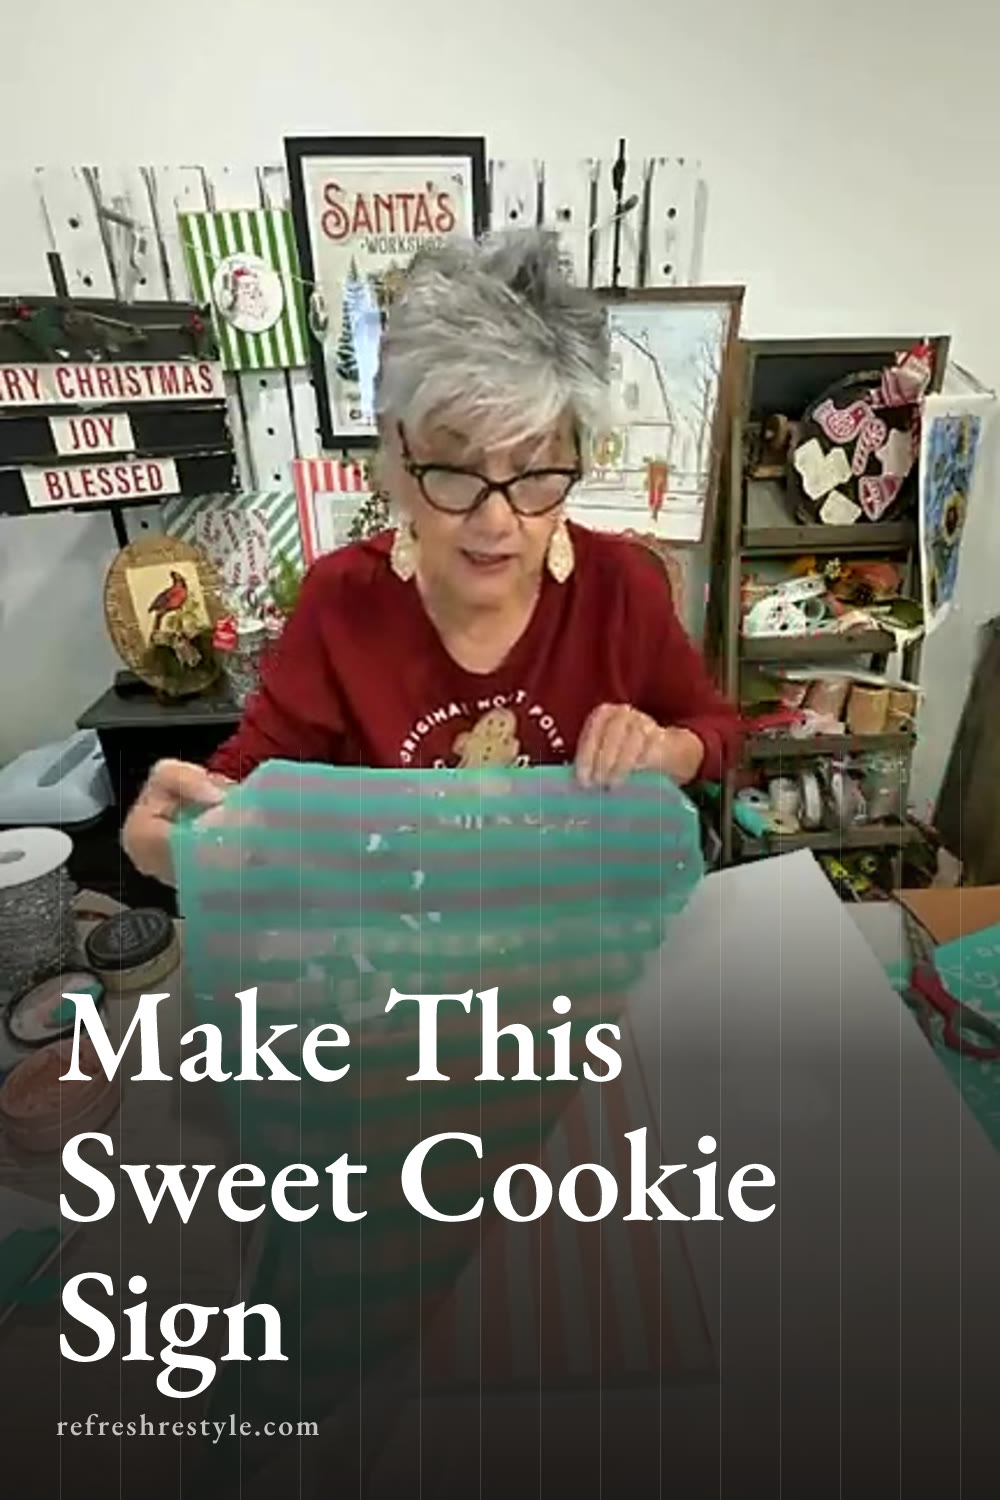
The striped transfer measures eighteen by eighteen inches, so it easily covered the whole board. I spread the paste over part of the design, lifted the transfer, and continued across the surface. Working in sections keeps the paste from drying in the screened design.
Paste and lift as you go. That simple method gives you clean stripes without trying to line up painter’s tape or paint every stripe by hand.
After the background dried, I sanded it lightly to smooth the surface. You can sand as much or as little as you like, depending on the finish you want.
Chalk the Milk and Cookies Design
Next, I placed the milk and cookies transfer over the striped board. I centered the design, then used Black Velvet and Cherry for the words and small details.
I chose Cherry for the milk and cookies lettering and the little berry details. Black Velvet added contrast to the remaining words and dots. You could make the entire design red or black, but I loved the mix of colors against those pink stripes.
I left the gingerbread man blank on the board because I planned to make that part separately. When I lifted the transfer, one small area had spread because the transfer wasn’t pressed down firmly enough. I let everything dry, then used a small paintbrush and a little paste to clean up the spot. Handmade projects are forgiving, and a tiny brush can fix a surprising number of little slips.
Creating the Foam Gingerbread Cookie
Thin craft foam is one of my favorite options when I want to add dimension without using a wood cutout. Cardboard or heavy cardstock can work too, but I already had a stack of foam in different colors.
I placed the gingerbread section of the transfer over a piece of foam and applied a gingerbread colored paste through the design. I made sure to use the cookie color across the larger open areas so the little fellow would look like gingerbread with icing details.
Once the design was dry, I cut around it with scissors. I first trimmed away the extra foam so I had a smaller piece in my hands, then went back around the cookie and cut close to the edge. This made it much easier to follow all the curves.
The finished cutout really did look like a little cookie. I used a glue gun on a low temperature setting to attach it to the board because high heat can melt thin foam. A craft glue would also let you attach it without heat.
I placed the cookie beside the lettering where it would stand out against the stripes. You could also make several foam cookies from the same transfer and use them on other signs or Christmas projects.
Finishing the Sign With a Stacked Bow
For the final detail, I pulled several ribbons from the Dollar General bundle. I chose a mix of patterns and put the thinner gingerbread ribbon on top so the tiny cookies would show.
I stacked the ribbon pieces, tied them together, and spread out the loops and tails. I kept the bow fairly small because I wanted it to add color without covering the design. Then I tied it near the top corner of the board instead of gluing it in place.
This design would also be cute on a tray for serving milk and cookies. You could add handles to a board or start with a thrifted tray, then use the same stripes, wording, and foam cookie idea. Since I tied my bow in place, I can remove it or change the ribbon whenever I want a different look.
Chalk Couture supplies I used
You can shop my full Chalk Couture store here.
I am an independent Chalk Couture designer, so I earn a commission on these links. See my disclosure for more.