November 10, 2026 by Debbie Westbrooks
Chalk Couture Chalk Paste Farmhouse Sign
Live Videos · Home Interior · Crafts
I gave a large scalloped surface a rustic farmhouse finish with Chalk Couture chalk paste, faux shiplap lines, metallic lettering, and a simple bow. The scalloped edge already made this piece special, and the Gathering Place transfer turned it into an everyday sign that feels warm and welcoming.
Supplies I used
For this project, I used a large scalloped surface, Vanilla chalk paste, a damp sponge, a Posca paint pen, a long straight board, sandpaper, clear wax, and a fuzzing towel. I also used the Gathering Place transfer, My Two Cents metallic paste, a small squeegee, a hole punch, rusty wire, a paintbrush, and ribbon for the bow.
The surface is large, measuring over 19 inches, so it gives you plenty of room for a full design. You could also hang a small wreath near the top and add a smaller design below it. I wanted the lettering to be the main feature, so I kept my layout simple.
Painting the scalloped surface
I started by painting the entire front of the surface with Vanilla chalk paste. You can paint a surface like this with any paint you like, but I enjoy using paste because it dries quickly.
I dampened my sponge just a little so the paste would glide over the surface more easily. The paste came almost straight from the jar, and the small amount of water helped me spread it without thinning it too much.
After the first coat dried, I added a second coat. I wanted good coverage, but I still planned to sand the finish later, so I didn’t spend time trying to make every brush mark disappear. A slightly uneven finish works well when you’re going for a worn farmhouse look.
Adding faux shiplap lines
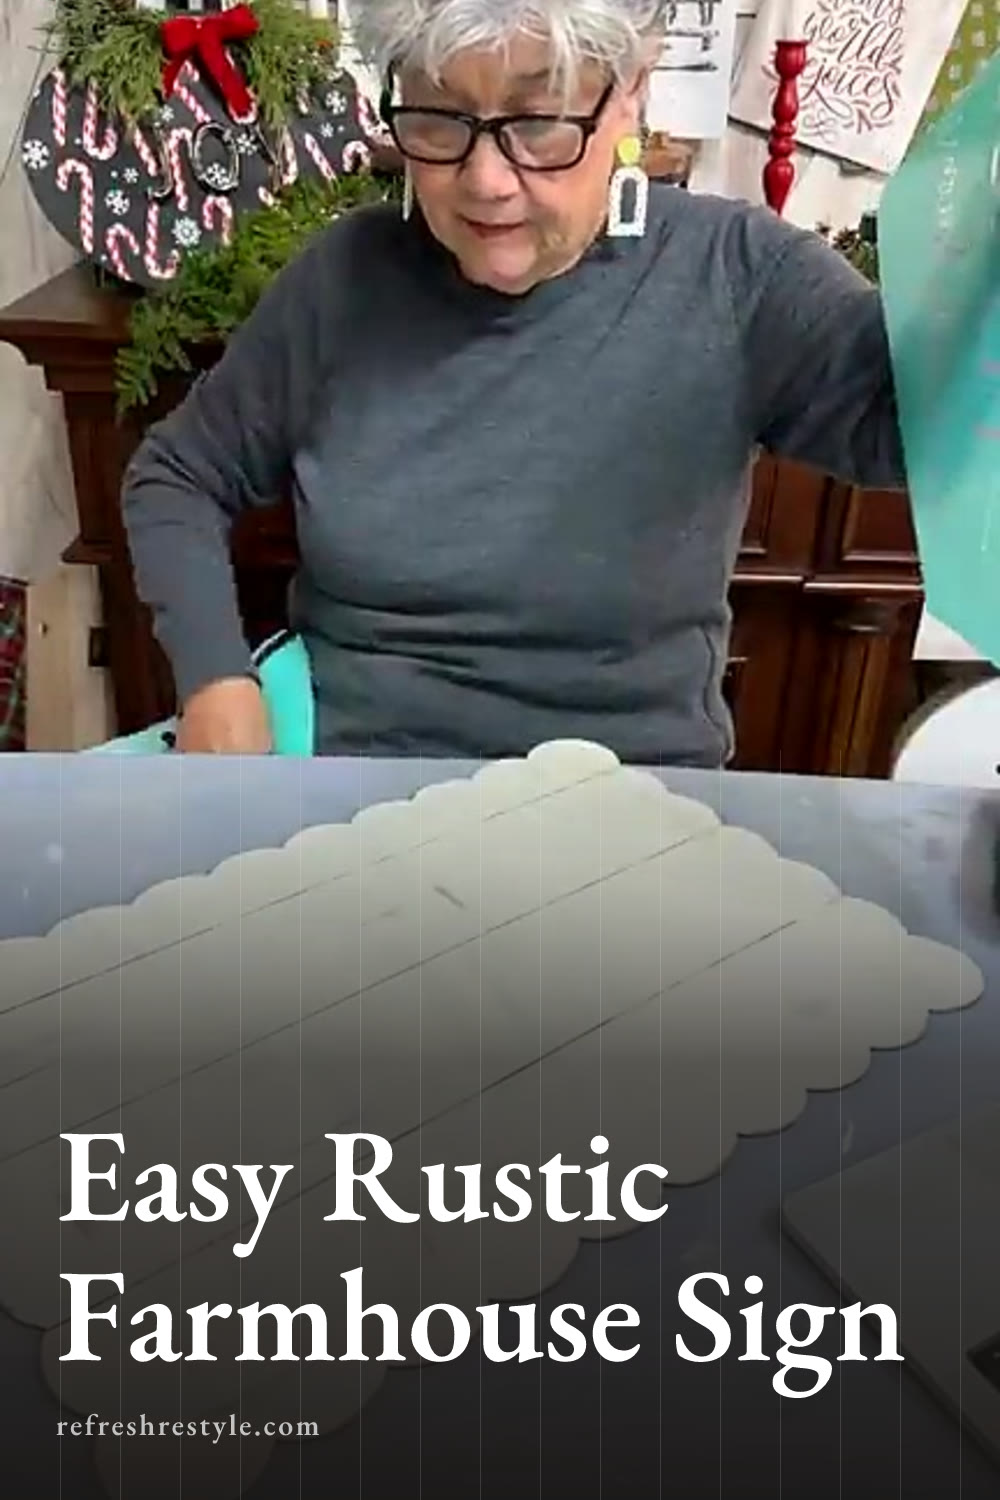
Once the Vanilla paste dried, I added faux shiplap with a Posca paint pen. A yardstick would work well for this step, but I used a long piece of wood because it was what I had nearby.
I used the scallops as a guide and lined up my board from one side to the other. Then I drew straight lines across the surface, spacing them with every other scallop. You can measure each line if you prefer a precise layout. I eyeballed mine and let the spacing feel relaxed.
The freshly drawn lines looked a little too crisp for the finish I had in mind, so I lightly sanded across them. I worked here and there rather than sanding every inch the same amount. I also sanded around the scalloped edges and across a few areas of the painted surface.
That uneven sanding softened the pen lines and made the surface look more like rustic shiplap. You can skip this step and leave the background smooth if that works better with your home.
Using the Chalk Couture Gathering Place transfer
Before applying the design, I rubbed a small amount of clear wax over the surface with a paper towel. You only need a little. The wax helps keep a large transfer from gripping a painted surface too firmly.
I placed the reusable transfer on my fuzzing towel a few times before positioning it. Adding a little fuzz reduces some of the stickiness and makes the transfer easier to lift when the design is finished.
The design says The gathering place where friends become family. I love that it works throughout the year, especially after making so many seasonal projects.
I centered the transfer by eye and pressed it down, paying close attention to the detailed areas. You want the transfer to sit flat against the surface without bubbles around the lettering.
Applying My Two Cents metallic paste
I almost used black paste for the lettering, but My Two Cents was too pretty to leave on the shelf. This metallic color has a warm copper look in the jar, and it looked almost bronze against the Vanilla background.
After stirring the paste, I spread it across the transfer with a small squeegee. The paste is thick and made to work with the silkscreen transfer. I covered the design, scraped away the extra, and returned that extra paste to the container. It takes very little product to complete a design this size.
Then I lifted the transfer and revealed the lettering. The clean lines gave the sign a polished finish while the sanded background kept everything rustic. I cleaned the transfer so it would be ready to use again.
Making the rusty wire hanger
I punched one hole near each upper side of the surface, using the scallops to help with placement. I threaded rusty wire through the holes and secured it to create a hanger.
To curl the ends, I wrapped the wire around the handle of a paintbrush. This gave the wire a little extra detail and worked nicely with the aged shiplap finish. Twine or ribbon would also work if you prefer a softer hanger.
Finishing with a simple farmhouse bow
For the final detail, I made a small farmhouse bow and attached it to one side of the rusty wire. I considered placing it in the center, but the side placement kept the lettering open and added just enough softness.
I left off the greenery because I liked the simpler finish. An elaborate bow would work too, but this one let the scallops, metallic lettering, and rusty wire stand out. Changing the paste and ribbon colors would let this same design work with a season or the colors already in your home.
Chalk Couture supplies I used
You can shop my full Chalk Couture store here.
I am an independent Chalk Couture designer, so I earn a commission on these links. See my disclosure for more.