September 2, 2026 by Debbie Westbrooks
Chalk Couture Farmhouse Barn Paper Project
Live Videos · Crafts · Home Interior
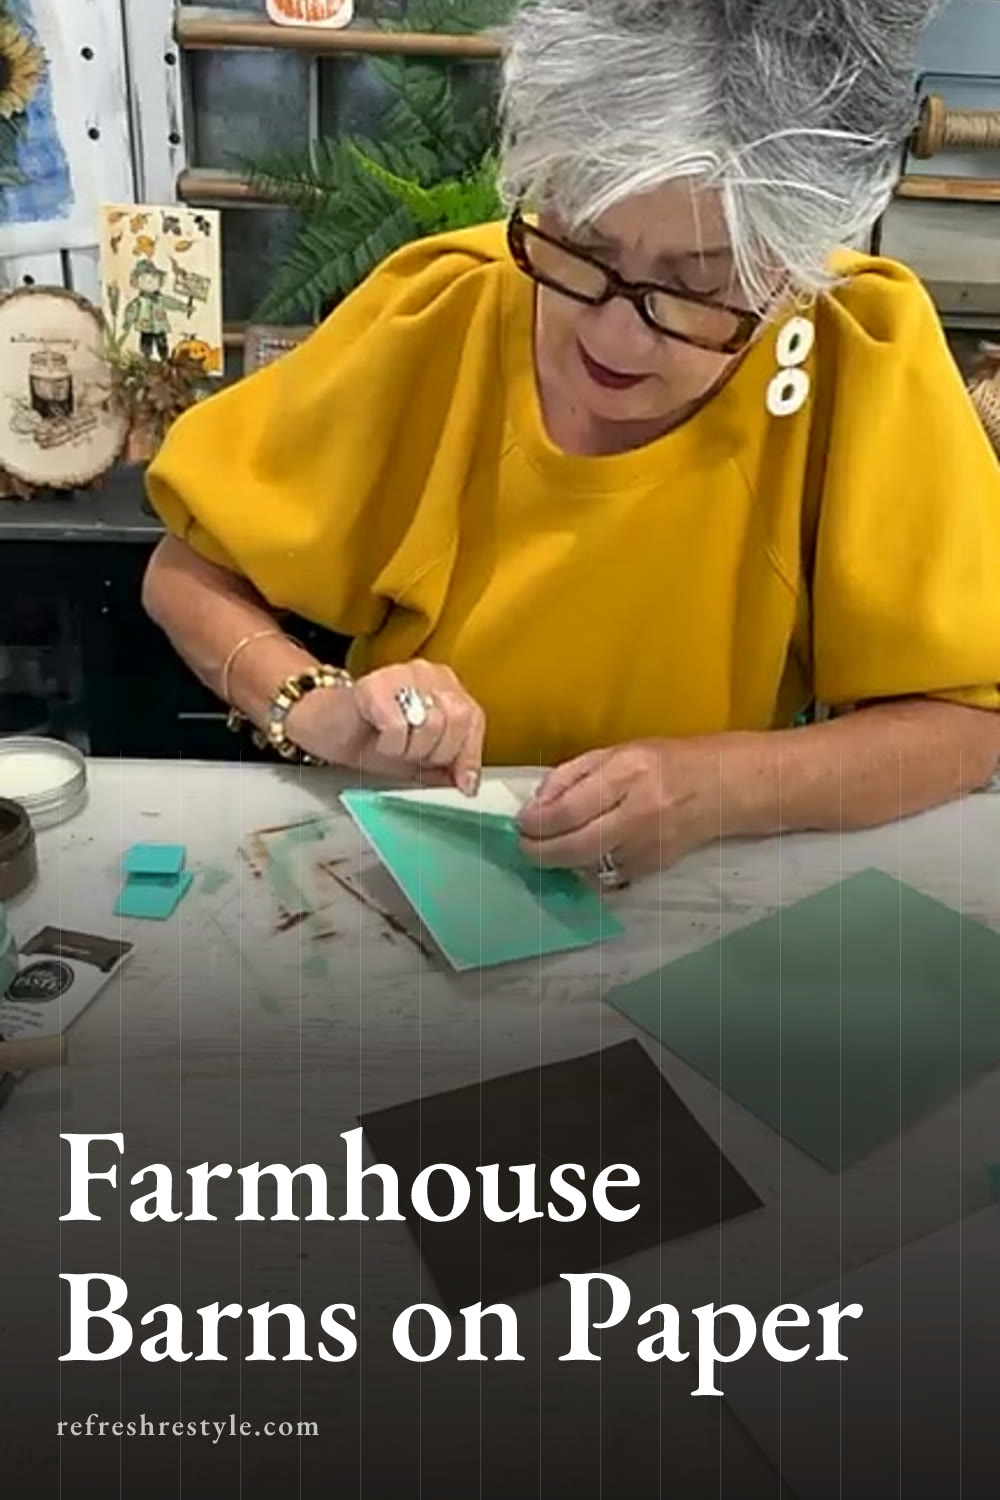
I made three little farmhouse scenes on chalk suede paper using Chalk Couture chalk paste and reusable transfers. With espresso brown, eucalyptus green, and creamy vanilla, the finished pieces have a warm fall look that reminds me of vintage postcards.
Making My Chalk Couture Farmhouse Barn Art
This project came from the September club and included a large sheet of chalk suede paper, three paste colors, farmhouse designs, and little clothespin stands. I like to make the first monthly project with the supplies just as they arrive because it gives me a good feel for the colors and all the different ways I might use the designs later.
The chalk suede paper was a fun surface to try. It feels thick and sturdy, with a smooth finish that works well for small art pieces. Since the original sheet was large, I cut it into smaller sections for the three designs.
You can cut the paper with a paper cutter if you have one handy, or use scissors and take your time. I used scissors and kept the pieces large enough for each transfer.
Choosing the Farmhouse Colors
The three paste colors were Espresso, Eucalyptus, and Vanilla. They work so well together because each one feels warm and natural.
Espresso is a deep chocolate brown. Eucalyptus is a soft farmhouse green, and Vanilla is a creamy off white. These colors work for fall, but they can also stay out through the year if you enjoy neutral farmhouse decor.
I painted one piece with Espresso, one with Eucalyptus, and one with Vanilla. A pouncer worked well for applying the paste to the paper. I kept the coats fairly even and let each one dry before adding more.
The Espresso needed several coats to give me the rich brown finish I wanted. The other two also benefited from another coat in a few areas. If you want deeper color, let the first coat dry and add another rather than loading the paper with a heavy layer all at once.
Preparing the Paper for the Transfers
Once the painted backgrounds were dry, I added a small amount of surface wax. The transfers are sticky and reusable, so the wax helps prepare the painted paper and makes it easier to lift the transfer after applying the design.
I rubbed on a light layer and then used the clean side of my cloth to buff the surface. You only need a little. The goal is a smooth prepared surface rather than a thick wax coating.
Make sure the paste and waxed surface feel dry before placing the transfer. Taking a few extra minutes here helps keep the paper and design looking neat.
Adding the Chalk Couture Chalk Paste Designs
For the first piece, I used the barn and tree transfer. I placed it on the paper, pressed it down well, and checked the detailed areas before applying Eucalyptus paste.
The paste has a thick consistency, so I spread it across the transfer with light pressure, almost like spreading butter. You want enough pressure to move the paste through the screened design while keeping the layer thin and smooth.
After covering the full design, I lifted the transfer to reveal the barn and tree. That eucalyptus color looked beautiful against the brown background.
Making the Gather Together Design
The next transfer looks like a bale of hay and says Gather Together. I used Vanilla paste for this one, which created a soft contrast against the green painted background.
I followed the same process by pressing the transfer onto the paper, spreading a thin layer of paste across the design, and lifting the transfer as soon as I finished. The creamy vanilla gave the design a light, almost cloudlike finish.
For the last piece, I used Espresso paste over the Vanilla background. The dark brown design showed up clearly on the light paper and brought all three pieces together as a set.
Drying and Displaying the Farmhouse Art
I dried each piece completely before putting it into the included clothespin stands. These little holders let the paper stand upright, so the finished art can go straight onto a tiered tray, kitchen counter, shelf, or small table.
You can paint or stain the stands if you want them to coordinate with your decor. I left mine as they came with the project because the simple finish worked with the neutral colors.
The three pieces would also look pretty in small frames. Since the chalk suede paper is easy to cut, you can trim each design to fit a frame you already have.
Helpful Tips for Working With Chalk Paste
Press the transfer down carefully before adding paste, especially around small details. Use light, steady pressure as you spread the paste, and lift the transfer promptly after the design is covered.
Clean the reusable transfer soon after you finish so the paste rinses out easily. If you make a mistake with paste on a reusable surface, you can wet it and wipe or scrape it away. On these painted paper pieces, a light sanding and another coat of color can help cover an area you want to redo.
These farmhouse designs can go on many flat surfaces, so the same transfer can create a completely different look on paper, a metal pie pan, or another surface from your craft supplies. Changing the background and paste colors gives you plenty of ways to make the design fit your own home.
Chalk Couture supplies I used
You can shop my full Chalk Couture store here.
I am an independent Chalk Couture designer, so I earn a commission on these links. See my disclosure for more.