October 2, 2026 by Debbie Westbrooks
Chalk Couture Argyle Transfer Fall Turkey Decor
Live Videos · Crafts · DIY
I made a layered fall turkey decoration with a breadboard style base, painted wood cutouts, farmhouse beads, and a Chalk Couture argyle transfer. The argyle gave the background so much personality, while the deep red turkey and green leaves brought in those rich fall colors I love.
What Came in the September Craft Box
The project started with a breadboard shaped wood cutout and a stand. The box also included a turkey, greenery, a thankful word cutout, small wood beads, jute, and beautiful sunflower tissue paper.
The tissue paper could be used with Mod Podge on another project, but I focused on painting and layering the wood pieces for this one. I also strung the beads on jute so I could drape them around the handle once everything was assembled.
One of my favorite things about a craft box like this is that you can make the project your own. I had a finished example with a simpler background, then I created a second version with the argyle pattern. Both worked, but the pattern added a fun detail behind the turkey.
Painting the Breadboard Base
I started by brushing antique wax over the breadboard. Even though it is called wax, the product I used is water based, so I paint it right onto the wood like a stain.
That rich brown color immediately warmed up the unfinished wood. I covered the main surface and worked around the edges, then dried it before moving on to the pattern.
I left the handle plain while adding the argyle design to the center. Keeping the pattern within that main section helped it look like a finished sign instead of covering every inch of the breadboard.
Adding the Chalk Couture Argyle Transfer
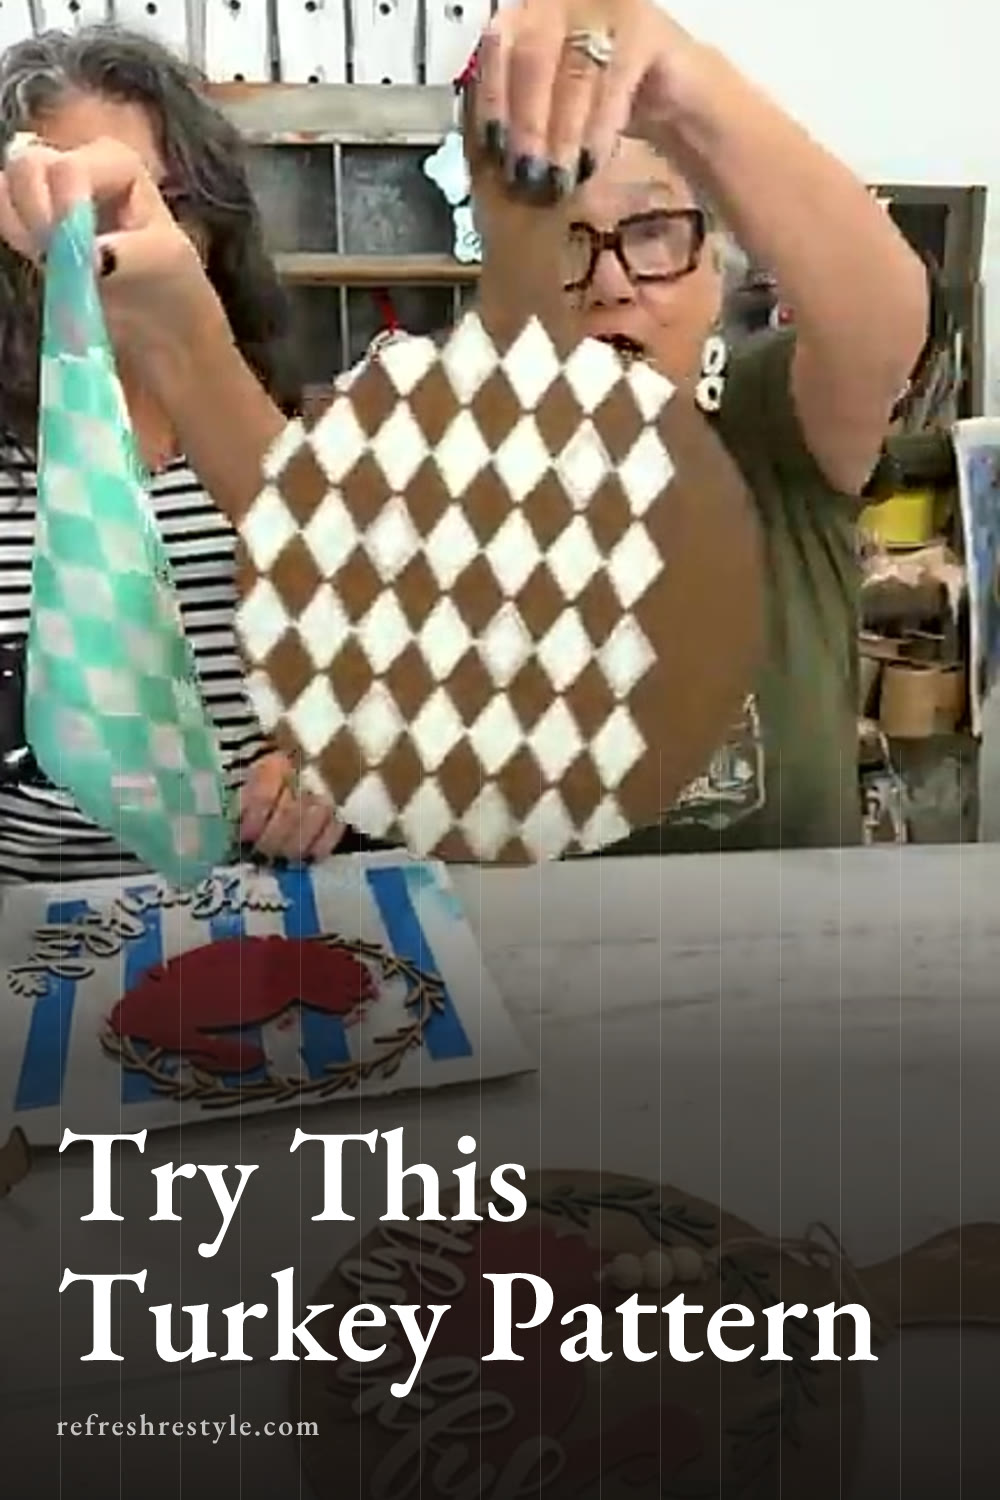
The Chalk Couture argyle transfer has become one of my favorite patterns because it works on so many projects. I have used it on ornaments, cutouts, and other wood pieces, and it was just right for this fall breadboard.
I placed the transfer over the center of the board and applied Vanilla through the design. The transfer was smaller than the full area, so I worked in sections and lined it back up to continue the pattern.
Take your time when repositioning a repeating design. I lined up the diamonds as closely as I could, then added the next section. A larger transfer would cover the board faster, but repeating this one still gave me the look I wanted.
After removing the transfer, I set it aside for cleaning. I clean my reusable transfers with water and a board eraser, then let them dry before storing them.
Choosing Between Plain and Patterned
The plain background lets the turkey stand out clearly, while the argyle adds another layer of color and interest. You can also soften the contrast by choosing two colors that sit closer together.
A brown pattern over the antique wax would give the board a more subtle look. Green could be pretty too, especially if you want the background to tie in with the leaves. I went with Vanilla because I liked the crisp contrast against the darker base.
Painting the Turkey and Greenery
I painted the turkey with Cherry, which gave it a deep red finish that felt perfect for fall. I have been loving darker reds and burgundy tones, and this little turkey looks so good in that color.
For the greenery, I used Wild Acre. It is a darker green that works beautifully beside the red turkey and the warm brown background. I painted the thankful cutout with Vanilla so it would connect with the argyle pattern.
Once the paint dried, I sanded the pieces to remove a little color and soften the finish. A larger sanding block from Dollar Tree worked well across the flat areas and around the edges.
The thankful word and leafy pieces need a gentle hand because narrow wood sections can snap. Hold each section as you sand rather than putting pressure on the entire cutout. If a small piece does break, wood glue can bring it right back together and the repair blends in once everything is assembled.
Aging the Painted Pieces With Dark Wax
Dark wax brought all the separate colors together. I brushed it over the turkey, greenery, and word cutout, then wiped the excess away with a soft rag.
It looks very dark when it first goes on, but wiping it back leaves the color in the edges and sanded areas. That makes the fresh paint look aged and gives the wood a warm, slightly worn finish.
I also used antique wax on the stand. You could paint the stand to match the turkey or greenery, but I liked the wood tone because it connected with the breadboard base.
Assembling the Fall Turkey Decor
After the paint and wax dried, I arranged the greenery and thankful word around the turkey. I added glue with an older stiff bristle brush, which made it easy to spread across the back of the thin cutouts.
The glue dries clear, so a small amount around the edges blends into the finished project. I still used light dollops and pressed each layer into place carefully.
To finish it, I threaded the wood beads onto jute and draped them around the breadboard handle. That simple detail added texture without covering the argyle design or the layered turkey.
The finished breadboard sits in its wood stand, so it is easy to display on a kitchen counter, shelf, or fall table. I love how the Cherry turkey pops against the Vanilla argyle, and the dark wax makes every piece feel like it belongs together.
Chalk Couture supplies I used
You can shop my full Chalk Couture store here.
I am an independent Chalk Couture designer, so I earn a commission on these links. See my disclosure for more.