September 15, 2026 by Debbie Westbrooks
Easy Reindeer Feed Bag Christmas Decor
Live Videos · Crafts · Home Interior
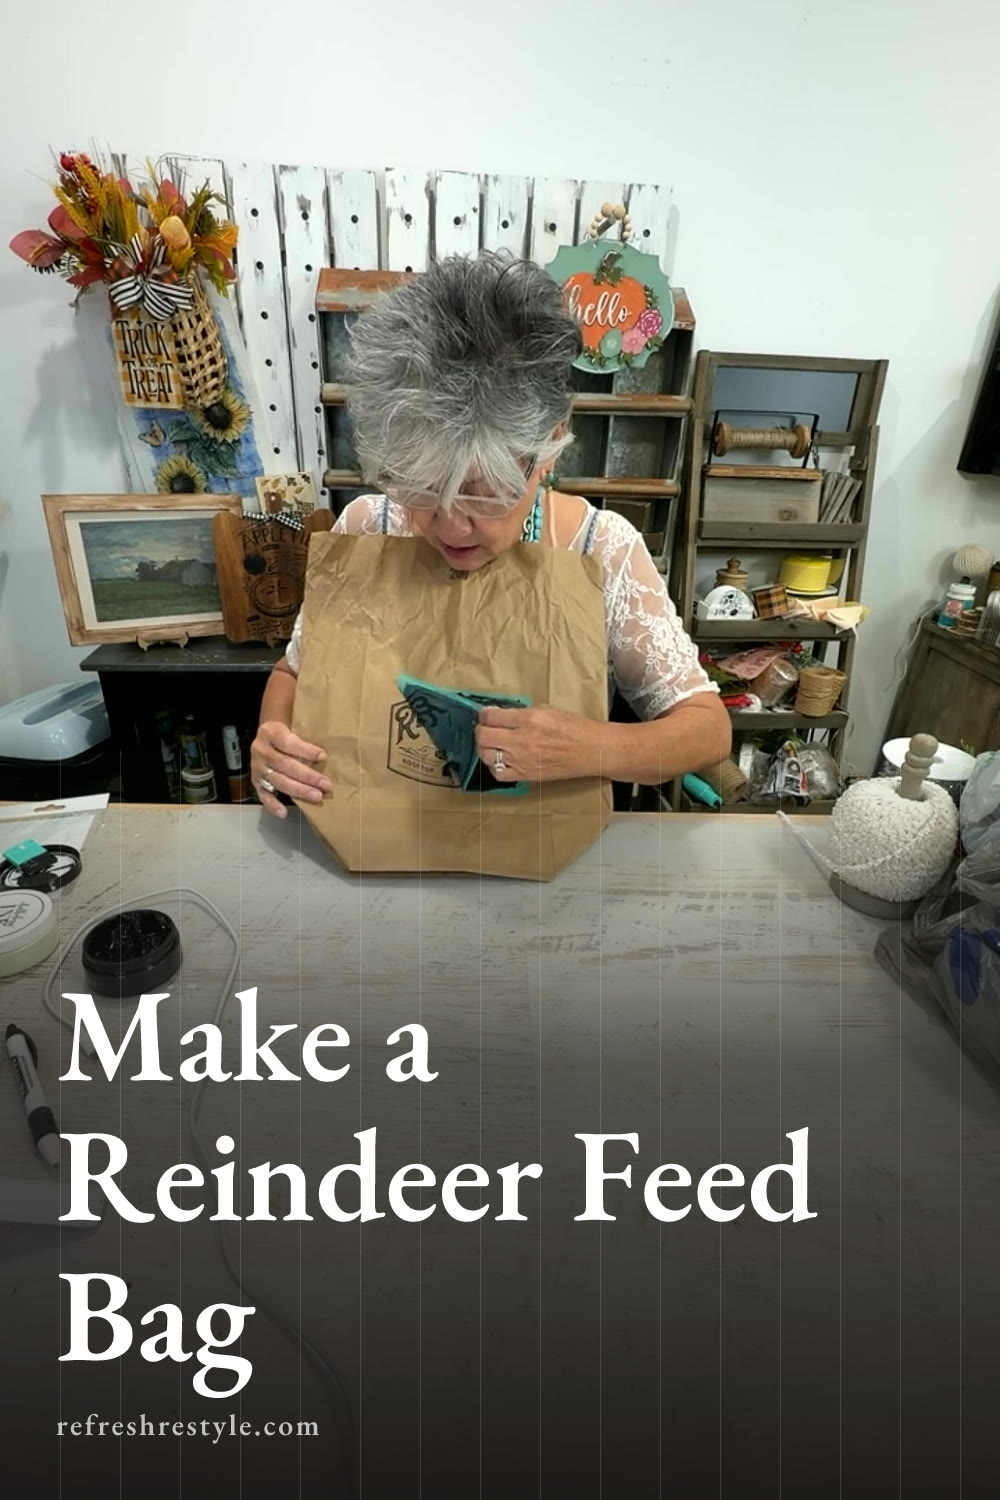
I saved a plain paper grocery bag and turned it into a cute reindeer feed bag for Christmas. The festive transfer made the design fast and easy, then I filled the bag, tied it up, and added ribbon and a berry pick for a little seasonal color.
A Simple Christmas Paper Bag Craft
Paper bags are harder to come by than they used to be, so when I had one on hand, I knew I wanted to make something with it. The bag was a little larger than I needed, but that worked just fine for this project. A smaller bag would be cute too.
I flattened the bag enough to give myself a good work surface. The wrinkles didn’t bother me because they add to the old fashioned feed sack look. This is an easy project to adjust based on whatever size bag you already have.
My transfer said Reindeer Feed, Rooftop Original, and Santa Approved. It was a smaller design, but placing it on a large bag gave the finished project a bigger presence. It would look cute on an entry table, near the Christmas tree, or as part of a holiday display.
Supplies for the Reindeer Feed Bag
I used a few simple supplies for this project.
- Paper grocery bag
- Reindeer feed transfer
- Black paste
- Squeegee
- Scissors
- Saved plastic shopping bags for filler
- Yarn
- Ribbon
- Berry floral pick
I had my glue gun ready, but I ended up finishing the whole project without it. You could use glue if your floral pieces need extra support.
Preparing the Transfer for Paper
Transfers are sticky, which helps keep the design in place while you work. Paper needs a little extra care because a transfer with strong adhesion can pull or tear the surface.
I fuzzed the back of my transfer a couple of times before placing it on the bag. Fuzzing adds a small amount of lint to the sticky side and reduces the adhesion just enough for a paper project. You still want the transfer to stick securely because that keeps the paste from slipping under the design.
Wax can also help protect paper, but I felt comfortable using the transfer without wax on this bag. I pressed the design down well, especially around the detailed areas, and placed it toward the lower part of the bag because I planned to trim the top later.
Adding the Reindeer Feed Design
I kept the design simple and used black paste for the entire transfer. The black stood out nicely against the brown paper and gave the bag the look of an old printed feed sack.
I spread the paste across the transfer with my squeegee, almost like spreading butter. It takes very little paste to cover a design this size. Once every open area was covered, I removed the extra paste with the squeegee and then pulled up the transfer.
That reveal is always my favorite part. The lettering came out crisp and looked so pretty against the kraft paper.
Paste dries quickly because it contains chalk, so I dried the design before moving on. If your paste sits unused for a while and starts getting thick, you can add a little distilled water and stir it to bring back the right consistency.
After using the transfer, I clean it with water and a board eraser. Washing removes the fuzz along with the remaining paste, so the sticky surface is ready for another project.
Filling and Shaping the Bag
I used saved plastic shopping bags as my fake reindeer food. They filled the paper bag without making it heavy, and they gave me enough volume to shape the top.
Once the bag was full, I trimmed away some of the extra paper with scissors. I wanted the finished bag to feel full while keeping the printed design easy to see.
I gathered the top and tied it with a piece of yarn. You could staple the folds if you want a firmer hold, but the yarn worked well for mine. I left the top a little loose so I could spread the paper and tuck in a decorative pick.
Decorating the Top
The bag already looked cute once it was tied, but I wanted a little color at the top. I tucked in a berry floral pick and adjusted it until it sat securely among the gathered paper and filler.
Raffia would also work well if you have some in your craft supplies. Any small Christmas floral pieces can be used here, so this is a good place to use leftover stems from another project.
I finished the bag with a simple awareness style bow. I used about 18 inches of ribbon, tied it around the gathered top, and dovetailed the ends by cutting a small angle into each one. You can make the bow smaller or larger depending on the size of your bag, and one ribbon color works just as well as several.
Easy Ways to Change the Project
This idea can be made in several sizes. A small paper bag would make a sweet addition to a tabletop display, while a larger grocery bag stands out near a tree or in an entryway.
You could also put the reindeer feed design on a fabric bag. Since fabric requires ink and heat setting rather than paste, make sure you choose the right product for the surface you’re using.
For my paper version, the black design, berry pick, and ribbon were enough to make a saved grocery bag feel special. After Christmas, I can remove the lightweight filler and store the bag with my other seasonal decorations.
Chalk Couture supplies
Browse Chalk Couture transfers, or shop my full store here.
I am an independent Chalk Couture designer, so I earn a commission on these links. See my disclosure for more.