June 3, 2026 by Debbie Westbrooks
DIY Cherry Decor With Quick Cast Resin Cherries
Live Videos · DIY · Crafts
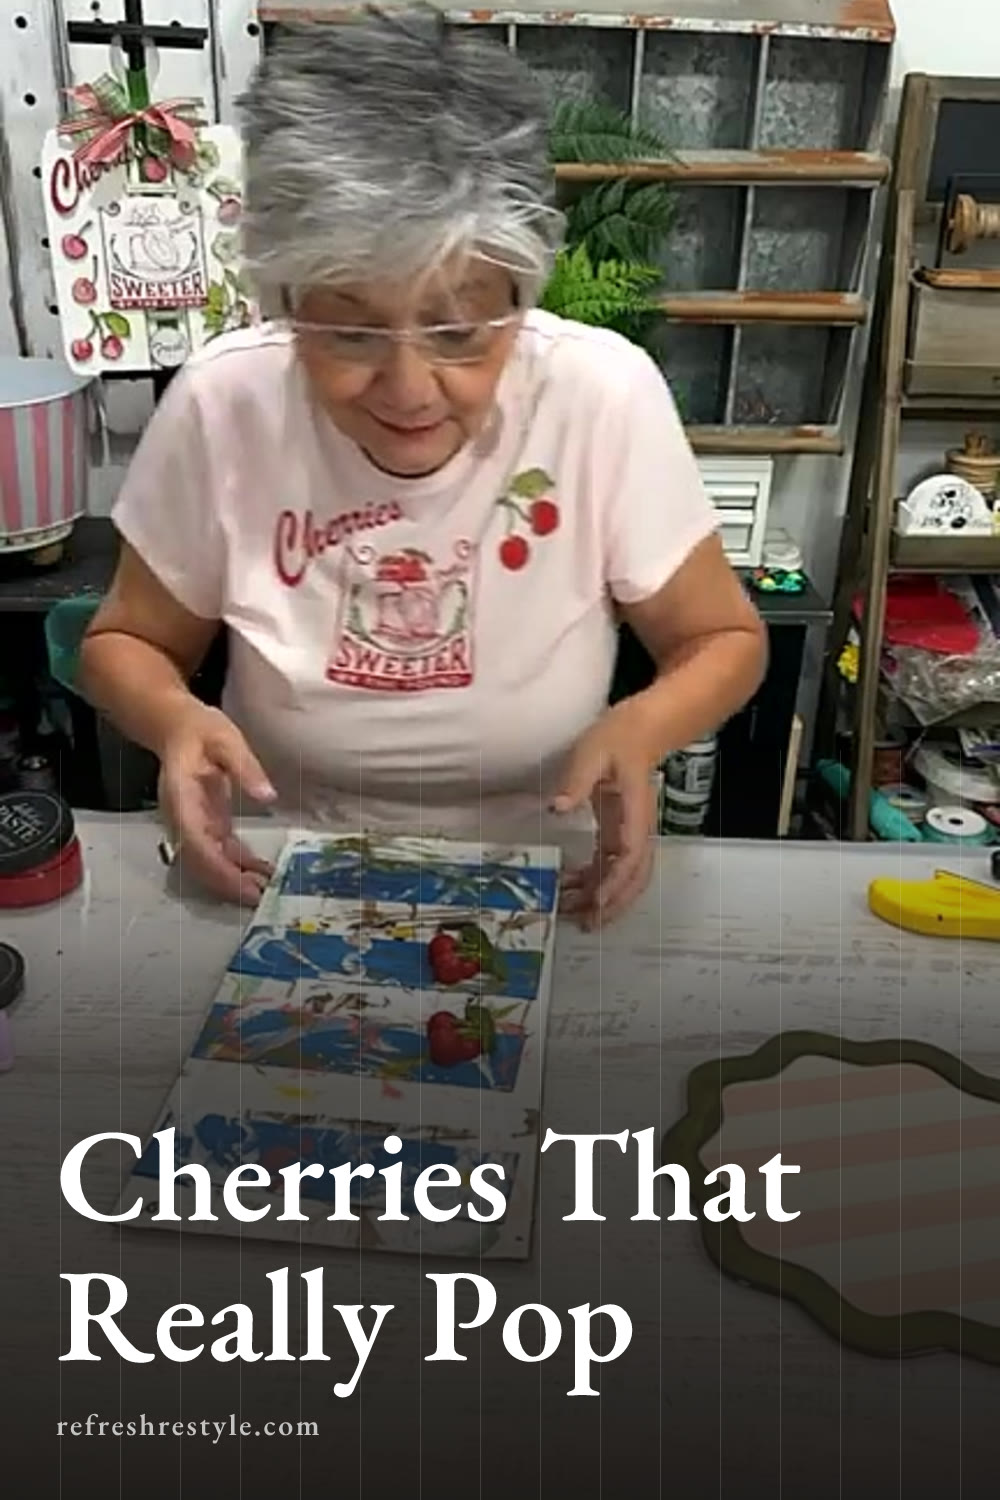
I made the sweetest DIY cherry decor for my kitchen. It has soft pink stripes and bright green paint, and I used a Chalk Couture transfer with chalk paste for the cherry design. The raised resin cherries make it extra fun.
This small frame also comes with a wood stand. That makes it easy to display on a counter or shelf.
Supplies I Used
Here are the main supplies from my project.
- Small frame with a stand
- White casting resin
- Cherry mold
- Gloves
- Mixing cup and stir tool
- Paintbrushes
- Pesto green paint
- Vanilla paint
- Peachy Keen paint
- Cherry red paste
- Cherry transfer
- Painter’s tape
- Sandpaper
- Distressing ink
- Hot glue
- Gel stain
I used a cherry mold from Walmart. Candy and ice molds can work for crafts too. Once I use a mold with resin, it stays in my craft room.
Making the Resin Cherries
Mix Equal Parts
I put on gloves before mixing my resin. This white casting resin has two parts. I mixed equal amounts of both parts.
I stirred the mixture very well. A good mix helps the resin set the right way.
This resin cures on its own. It starts to turn white as it sets. It can come out of the mold in about ten minutes.
Fill the Cherry Mold
I poured the resin into the cherry shapes. My first cherries were thicker than I needed. A thinner pour worked well for this project.
Set your mold on cardboard before pouring. The mold can bend when you move it. A firm base makes that job much easier.
I moved the filled mold away from my work area. Then I started painting the frame while the resin set.
When the cherries turned white, I removed them. They came out with a nice raised shape.
Painting the Frame
Add the Green Paint
I painted the outer frame with Pesto. This green is bright and fresh. It looks so good with cherry red.
I wet my brush a little before painting. I also moved the frame as I worked. That kept my wrist out of the wet paint.
I dried the frame before moving to the next step.
Paint the Center Board
I painted the center board with Vanilla. It is a soft off white shade. The light color made a good base for my stripes.
I added another light coat where needed. Then I dried the board.
I gave the surface a light sanding. This made it feel smooth before I added tape.
Adding the Pink Stripes
I placed strips of tape across the Vanilla board. I spaced them by eye. You can measure each stripe if you want even spaces.
I painted between the tape with Peachy Keen. This light pink looks lovely with red and green.
One coat gave me the look I wanted. I removed the tape and dried the paint.
Painted stripes can leave small raised edges. I lightly sanded the board again. This helped the transfer sit flat.
Giving the Frame a Rustic Finish
I like a rough and rustic look. I added distressing ink around the frame edges.
You could also use distressing wax. Watered down brown paint can give a similar look.
I kept the finish light. The darker edges added depth without covering the Pesto color.
Painting the Resin Cherries
I painted the molded cherries with Cherry red. I left a few spots lighter and darker. This gave each cherry a hand painted look.
I used a small brush for the leaves. I added another light coat where the resin showed through.
The raised fruit already had lots of detail. The paint helped every little shape stand out.
Let the paint dry before adding hot glue. This keeps the finish clean when you press the cherries in place.
Adding the Cherry Transfer
Pick Part of the Design
I used part of the June club cherry transfer. I chose the word cherries and one group of leaves.
You can use small parts of a large transfer. This gives you more ways to use one design.
I placed it over the striped board. I checked the space around each part. The resin cherries needed room near the leaves.
I added a little fuzz to the transfer with my shirt. This helps protect a painted surface from a strong sticky back.
Add the Red and Green Colors
I used Cherry red for the word cherries. I used Pesto for the leaves.
I lifted the transfer after adding the colors. The red word looked so pretty over the pink stripes.
I left the printed fruit shapes open. My resin cherries would cover that area.
I watered down a little paste for small touch ups. I used a light hand because the mix was thin.
These transfers can be washed and used many times. Clean yours soon after you finish.
Putting the Cherry Frame Together
I turned on my glue gun while the paint dried. Then I placed the resin cherries over the leaf design.
I moved them around until I liked the angle. One cherry leaned one way. The other cherry leaned the other way.
I used hot glue to hold both pieces in place. The raised cherries made the design pop off the board.
The frame came with a wood stand. I stained it with gel stain from Hobby Lobby. I wiped the stain over the wood for a rustic finish.
The finished frame has soft pink, bright red, and fresh green. The resin pieces add a fun three dimensional touch. The stand makes it ready for a kitchen counter, shelf, or summer display.
Chalk Couture supplies I used
You can shop my full Chalk Couture store here.
I am an independent Chalk Couture designer, so I earn a commission on these links. See my disclosure for more.