October 13, 2026 by Debbie Westbrooks
Chalk Couture Christmas Kitchen Sign Makeover
Live Videos · DIY · Crafts
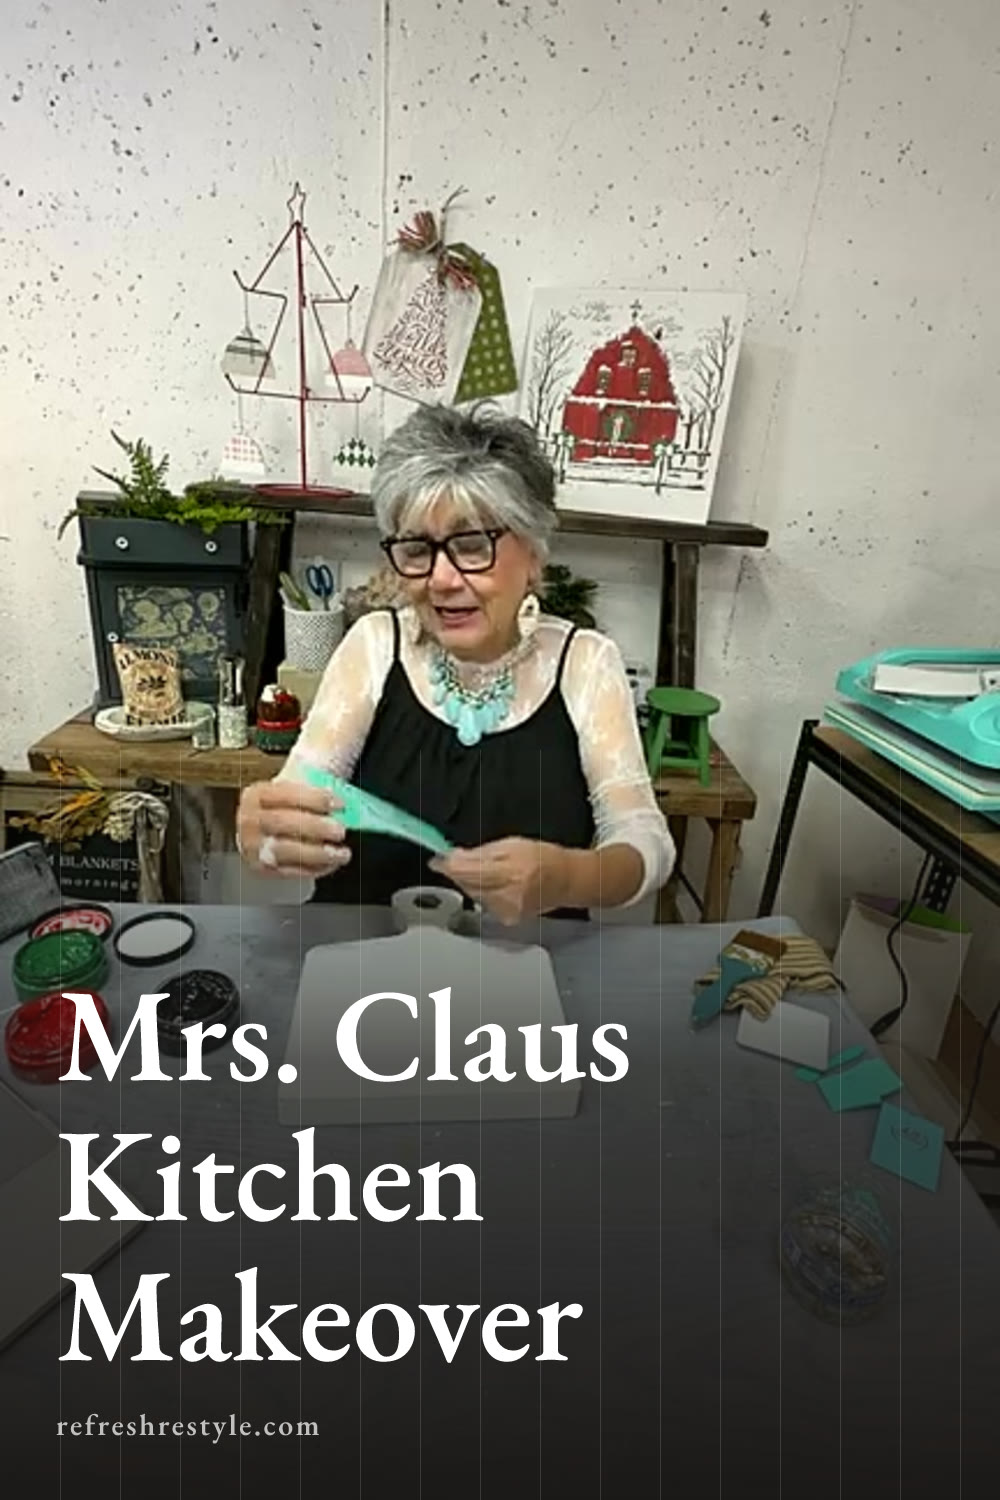
I turned a simple Dollar General kitchen sign into festive Mrs. Claus decor using Chalk Couture chalk paste and a Christmas transfer. The original sign was cute enough, but I knew a fresh coat of paint, a gingerbread man, and a Santa cookie cutter would make it fit right into my Christmas kitchen.
Finding a Sign to Refresh
I love looking through Dollar General, Dollar Tree, thrift stores, yard sales, and junk shops for pieces I can change. If the shape and size work for my project, the original words or picture rarely matter because I can sand and paint right over them.
This lightweight decorative sign originally said Let’s Eat. It had a smooth surface, and the lettering didn’t feel very raised, which made it a good choice for a makeover. I found two signs during a buy one, get one half off sale, so I brought both home and saved the second one for another project.
That’s one of my favorite ways to stretch a decorating budget. Look past the current design and pay attention to the surface. A simple frame, tray, sign, or board can become something completely different with paint and a transfer.
This particular piece is decorative, so I’ll display it in the kitchen rather than use it as a serving piece.
Supplies I Used
My supplies for this Christmas sign included
- A lightweight Dollar General decorative sign
- Chalk paste or chalk paint for covering the original design
- The Mrs. Claus’ Christmas Kitchen transfer
- Candy Apple Chalkology Paste
- Green Chalkology Paste
- Nominee Chalkology Paste
- Small squeegees
- A striped piece of jelly roll fabric
- A Santa cookie cutter ornament
- Sandpaper
I originally considered adding black to the design, but I liked the simpler mix of red, green, and the warm gingerbread color.
Preparing the Dollar General Sign
I started by lightly sanding the sign. The original design felt flat, but a little sanding gave me a clean surface and helped prepare it for paint.
Next, I covered the existing words with a fresh coat. I like using chalk paste or chalk paint for projects like this because both give me good coverage without spending a long time adding coat after coat. The paste was fairly thick, which helped hide the old design.
I worked across the sign in sections, dried the surface, and continued until the original words were covered. Once the sign was dry, I lightly sanded it again so the finish worked with the distressed look around the edges.
Make sure the surface has cooled before adding your transfer. Mine was still warm from drying the paint, so I gave it a few minutes. A cool, dry surface makes this part much easier.
Adding the Chalk Couture Christmas Design
The Chalk Couture transfer says Mrs. Claus’ Christmas Kitchen Made with Love and a Little Magic. It also has the sweetest little gingerbread man, which was perfect for the warm Christmas kitchen look I wanted.
Placing and Defuzzing the Transfer
Before placing the transfer, I defuzzed it so it wouldn’t stick too firmly to the freshly painted surface. I centered the design on the sign and smoothed it down, paying attention to the lettering and small details.
I didn’t wax the sign. The painted surface was very smooth, so I knew the Chalk Couture chalk paste could dry quickly while I worked. That meant I needed to use the chalk and lift method instead of covering the entire transfer before lifting it.
Working With the Chalk and Lift Method
Chalk and lift simply means I applied paste to one section and lifted that portion of the transfer before the paste had time to dry in the screen.
I used Candy Apple for Mrs. Claus and parts of the lettering. Then I added green to the coordinating areas of the design. For the gingerbread man, I chose Nominee because it has a warm gingerbread color with a little gold shimmer.
I worked in manageable sections with small squeegees. After spreading a thin, even layer of paste, I removed the extra and lifted that area of the transfer. Then I placed it back down carefully and moved on to the next color.
This method protects the crisp details, especially when you’re working on a painted surface that absorbs moisture and causes paste to dry faster.
When I lifted the transfer for the final time, the lettering and gingerbread man looked clean and festive. The old Let’s Eat sign had become Mrs. Claus’ Christmas kitchen decor.
Adding the Fabric Bow and Cookie Cutter
The sign needed a little something at the top, so I reached for a striped piece from a large jelly roll. The stripe reminded me of an old fashioned Christmas candy pattern, and it brought the red and neutral colors together.
I cut the fabric down so the bow would fit the scale of the sign. My first placement covered too much of the Santa cookie cutter, so I adjusted the bow higher and moved it until both details could be seen.
The Santa cookie cutter ornament felt perfect for Mrs. Claus’ kitchen. It originally came with a small spatula, but I separated the pieces and saved the spatula for another project. I can always use cute kitchen pieces for gift baskets, oven mitt gifts, or another Christmas craft.
Tips for Remaking Bargain Decor
When you’re shopping for makeover pieces, focus on shape, size, and condition. Words can be covered, pictures can be sanded, and colors can change.
Smooth surfaces are usually easy to refresh with chalk paste or chalk paint. If a design feels raised, sand it until the surface feels even before painting. Let every painted layer dry completely, and allow heat dried pieces to cool before applying a transfer.
You can also change the finished look with accents you already have. Ribbon, fabric strips, ornaments, cookie cutters, spatulas, and greenery can make a plain sign feel more finished without adding much cost.
Displaying the Finished Christmas Sign
I plan to sit my finished sign on a shelf or counter, though the lightweight piece could also be hung. The Mrs. Claus design, gingerbread man, striped bow, and Santa cookie cutter all work together for a playful Christmas kitchen look.
It would also make a cute gift paired with an oven mitt, spatula, or baking supplies. Since the base started as an inexpensive store find, you can put more of your gift budget toward the little kitchen extras.
Chalk Couture supplies I used
You can shop my full Chalk Couture store here.
I am an independent Chalk Couture designer, so I earn a commission on these links. See my disclosure for more.