
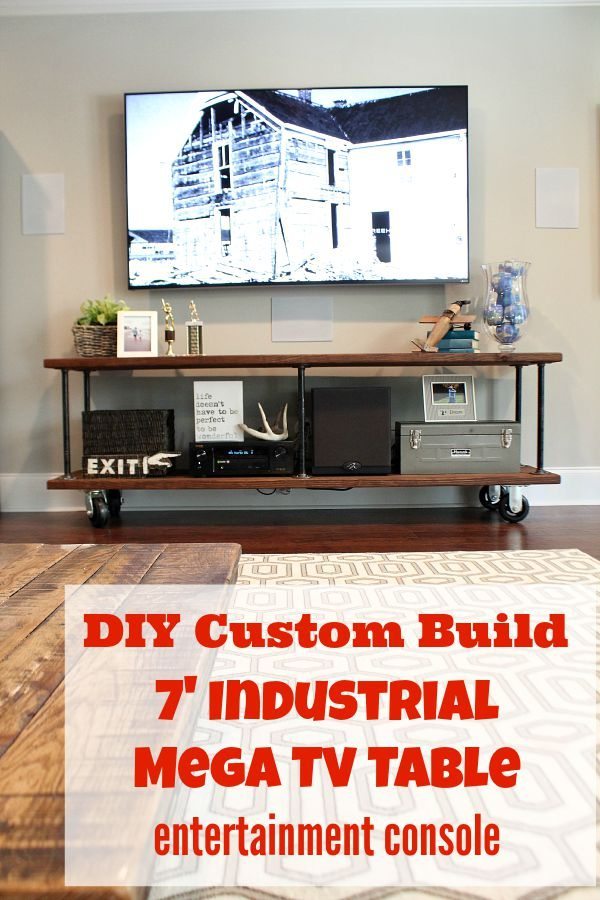
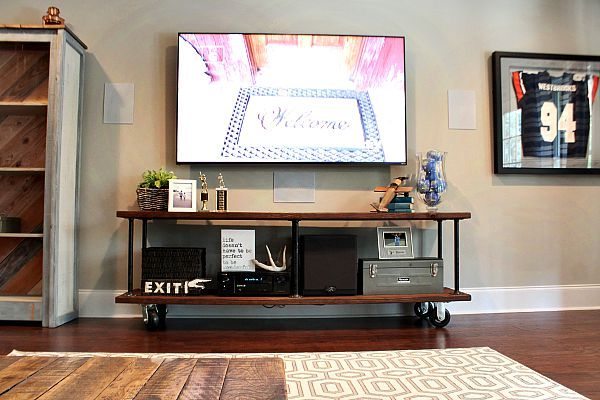
What do you do when you can’t find an affordable not to mention large enough entertainment center to go under your basement tv? Here’s what we did!
How to Build an Industrial Console Table - Custom, Heavy Duty, Mega 7’ Long
Back in the basement with another DIY. Did you see the barn wood wall in kitchen? Be sure to check it out. We are loving our casual entertaining areas in the basement! Good timing too, with the new episodes of Fixer Upper and of course football season coming up :) Supply List:
- 4 - 7 foot long 2” x 10” pieces of lumber
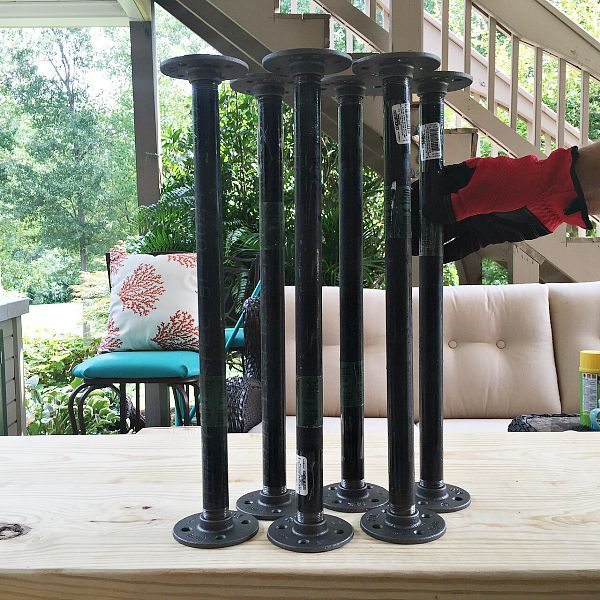
- 6 - 3/4” black pipe nipples at 18” each
- 12 - 3/4” floor flanges
- 48 - 1 1/2” screws to attach floor flanges
- 4 - 5” casters
- 16 bolts to attach casters
- Kreg jig to create pocket hole to connect the lumber
- Screws
- stain or paint of your choice
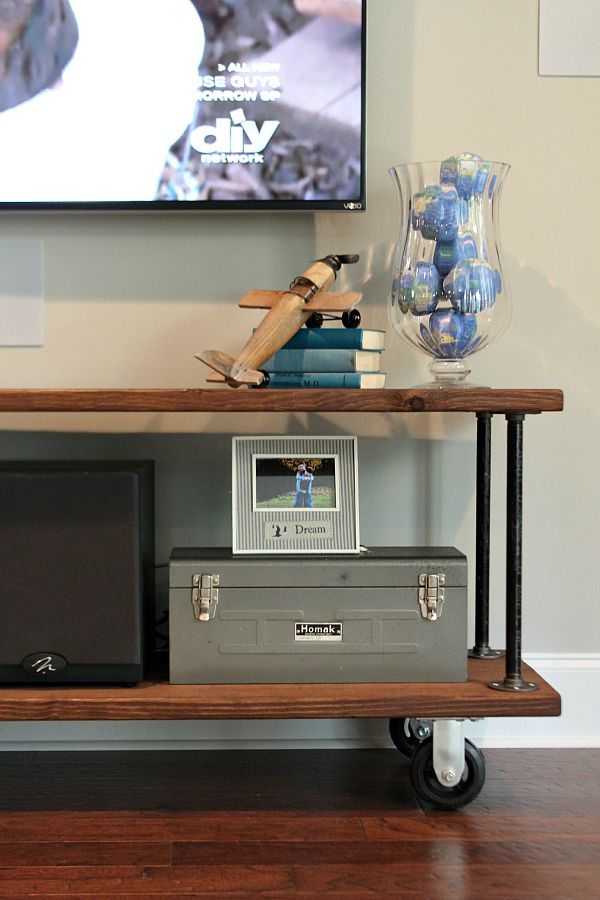
We had the guys at Lowe’s cut the (4) 2” x 10” for us to 7’ long and we used the Kreg Jig to drill pocket holes to join the boards. We created 2 sets of shelves, so that we would have an upper and lower shelf. The jig makes it easy, you just set the depth (you set - see the gray section of the jig - the size of wood you’re using and slide to determine the depth of your pocket hole - ours was 2”) clamp on the jig and drill to the stop. I purchased a variety set of Kreg screws and that’s what we used to join the boards. I cleaned the 18” black pipe nipples and attached the floor flanges to each end. We used bolts to attach the flanges to the bottom shelf about 1 1/2” in on each end and centered the other 2, flipped it over and attached them to the top. While we had the piece upside down, we attached the heavy duty casters. After we admired our handy work for a few minutes ;) I stained the piece.
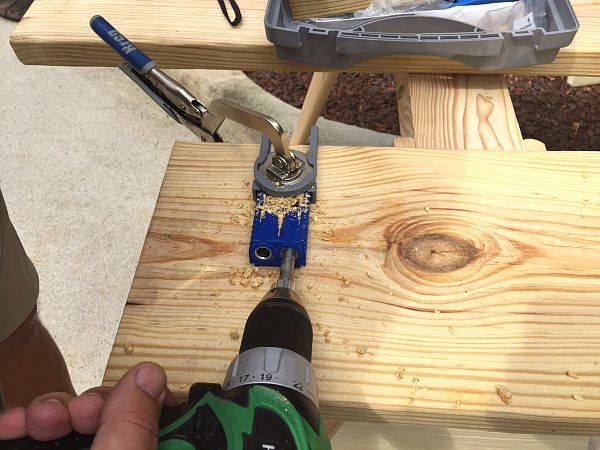
Kreg Jig clamped to lumber to create pocket holes.
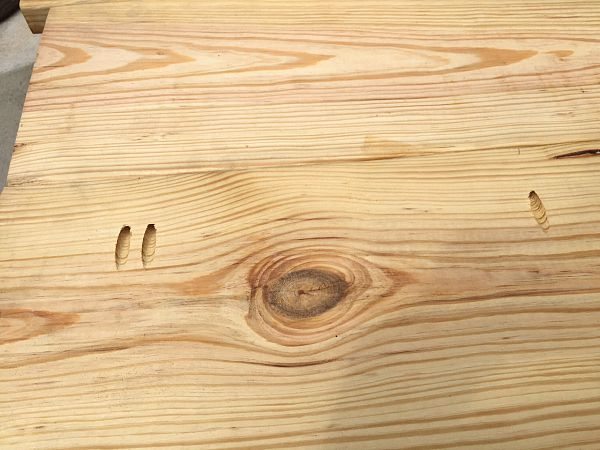
Pocket holes created with the Kreg Jig
 Using the jig to create pocket holes allows you to join the wood from the bottom, so it’s not visible from the top.
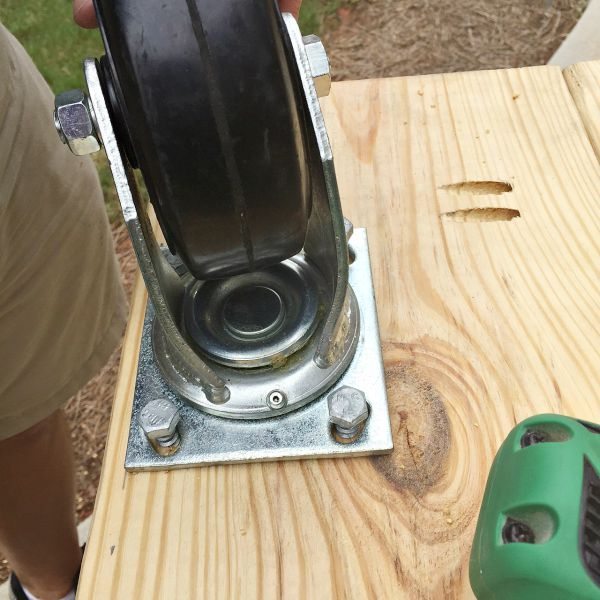
Attach casters to bottom .
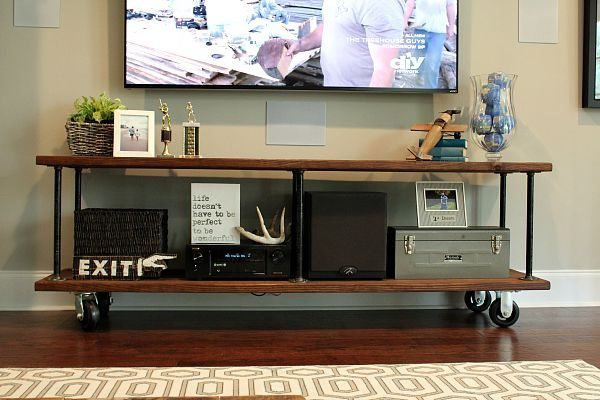 I searched and searched for a piece of furniture to hold the sub-woofer and the surround sound components but I couldn’t find anything affordable that fit. We needed something wider than the tv but no taller than 30” so it wouldn’t cover up the center speaker that Mr. Refresh painstakingly installed, he actually installed all 7 the speakers.
 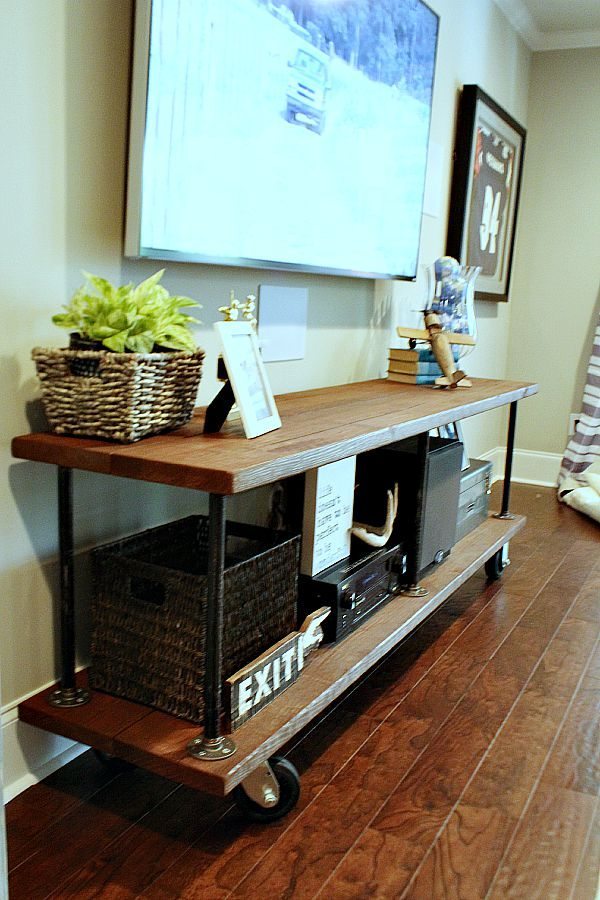 Perfect for our tv viewing area.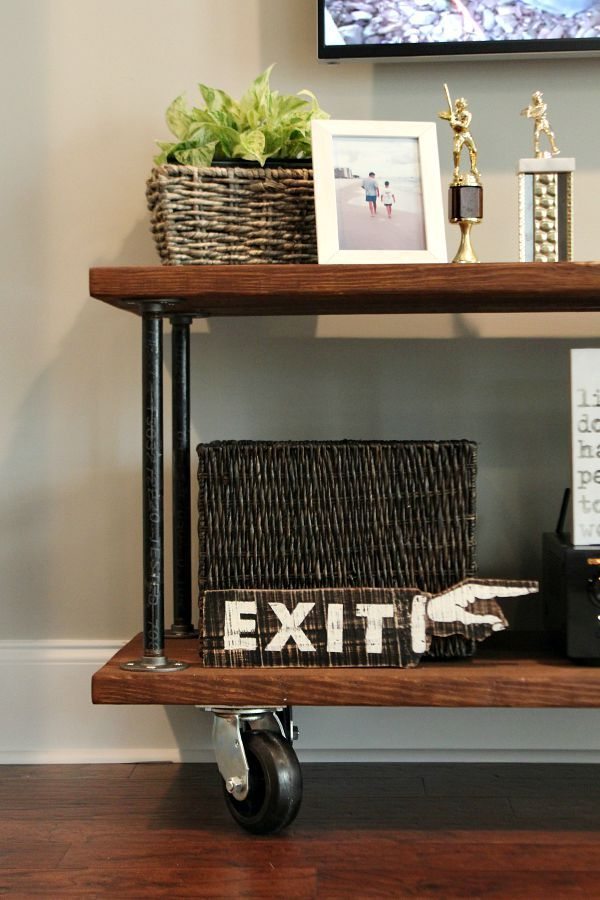
 Here’s my Amazon affiliate links for supplies used: Kreg Jr. Jig Kreg Jig Screws - Variety pack Kreg Clamp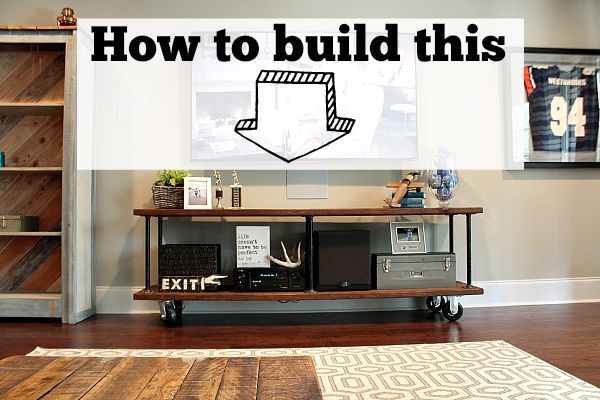
How to build an industrial console table - custom DIY for your tv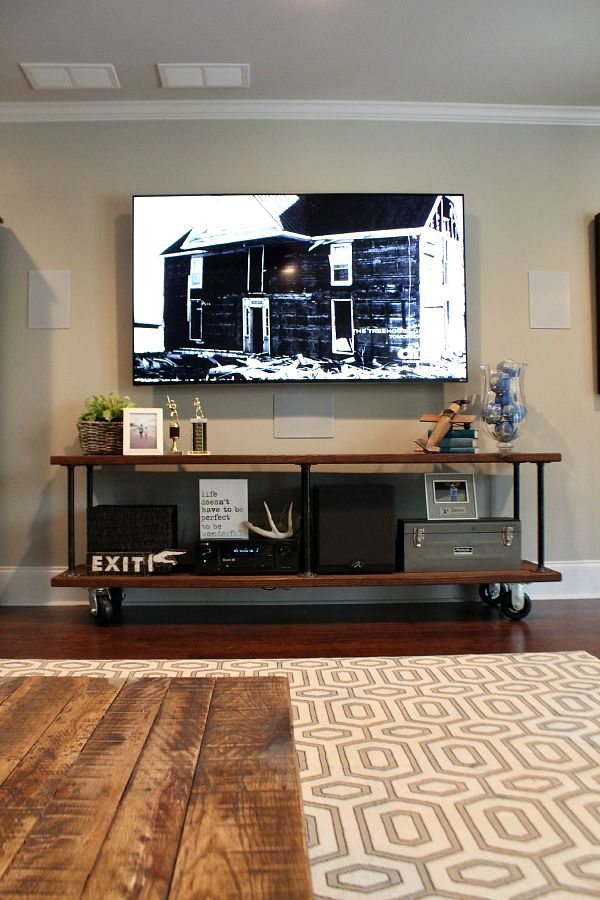
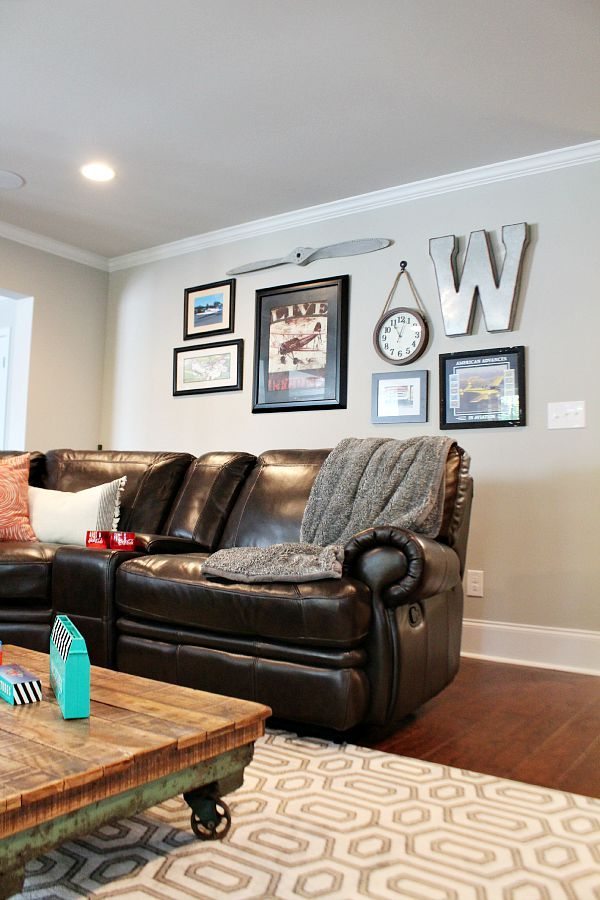
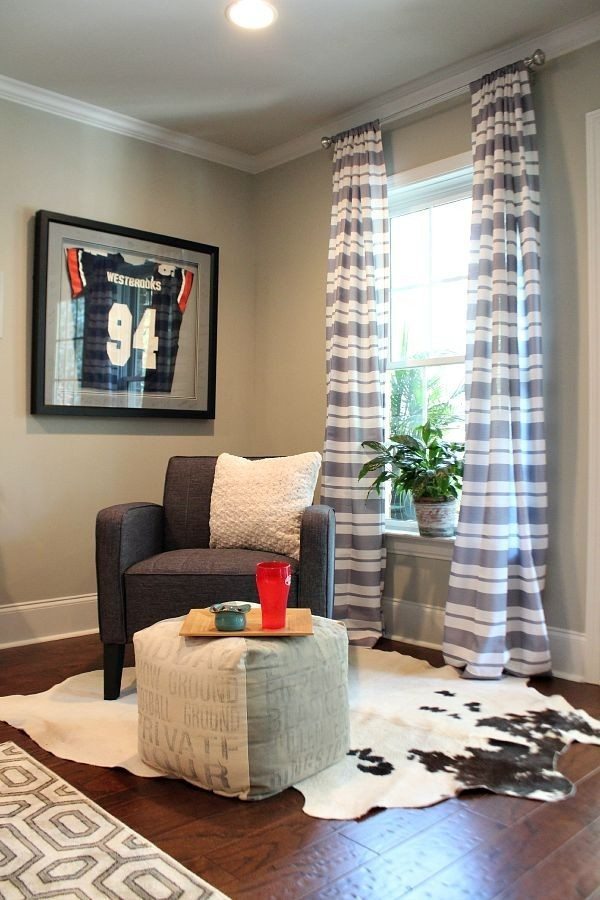
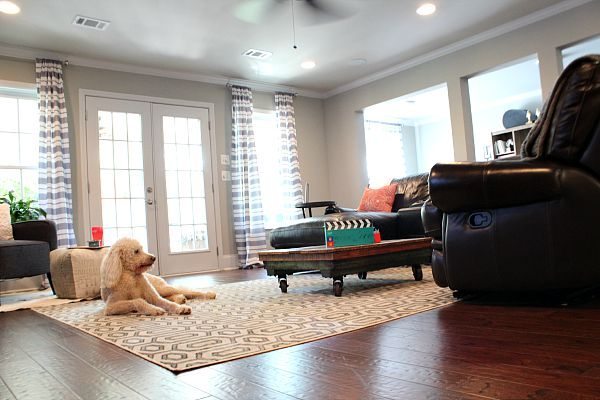
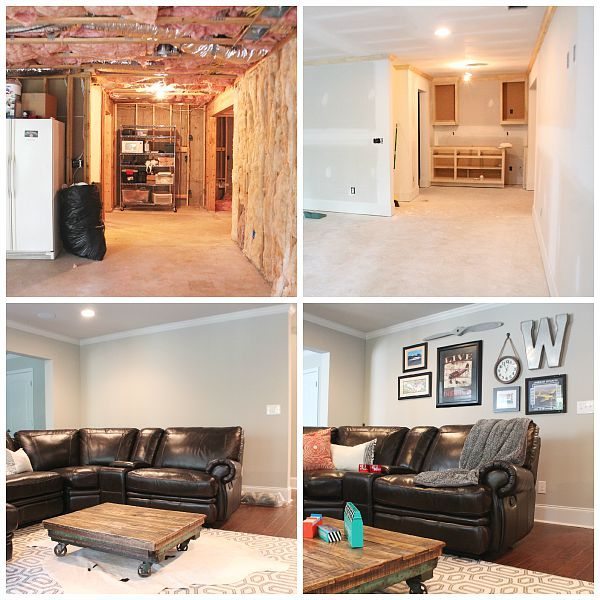 The basement has come a long way! We love spending time here, watching football games on the big screen and entertaining friends and family!
  Did you see the kitchen area?
29 Comments
ArchiveI love this, Debbie! Pinning it and sharing it with our Facebook fans! XO, Christy
Fantastic!
Thanks so much Walter! Have a great weekend!
Debbie
OMGosh Debbie! Your new console table is gorgeous! I love everything about it including how you have it styled so lovely.
pinning!
gail
Thanks Gail, that means a lot coming form you! You are a master builder!
Debbie
Debbie,
Great build! :)
Looks great! Thanks for sharing the tutorial!
This is fabulous! Pinning and sharing! I hope you'll share this at Friday's Furniture Fix! Doors close on Monday night at 11:59 PM EST. Have a great weekend!.. Carrie, Thirty Eighth Street http://www.thirtyeighthstreet.blogspot.com/2015/09/fridays-furniture-fix-link-party-no-8_17.html
What a simple solution! I love the look of this. Can I ask an estimated cost to build this? Thanks
I love it. I'm going to build one similar to yours but make it taller. Have you had any issues with the bottom shelf sagging without any support under it? I'm not sure if there would ever be a problem but I'm just trying to plan everything out before building mine. Thanks.
Hi Wendy, I have not had an problems with sagging at all! Using the larger 2 X's are the key. Best wishes on your build!
This looks perfect!
Thanks so much!
Looks great! What color of stain did you use? I have so much trouble picking the right color of stain!
Love this Debbie, great piece, I'm thinking I need to make this for our space
Very cute. What stain did you use?
Debbie- when you added the floor flanges, did you measure 1 1/2 inches from the edge of the flanges, the center of the flanges, or the bolt hole of the flange? We are in the process of trying to put our table together (ours will only be 4 ft long) and can't decide where to put the flanges.
Hi Tracy, the 1 1/2" is where we marked for the bolt hole of the flange, share a photo with me when you're finished!
Thank you for the quick response! We have to get different clamps for the kreg jig before we can assemble, so it may be a day or two before I can get a pic of the finished product. We love your work and will be using some of your other ideas in the future. Keep up the good work!
Hi. I love this console. My husband and i will be starting this project soon. What type of casters are those and what color stain did you use?
Great amazing work!
I actually made this project for myself using yours as inspiration! I look forward to being inspired by your other projects now that I have discovered you page!
Hi. Do you find that it's wobbly from side to side with no back brace? Thx
It's not wobbly at all. It's very stable.
This turned out really gorgeous Debbie! I love that industrial look, and it's the perfect TV console!
I just wanted to let you know that you were featured as a Rockstar at last week's Creativity Unleashed party! Congrats, and thanks for sharing at our party! http://www.practicallyfunctional.com/creativity-unleashed-182-hand-lettering-giveaway
What stain did you use?
Absolutely stunning! A very original and simple idea!