June 26, 2026 by Debbie Westbrooks
How to Make Framed Heat Transfer Art
Live Videos · DIY · Home Interior
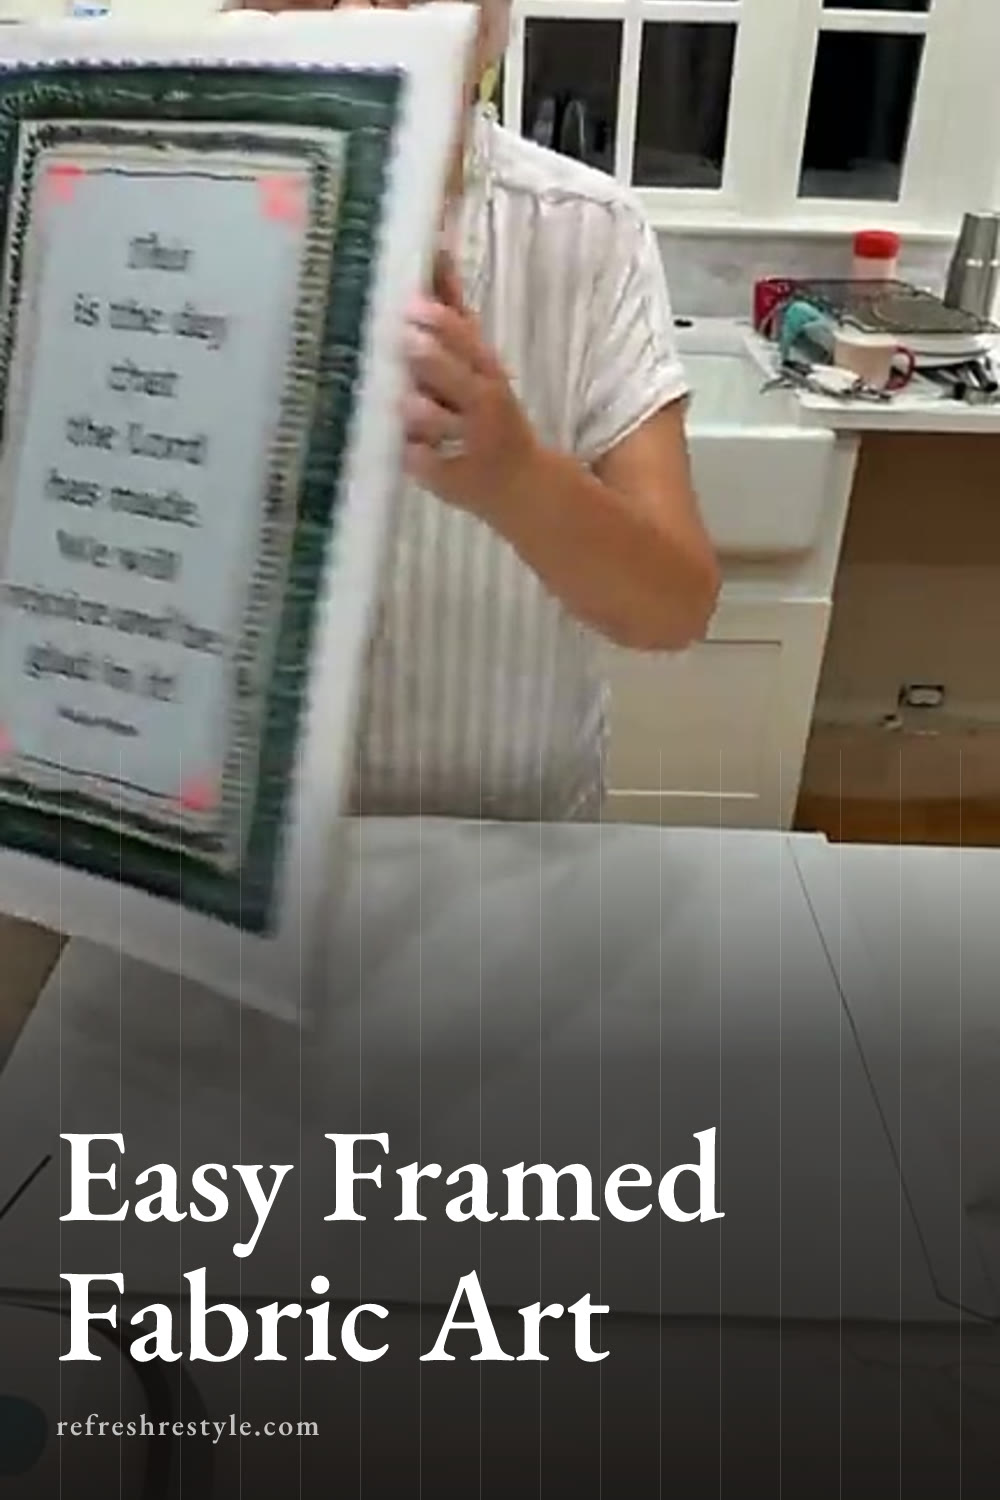
I turned a large Rejoice heat transfer into framed heat transfer art using polyester fabric and an inexpensive matted frame. The colors came out bright, the verse fit beautifully inside the mat, and the whole thing looked like a finished piece of fabric artwork when I was done.
What I used for my framed heat transfer art
The frame was the starting point for this project. I found lightweight 12 by 18 frames made to display an 11 by 17 piece, and each package came with two frames. They included a thin mat and plexiglass, which kept the frame light enough to hang easily.
For the design, I used the large Rejoice heat transfer. It features the verse that says, “This is the day the Lord has made. We will rejoice and be glad in it.” The size worked perfectly with the frame opening.
I also used polyester fabric, a heat press, heat safe tape, parchment paper, a wool pressing mat, and tacky spray adhesive. An iron and ironing board can take the place of the heat press and pressing mat.
Why I chose polyester fabric
Polyester makes the colors in a heat transfer pop. The design looks fairly plain before pressing, but heat brings out all those vibrant colors and details.
I ordered one yard of fabric, which gave me plenty for this project with a lot left over for more framed designs. The fabric was about 60 inches wide, so one yard should cover several pieces depending on the size of the frames.
The finished transfer almost looks embroidered. It has a pretty cottage inspired feel that works especially well with the verse and the matted frame.
Preparing the frame and fabric
Getting the frame backing ready
Before I started pressing, I removed the backing board from the frame and took it outside. I sprayed the front of the board with tacky spray adhesive so I could attach the fabric after applying the transfer.
Spray adhesive travels farther than you expect, so I always use it outside or cover my work area very well. A piece of plastic under the board helps protect the surrounding surface. The adhesive I used stayed repositionable, which came in handy when I needed to adjust my fabric later.
You can also paint the brown backing board before adding the adhesive if you want the fabric background to look brighter.
Cutting and smoothing the fabric
I cut a piece of polyester fabric slightly larger than the backing board. My cut didn’t have to be perfect because the extra fabric would sit behind the mat and frame.
I left the selvage edge in place and gave the fabric a quick press to remove the wrinkles. Then I put parchment paper on my wool pressing mat and laid the fabric on top.
Applying the Rejoice heat transfer
I positioned the transfer over the fabric and taped it down securely. This is especially important with a large design because you may need to move your iron or heat press several times. The tape keeps the design from shifting and creating a blurry image.
I placed another piece of parchment paper over the transfer before pressing. My heat press was set to 360 degrees for 60 seconds.
Since my press was only about nine inches wide, it couldn’t cover the entire design at once. I pressed one area for 60 seconds, moved the press, and repeated the process until every part of the transfer had received heat. I made sure the sections overlapped enough to cover the full design.
If you’re using an iron, tape the transfer down well and move the iron carefully across the design. Keep the fabric and transfer in place as you work so everything stays lined up.
Once I finished pressing, I let the piece cool for a moment. The colors looked so bright, and the words were crisp and easy to read.
Assembling the framed fabric art
The frame had a protective sheet on both sides of the plexiglass. I removed both sheets, cleaned up the edges, and put the plexiglass and mat back into the frame.
Next, I placed the transferred fabric onto the sticky backing board. This was the trickiest part of the project because I wanted the verse centered inside the mat. I set the backing into the frame before pressing everything down firmly so I could check the position.
I also checked the hanger on the back of the board. My first placement had the design turned the wrong way for the hanger, but the repositionable adhesive allowed me to lift the fabric, turn it around, and place it correctly.
After checking the position one more time, I smoothed the fabric onto the backing and trimmed a few frayed threads along the edges. Then I secured the tabs on the back of the frame.
The finished framed heat transfer
The mat fit around the Rejoice design beautifully and made the fabric look like a finished piece of art. I especially liked how the detailed transfer resembled cottage style embroidery once it was framed.
This method also gives me an easy way to display other large heat transfers instead of using them only on shirts, tote bags, or painted surfaces. The lightweight plexiglass and frame make the finished piece easy to hang without adding much weight to the wall.
Chalk Couture supplies I used
You can shop my full Chalk Couture store here.
I am an independent Chalk Couture designer, so I earn a commission on these links. See my disclosure for more.