June 17, 2026 by Debbie Westbrooks
Chalk Couture Heat Transfers on Drop Cloth
Live Videos · Home Interior · Crafts
I turned a piece of frayed drop cloth into rustic floral art with one of my Chalk Couture heat transfers and a scalloped wood frame. The finished piece has layers, texture and a soft timeworn look that feels like something I might have found tucked away in an old family attic.
Starting With the Scallop Frame
This project started as one of those ideas that pops into my mind and won’t leave until I try it. I pulled out the largest rectangle scallop frame, found a scrap of drop cloth and started putting the pieces together.
I cut the drop cloth a little larger than the opening in the frame. I didn’t measure it exactly. Instead, I held it against the frame, trimmed it and ripped the edges until I had about an inch of fabric extending around the opening.
Ripping the fabric gave me the frayed edge I wanted. Those loose threads add so much texture, and they help the fabric feel older than it really is.
Painting and Distressing the Wood
I painted the outside portion of the frame with Vanilla paint. I added a little water to help the paint spread, although I got it thinner than I planned. That worked out fine because I wanted some of the wood to show through.
I wasn’t trying for a solid painted finish. I brushed on enough color to soften the wood while leaving uneven areas that would work with the rustic style.
For the backboard, I spread on stain and worked it across the surface. Most of the edges would eventually be covered, so I focused on creating a darker background that would show around the drop cloth and make the lighter fabric stand out.
Once the painted frame had started drying, I sanded it to remove some of the Vanilla paint. I worked around the edges and across a few raised areas so the finish looked chipped and worn. I also streaked a little stain over the painted wood.
My favorite Ground Espresso distress ink added the final layer of age. I rubbed it around the frame wherever I wanted more depth, especially along the edges and in the sanded areas. The combination of light paint, darker stain and distress ink gave me the look I had pictured.
Using Chalk Couture Heat Transfers on Drop Cloth
The floral design came from a sheet with three different Chalk Couture heat transfers. I chose one of the flower bucket designs and cut around it so it would fit easily inside my frame.
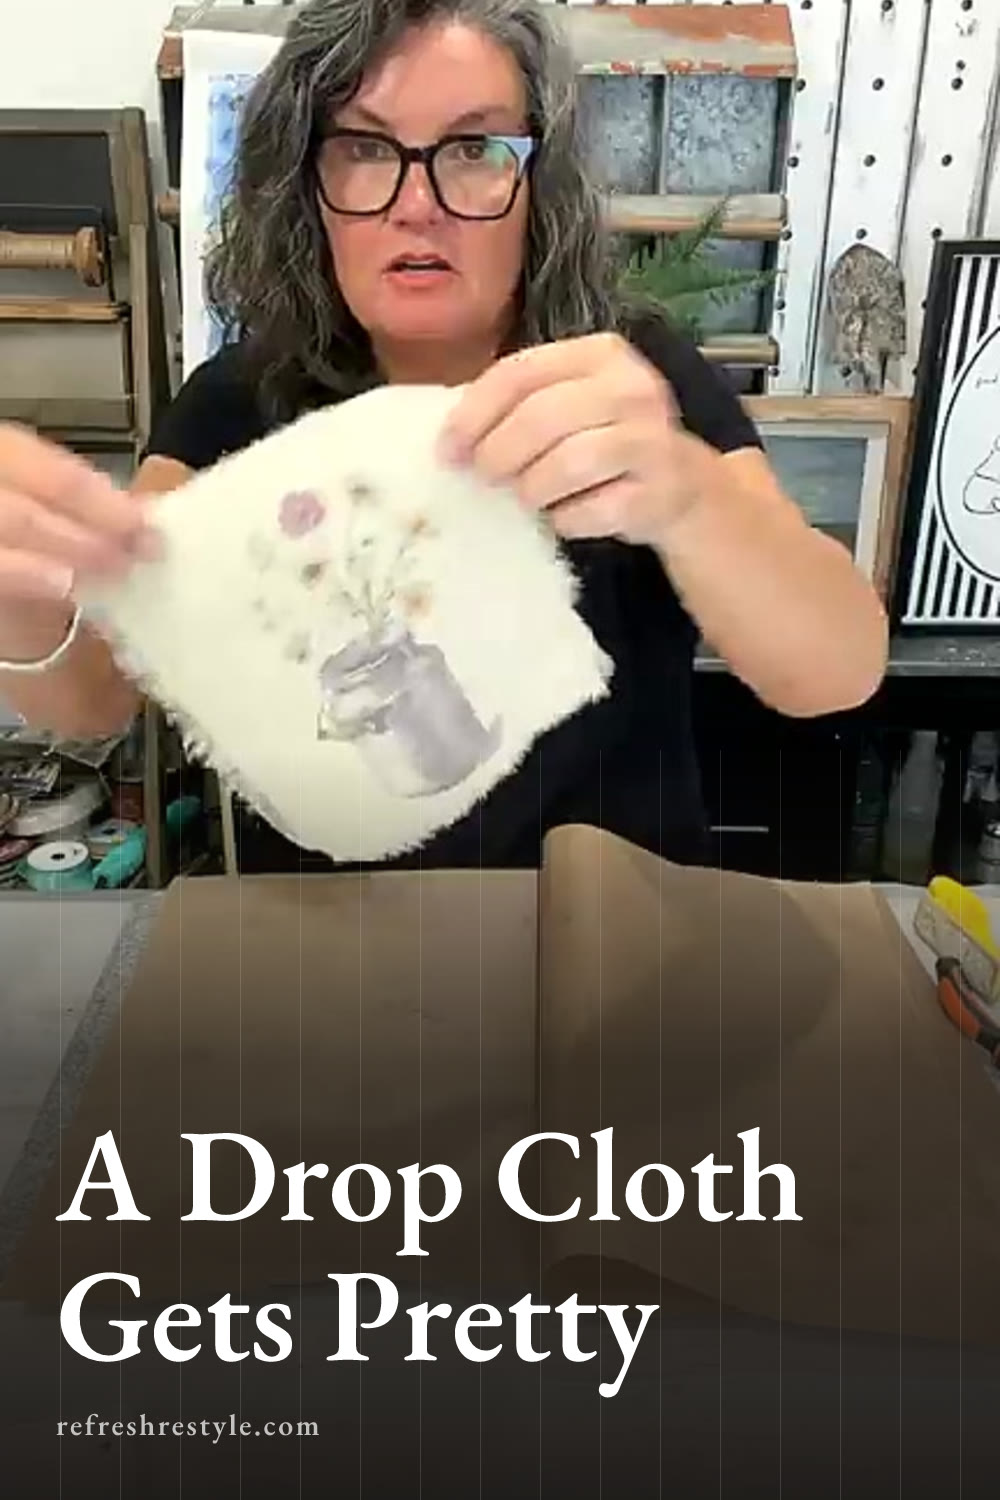
These designs can look light on the carrier sheet and become much brighter when pressed onto polyester fabric. Since I was using an old cotton drop cloth, I expected the finished colors to look softer and more faded. That was exactly what I wanted for this project.
Preparing the Fabric
I placed the transfer face down on the drop cloth and moved it around until the flower bucket looked centered. Then I secured it with heat safe tape. The tape kept the design from shifting while I positioned the heat press.
I placed a Teflon sheet under the drop cloth because some transfers can come through the fabric. Parchment paper can also protect the surface if you don’t have one of these sheets.
I heated my press to 360 degrees and pressed the design, checking it after about 30 seconds. Follow the directions for your transfer and fabric since materials can react differently to heat.
When I lifted the carrier sheet, the design had transferred beautifully. The colors were visible without looking too bright, and the drop cloth gave the flowers the muted finish I had hoped to see. A little of the design remained on the sheet, but the image on the fabric looked complete and fit the aged style perfectly.
Assembling the Rustic Floral Frame
I glued the scalloped frame onto the stained backboard with Tight Bond glue and let it begin drying while I worked on the heat transfer. Once the floral fabric was ready, I spread a thin amount of the same glue around its edges.
I kept the glue light because I didn’t want bulky areas under the fabric. Then I positioned the drop cloth inside the opening and pressed it down, making sure the flower bucket stayed centered and the frayed edges remained visible.
At that point, the project already looked finished, but I had one more detail waiting on my table.
Adding Antique Brass Details
I had a package of antique brass plated decorative tacks from Hobby Lobby that I’d bought years ago. Since I didn’t want to hammer the tacks through the frame, I snipped off the pointed portions and kept the decorative tops.
I added a small drop of hot glue to each one and placed them in the four corners of the drop cloth. They look like tiny antique fasteners holding the fabric in place, and the dark brass works well with the stain and Ground Espresso distress ink.
You could leave those off for a simpler finish, but I love what they add. The tacks bring another material into the project without covering the transfer or competing with the frayed fabric.
The Finished Drop Cloth Art
The mix of wood, fabric, chipped paint and antique brass gave this piece plenty of texture. I especially love the way the flower design settled into the drop cloth because the softer color feels right at home with the distressed frame.
This is a simple project to adjust with another frame shape or one of the other designs from the heat transfer sheet. The main thing is to choose fabric that supports the look you want. A polyester blend will usually give you brighter color, while my drop cloth created the faded floral finish I had in mind.
Chalk Couture supplies
Browse Chalk Couture heat transfers, or shop my full store here.
I am an independent Chalk Couture designer, so I earn a commission on these links. See my disclosure for more.