November 11, 2026 by Debbie Westbrooks
Chalk Couture Christmas Canvas With Santa
Live Videos · Crafts · Home Interior
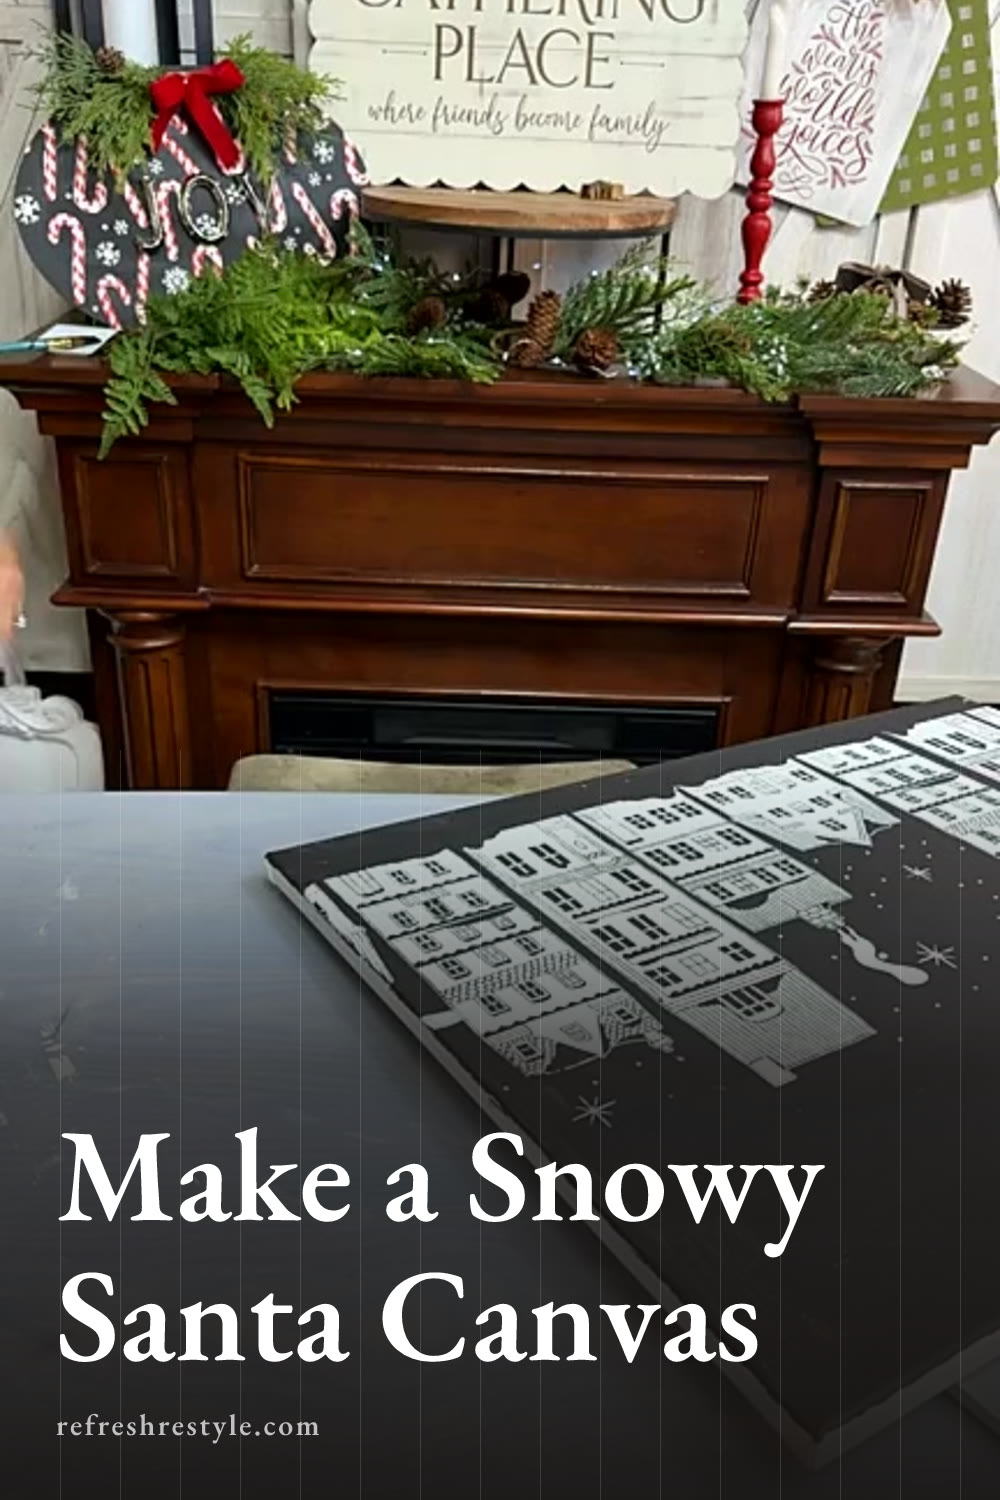
I made a big black and white Christmas canvas with Chalk Couture transfers, a snowy village, and Santa flying across the night sky. The classic colors keep the whole scene simple, while the thick spackling snow gives it plenty of texture.
Supplies I Used
For this project, I started with an 18 by 24 artist canvas. These canvases are fairly inexpensive, and I love using them when I need a piece large enough for a mantel, entry, or blank wall.
I also used the following supplies.
- Apple Barrel Matte Black acrylic paint
- Bright White Chalk Paste
- Christmas Village transfer
- Merry Christmas and to All a Good Night transfer
- Lightweight spackling
- Paintbrush
- Squeegee
- Wax and a soft cloth
- Small plastic knife
You can change the canvas size to fit your space. The larger surface gave me enough room to combine two transfer designs and still leave open space around Santa.
Painting the Christmas Night Sky
I painted the entire front of the canvas with black acrylic paint. The black background makes the white village, Santa, and snow stand out, and it gives the project the look of an old Christmas movie.
A night sky can have lighter and darker areas, so the paint coverage can stay a little varied. I planned to add falling snow across the background, which would blend everything together.
I saved the canvas edges for later because the large canvas was already taking up most of my work area. You can paint the edges black after the front dries, or add ribbon around them if that works better with your Christmas decor.
Once the paint felt dry, I scratched it gently with my finger to make sure it would stay in place under the transfer. Acrylic paint can sometimes pull away from canvas when a transfer lifts, so this small check helps prevent a bigger problem.
The painted surface felt a little rough, so I added a light coat of wax with a soft cloth. I don’t wax every canvas, but I like to use it when acrylic paint leaves a rough surface. It helps the transfer release more easily.
Creating the Chalk Couture Christmas Village
I placed the Chalk Couture Christmas Village transfer near the bottom of the canvas, leaving enough room above it for Santa and the reindeer. Before adding paste, I set the Santa design on the canvas to check the spacing.
Once I liked the layout, I pressed the village transfer down well. Good contact around the detailed areas helps keep the paste from slipping underneath the design.
I spread Bright White Chalk Paste across the transfer with a squeegee, then lifted the transfer while the paste was still wet. The bright white village looked so pretty against that black background.
The first section didn’t reach all the way across my 24 inch canvas, so I moved the transfer to each side and added more buildings. I changed the placement slightly as I worked so the repeated design looked like one long city skyline.
A small amount of paste landed outside the design while I was working. Those little accidents happen. I planned to touch it up with a small brush once everything dried.
Adding Santa to the Sky
After drying the village, I positioned the Santa and reindeer transfer in the open sky. I placed Santa above a chimney so it looked like the sleigh had just left the rooftops.
I pressed the transfer down and used the same Bright White Chalk Paste. Keeping the entire scene black and white gave it a classic look and made all the separate pieces feel like one design.
Lift your transfer before the paste dries. This keeps the details crisp and makes cleanup much easier.
Painting the Falling Snow
The transfer included a few snow dots, and I added more across the canvas with the end of a paintbrush. I dipped the handle end into white paint or paste, held it straight over the canvas, and pressed it down to make a round dot.
The size of the paintbrush handle controls the size of the snowflake. A wider handle makes a larger dot, while a narrow handle gives you smaller snow. I used larger dots because they fit the scale of this big canvas.
You can scatter them anywhere you want, leaving some open black space so the sky still shows through. You could also add a red nose to Rudolph if you want a tiny pop of color.
Making Textured Snow With Spackling
The lightweight spackling made this project especially fun. It’s the same material used to fill nail holes, and it creates thick snow without adding much weight to the canvas.
I used a small plastic knife to spread the spackling along the bottom edge of the village. I started with a thin layer and built up a few areas until it looked like snow had piled in front of the houses.
Then I added spackling to the rooftops. I followed the snowy areas shown in the village design and pressed the material down with the knife and my fingertip when I needed more control.
This part gets a little messy, but the spackling washes off your hands easily. It also dries hard and stays very light. Mine needed several hours to dry, and allowing it to sit overnight gives the thicker areas plenty of time.
Displaying the Finished Canvas
This 18 by 24 canvas is large enough to make a statement over a fireplace or in a front entry. I’m leaving mine without a ribbon so the black and white scene stays simple, and I’ll paint the remaining edges before hanging it.
You can also make this project on a smaller canvas or try a different background color. Red would give the same white village a completely different look, while the black background keeps that snowy Christmas Eve feeling.
Chalk Couture supplies I used
You can shop my full Chalk Couture store here.
I am an independent Chalk Couture designer, so I earn a commission on these links. See my disclosure for more.