
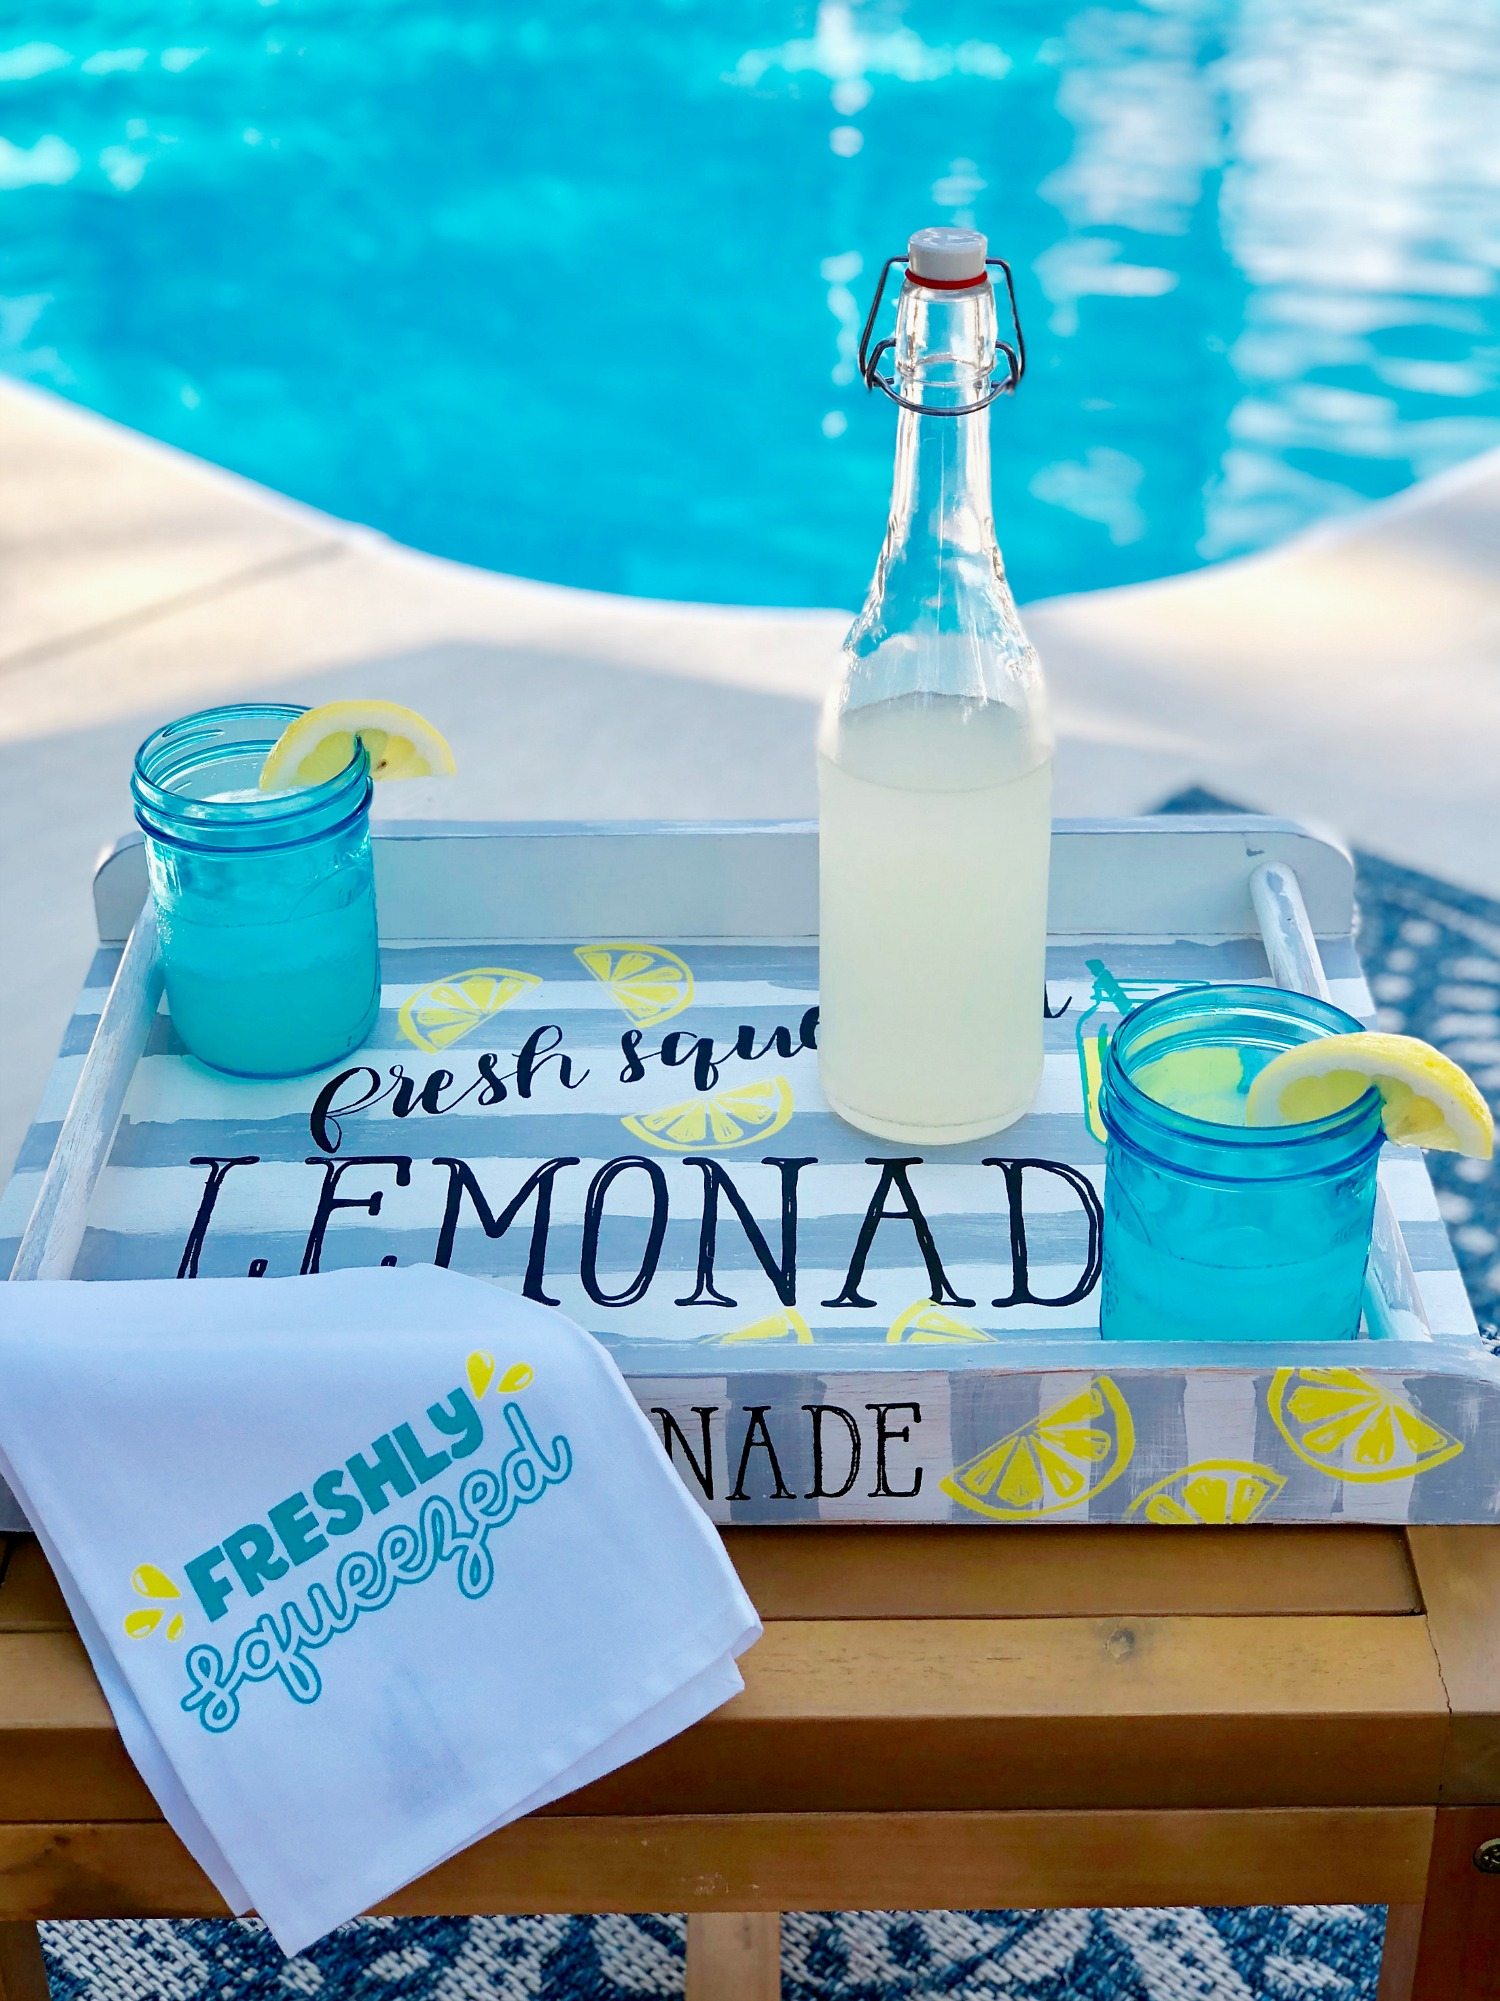
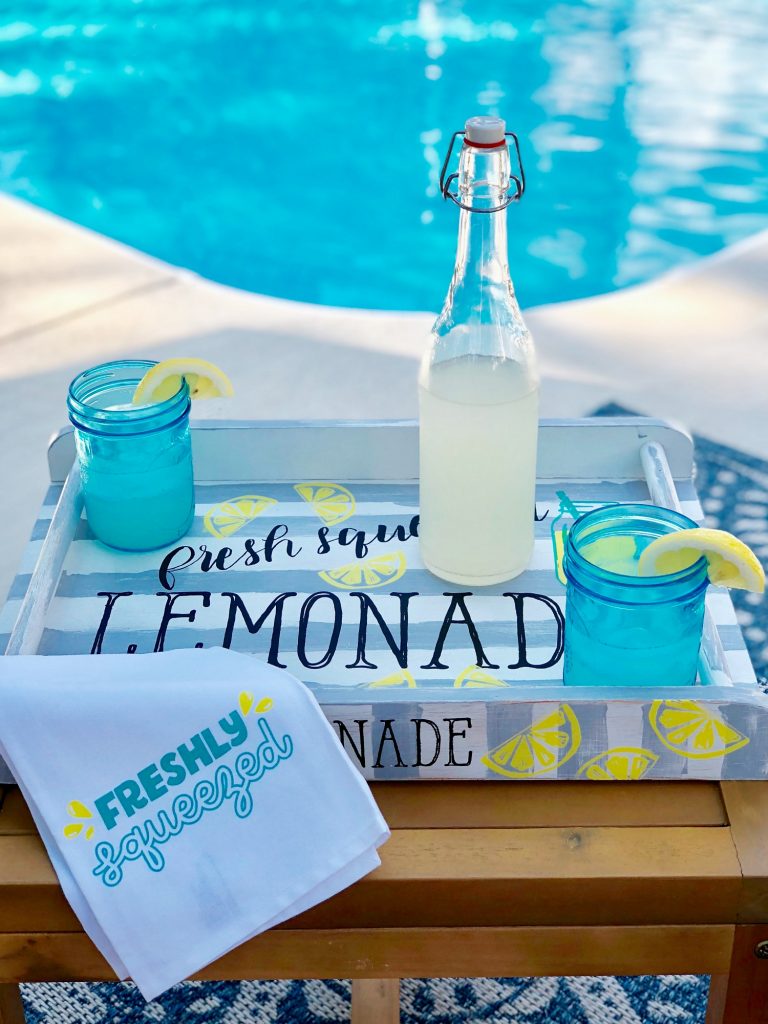
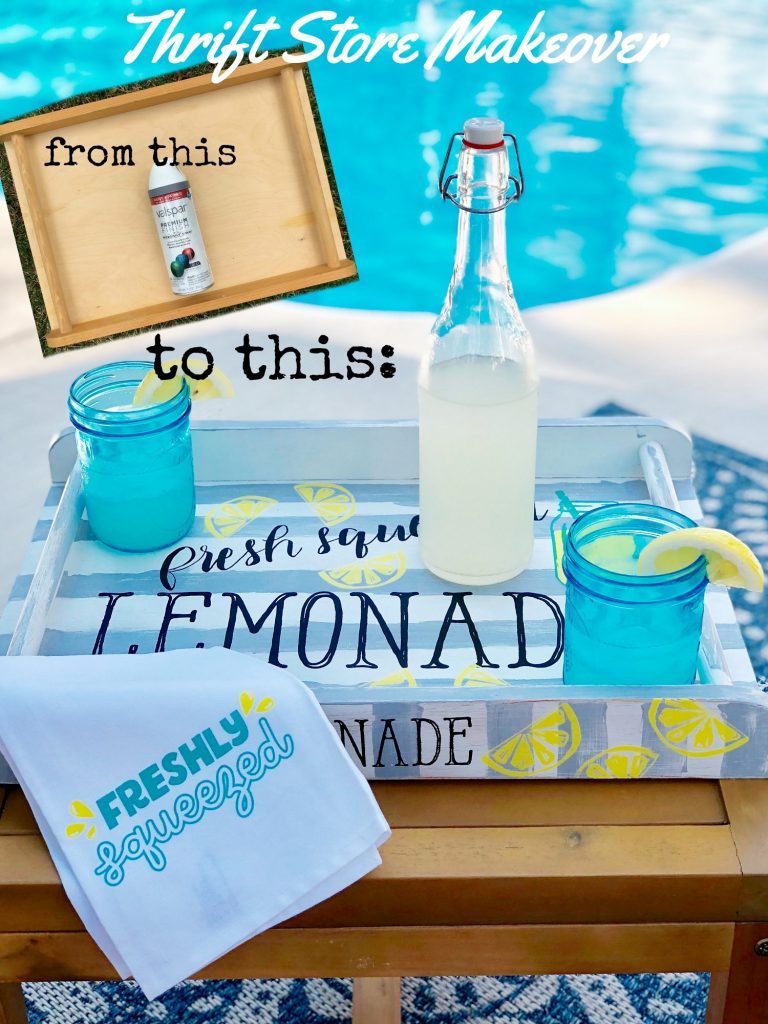
It’s time for Thrift Store Decor, I love this time of the month. Today I’m sharing my Thrift Store Tray Makeover. Be sure to go see all the other projects at the end of the post!
I’ve been going through my stash in the garage, I told Barry that I promise to makeover stuff that I already bought from Goodwill before I run over there for something else. I am so excited about the way this turned out! 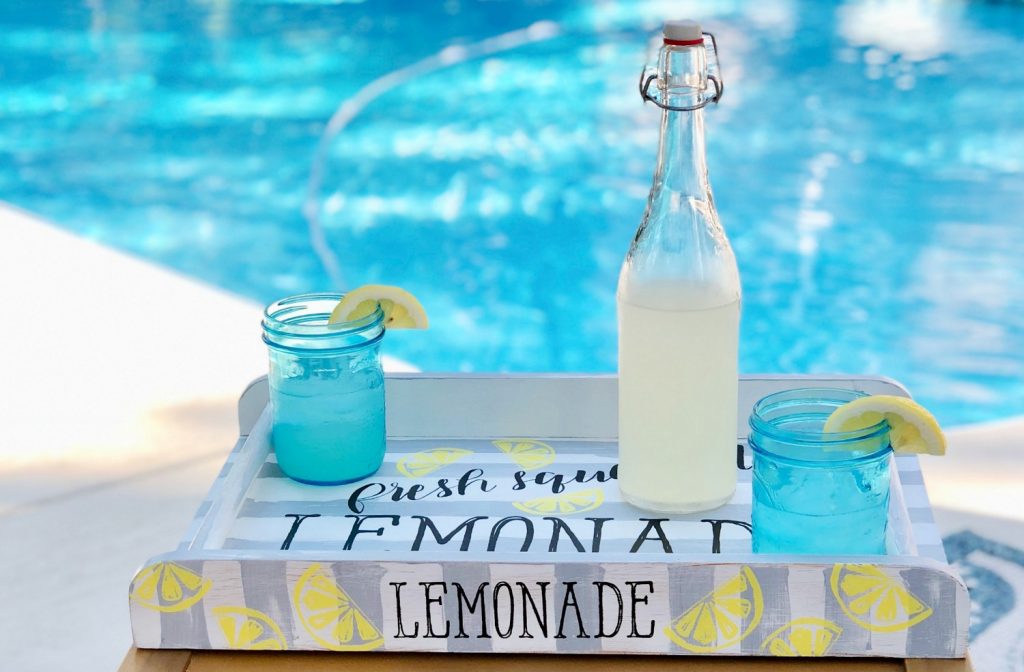 You all already know this but I swear paint can do so much for these thrifty finds. I just wish I could use it on my face and have a dramatic change, haha!
 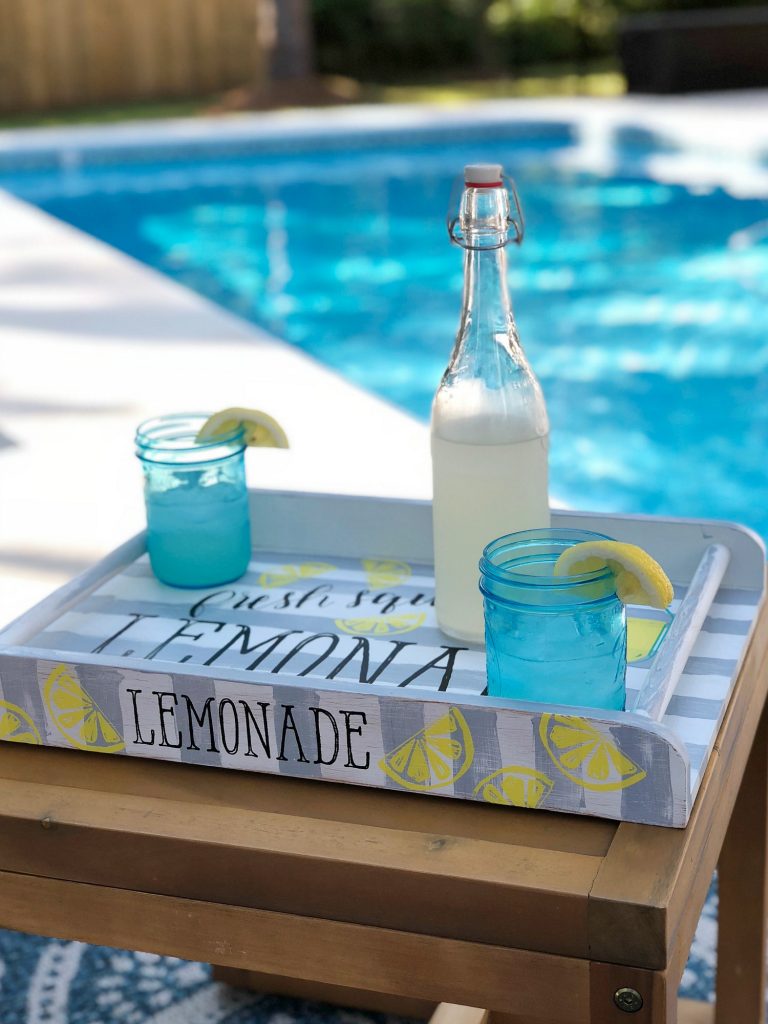 Here’s how the tray started out. When I shop at Goodwill or any thrift store I always look for real wood items. I’m not sure what this was but I see tray when I look at it.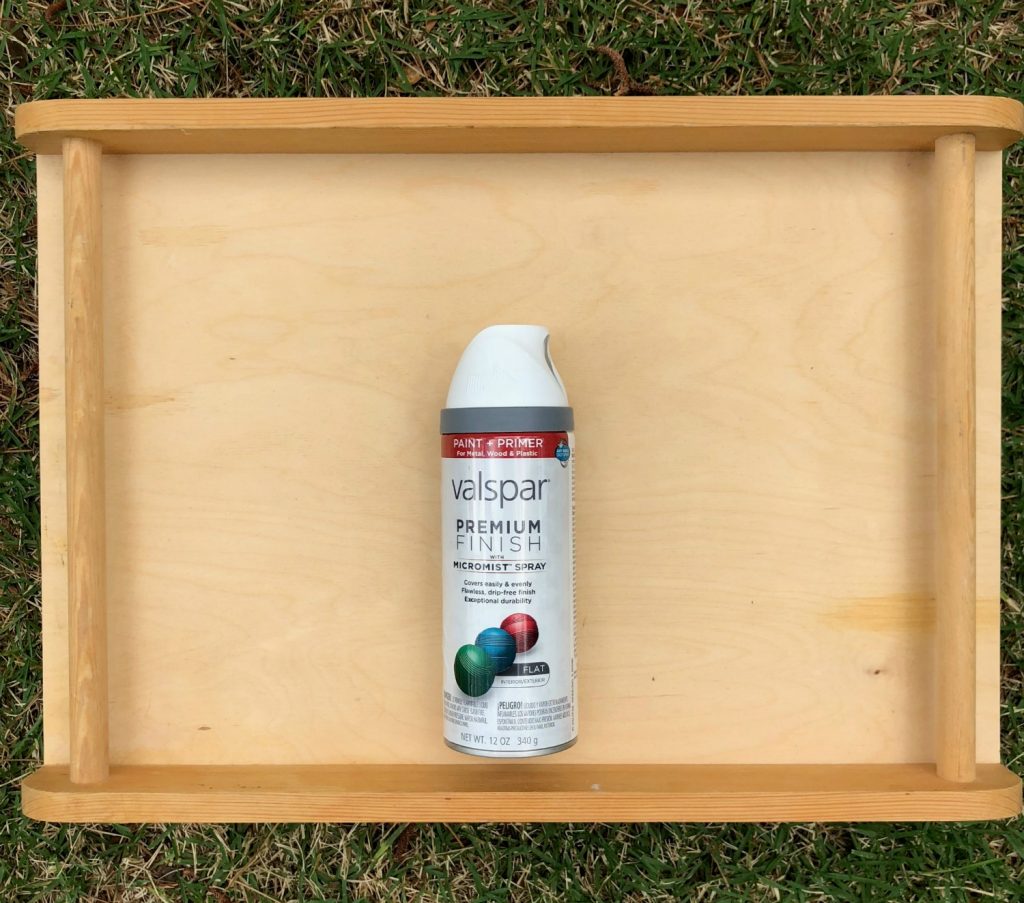
 Supplies used to transform this thrift store tray (or use a tray you already have).
- Tray
- Spray Paint
- Craft Paint
- Sponge brush
- Sand paper
- Clear polyurethane
- Stencil or Silk Screen Transfer (see all stencils Silk Screen Stencils I am an independent designer for Chalk Couture)
- Chalk paste in these colors: Black, Thai Teal and Canary
-
Dust or clean your tray, between the thrift store and being stored in the garage this one was a little dirty.
-
Sand tray if needed, mine was a little rough in several spots. I used 220 grit sand paper.
-
Paint the tray with any spray paint as directed on the can. I applied one coat and let it dry completely.
-
Paint stripes, I did not use painters tape but you can. I wanted a free-hand striped look. You can use any craft paint that you have on hand.
-
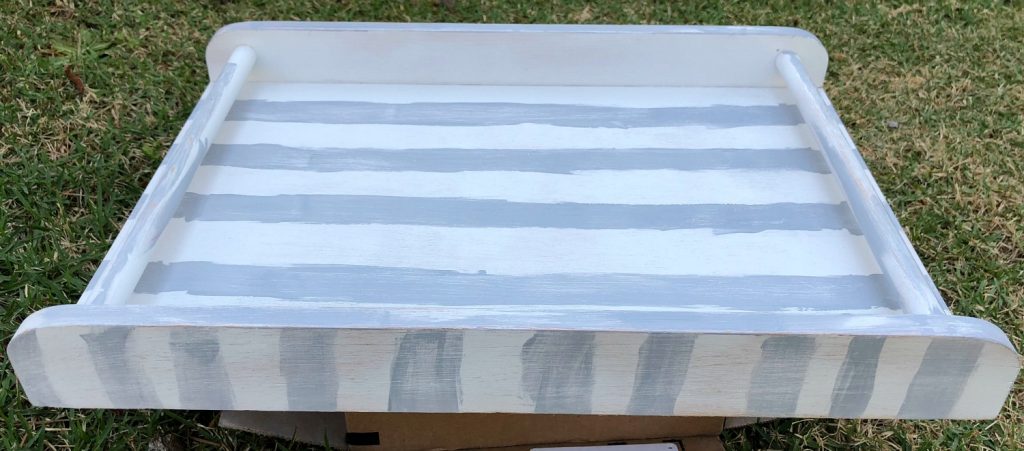
-
Sand lightly to distress (optional)
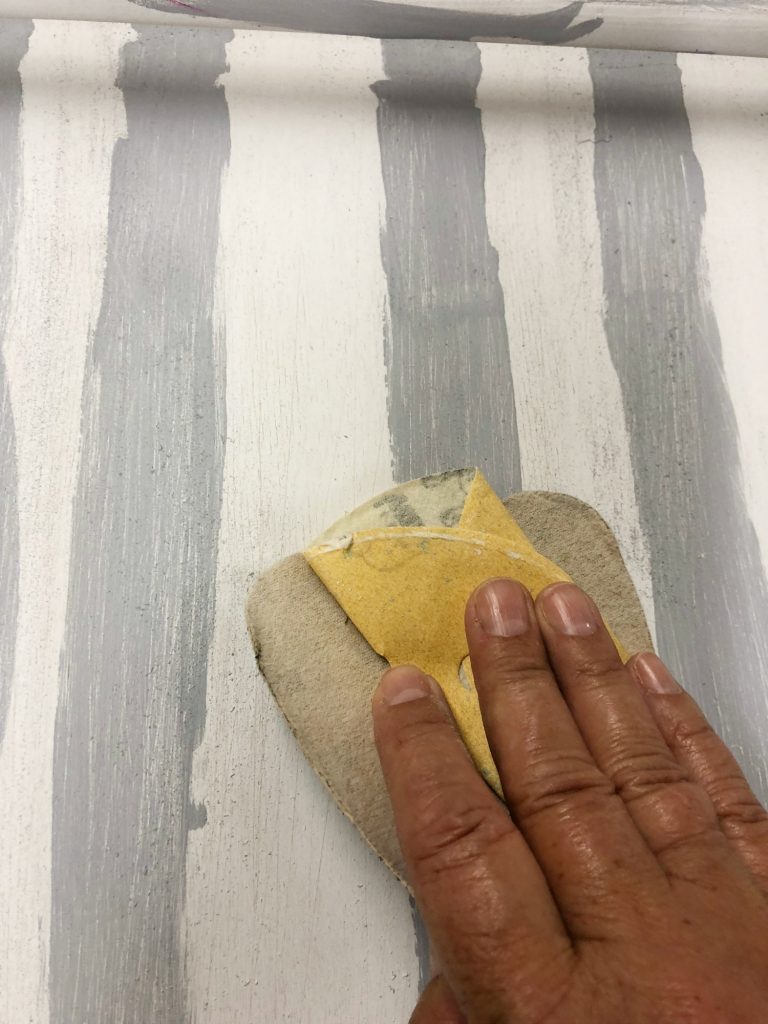
- Apply top coat of clear polyurethane. Let it dry.
- Apply stencil or transfer. I used a Chalk Couture transfer and Chalkology chalk paste.
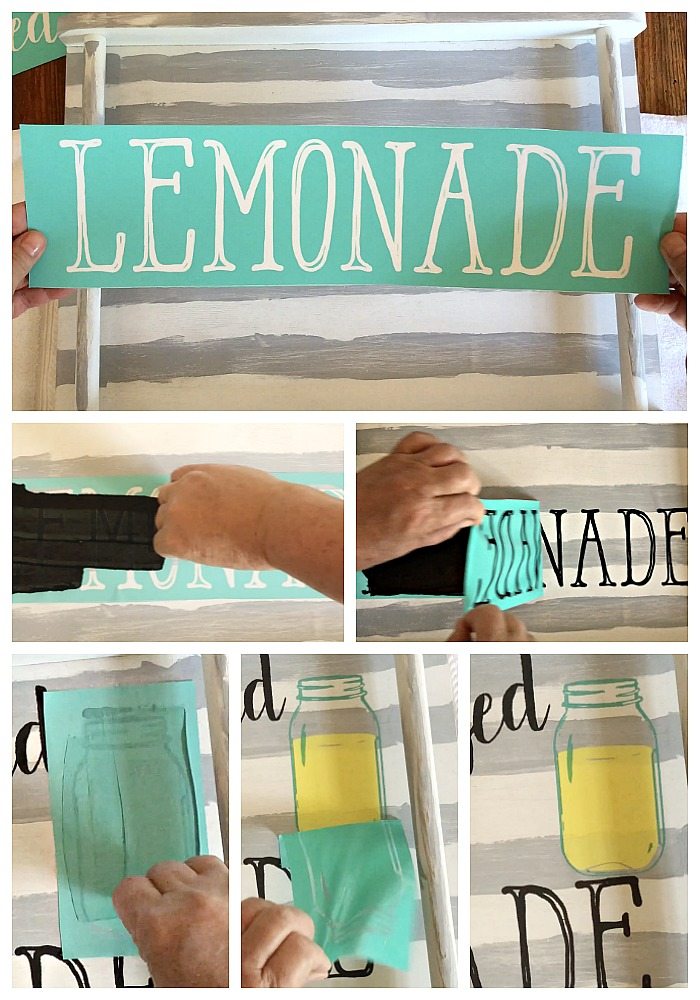
Watch the video for more details on the Thrift Store Tray Makeover
- Spray with polyurethane to protect your stencil/transfer design.
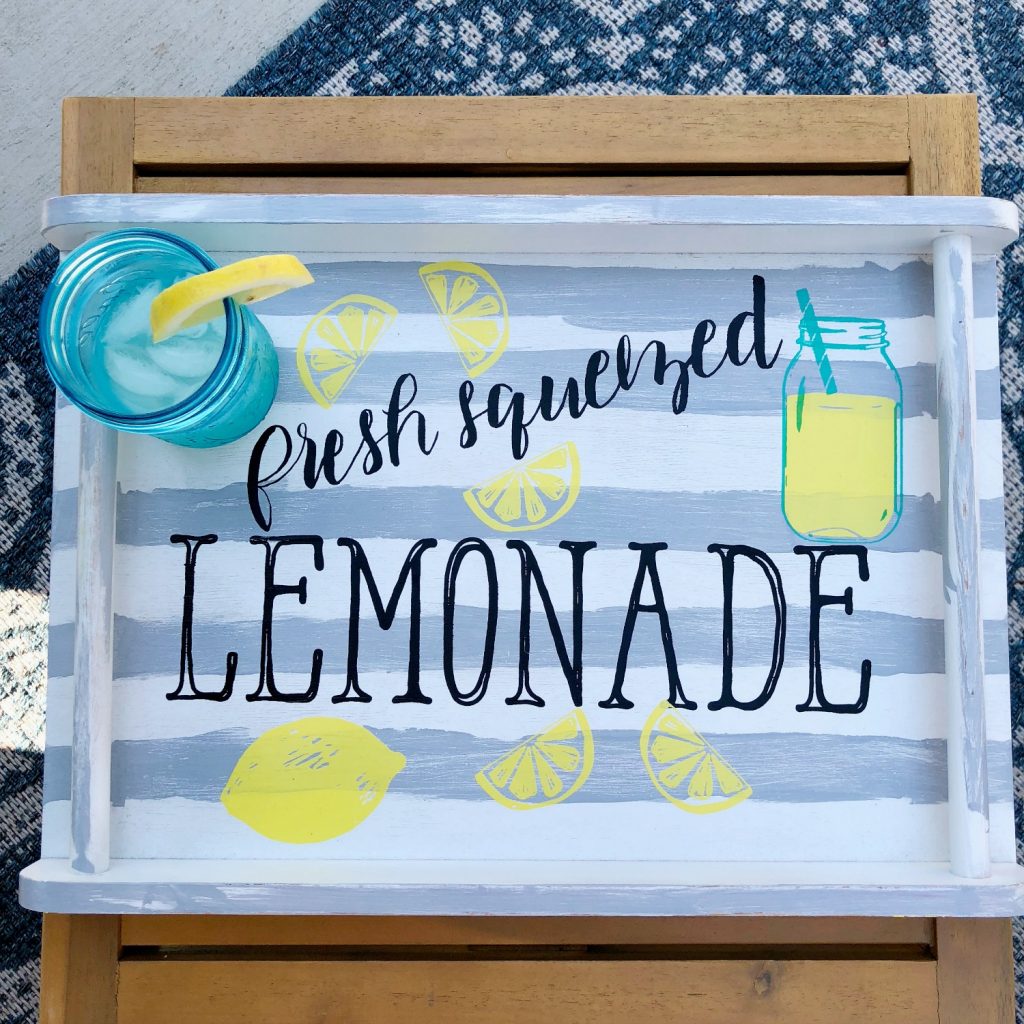 I hope you enjoyed this little old wood tray makeover!
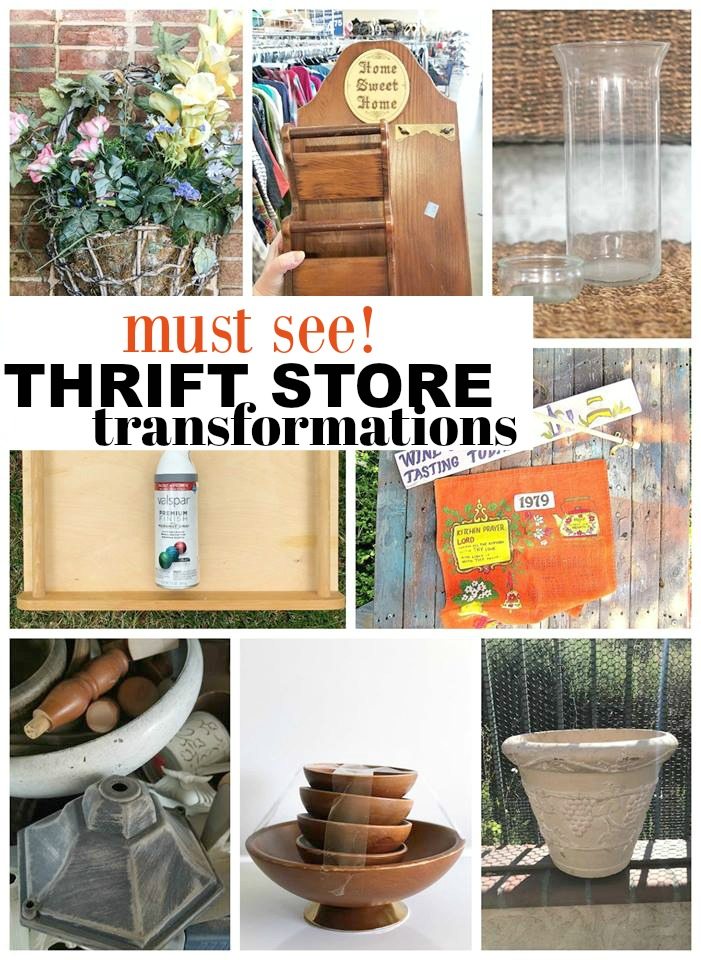
  Be sure to check out all the other Thrift Store Transformations:
Basket Wreath Makeover Easy Patriotic Decorations Small Wooden DIY Pedestal Planter Made with a Spindle Thrift Store Tray Makeover Jewelry Hanger from a Refreshed Memo Board Vintage Tea Towel Calendar 1960’s Wooden Salad Bowl Repurpose DIY Painted Flower Pots
Pin it for later, and get out and find you a wood tray to paint :)
8 Comments
ArchiveThat is just the cutest tray! I need to get that stencil, it's perfect for a project I am swirling around in my head!
Thanks Pam, yes you do need this transfer :)
Debbie
This is absolutely adorable! It has me itching for summer!! Actually getting ready to head out now and scrub the pollen from the screened porch!
This tray turned out so beautiful! Perfect for serving drinks and I love the summer colors you used!
That is adorable Debbie!!! You're all set for Summer!
Awesome project Debbie! I love, love, love the video. Have you done a video showing how you clean the transfers?
I shared this project on my facebook page.... it's doing pretty well for the reach.
Super job!
I AM going to buy some Chalk Couture, but I know I won't be as creative as you are!!
gail
ps pinning!
Love this tray. Just the right thing to brighten a summer lunch or dinner on the deck! Love the painted Mason jar with lemonade in it and the lemon slices you painted on. What a great job. Give yourself a pat on the back for this project!
Great transformation! I've yet to try transferring images onto a surface to paint. It's on my DIY "bucket list", LOL! Visiting from Style Showcase.