
October 24, 2011 by Debbie Westbrooks
Create Candle holders from a Porch Post
Crafts · Home Interior
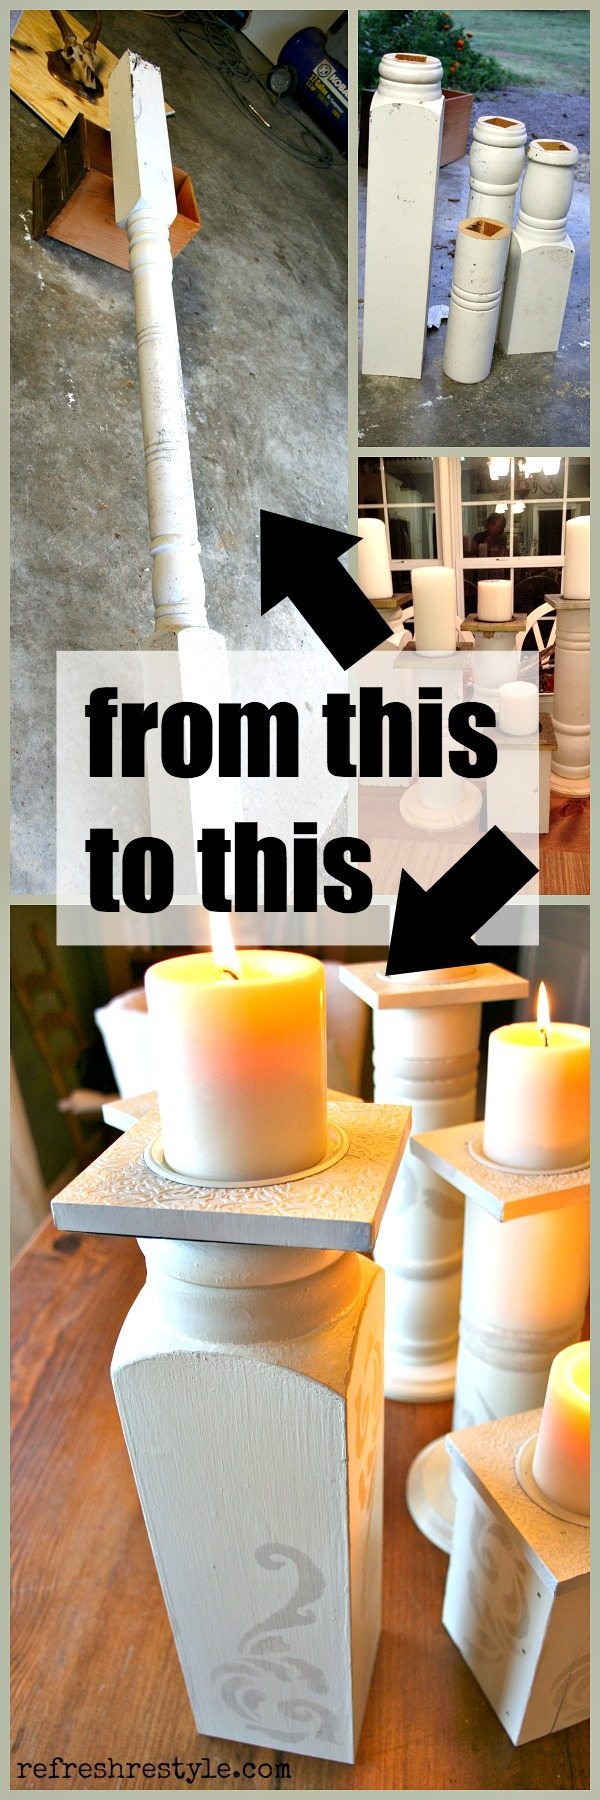
While I was visiting Tennessee last month, I kept looking at something in the trash. Thinking I could recycle it somehow.
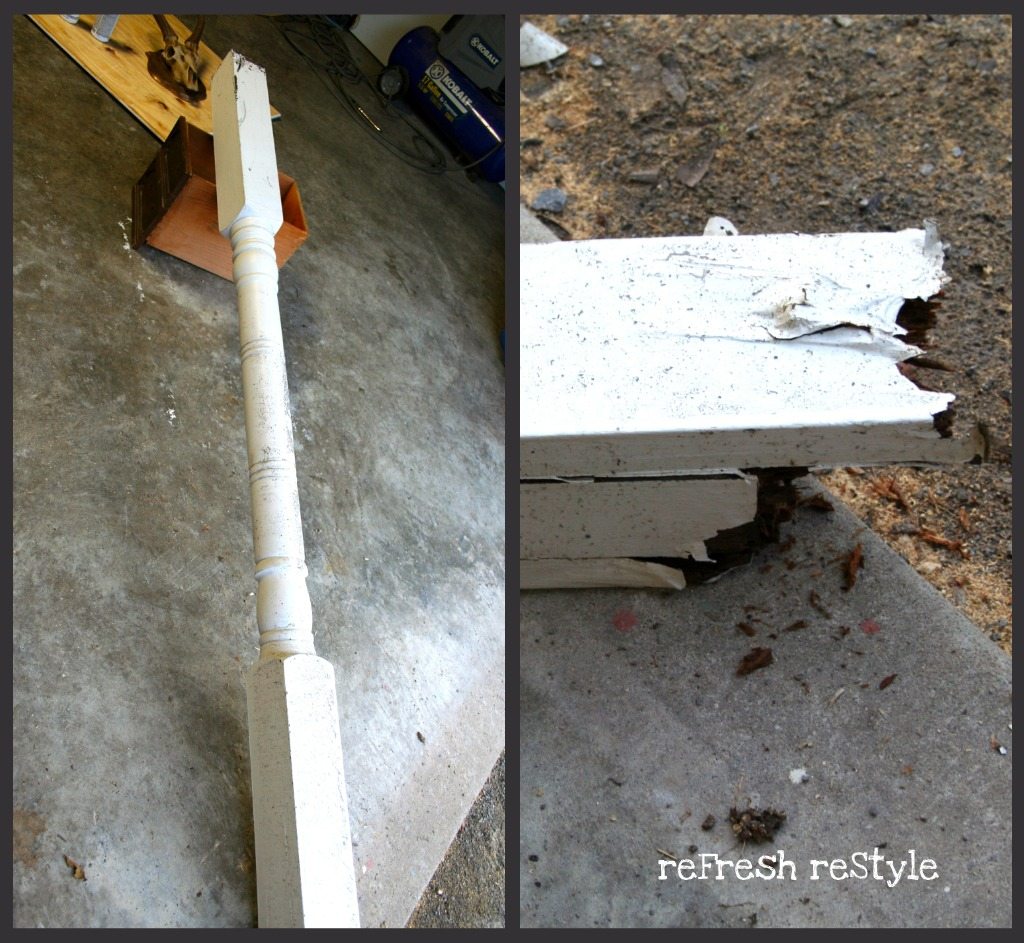
It’s a porch post, with a rotted bottom.
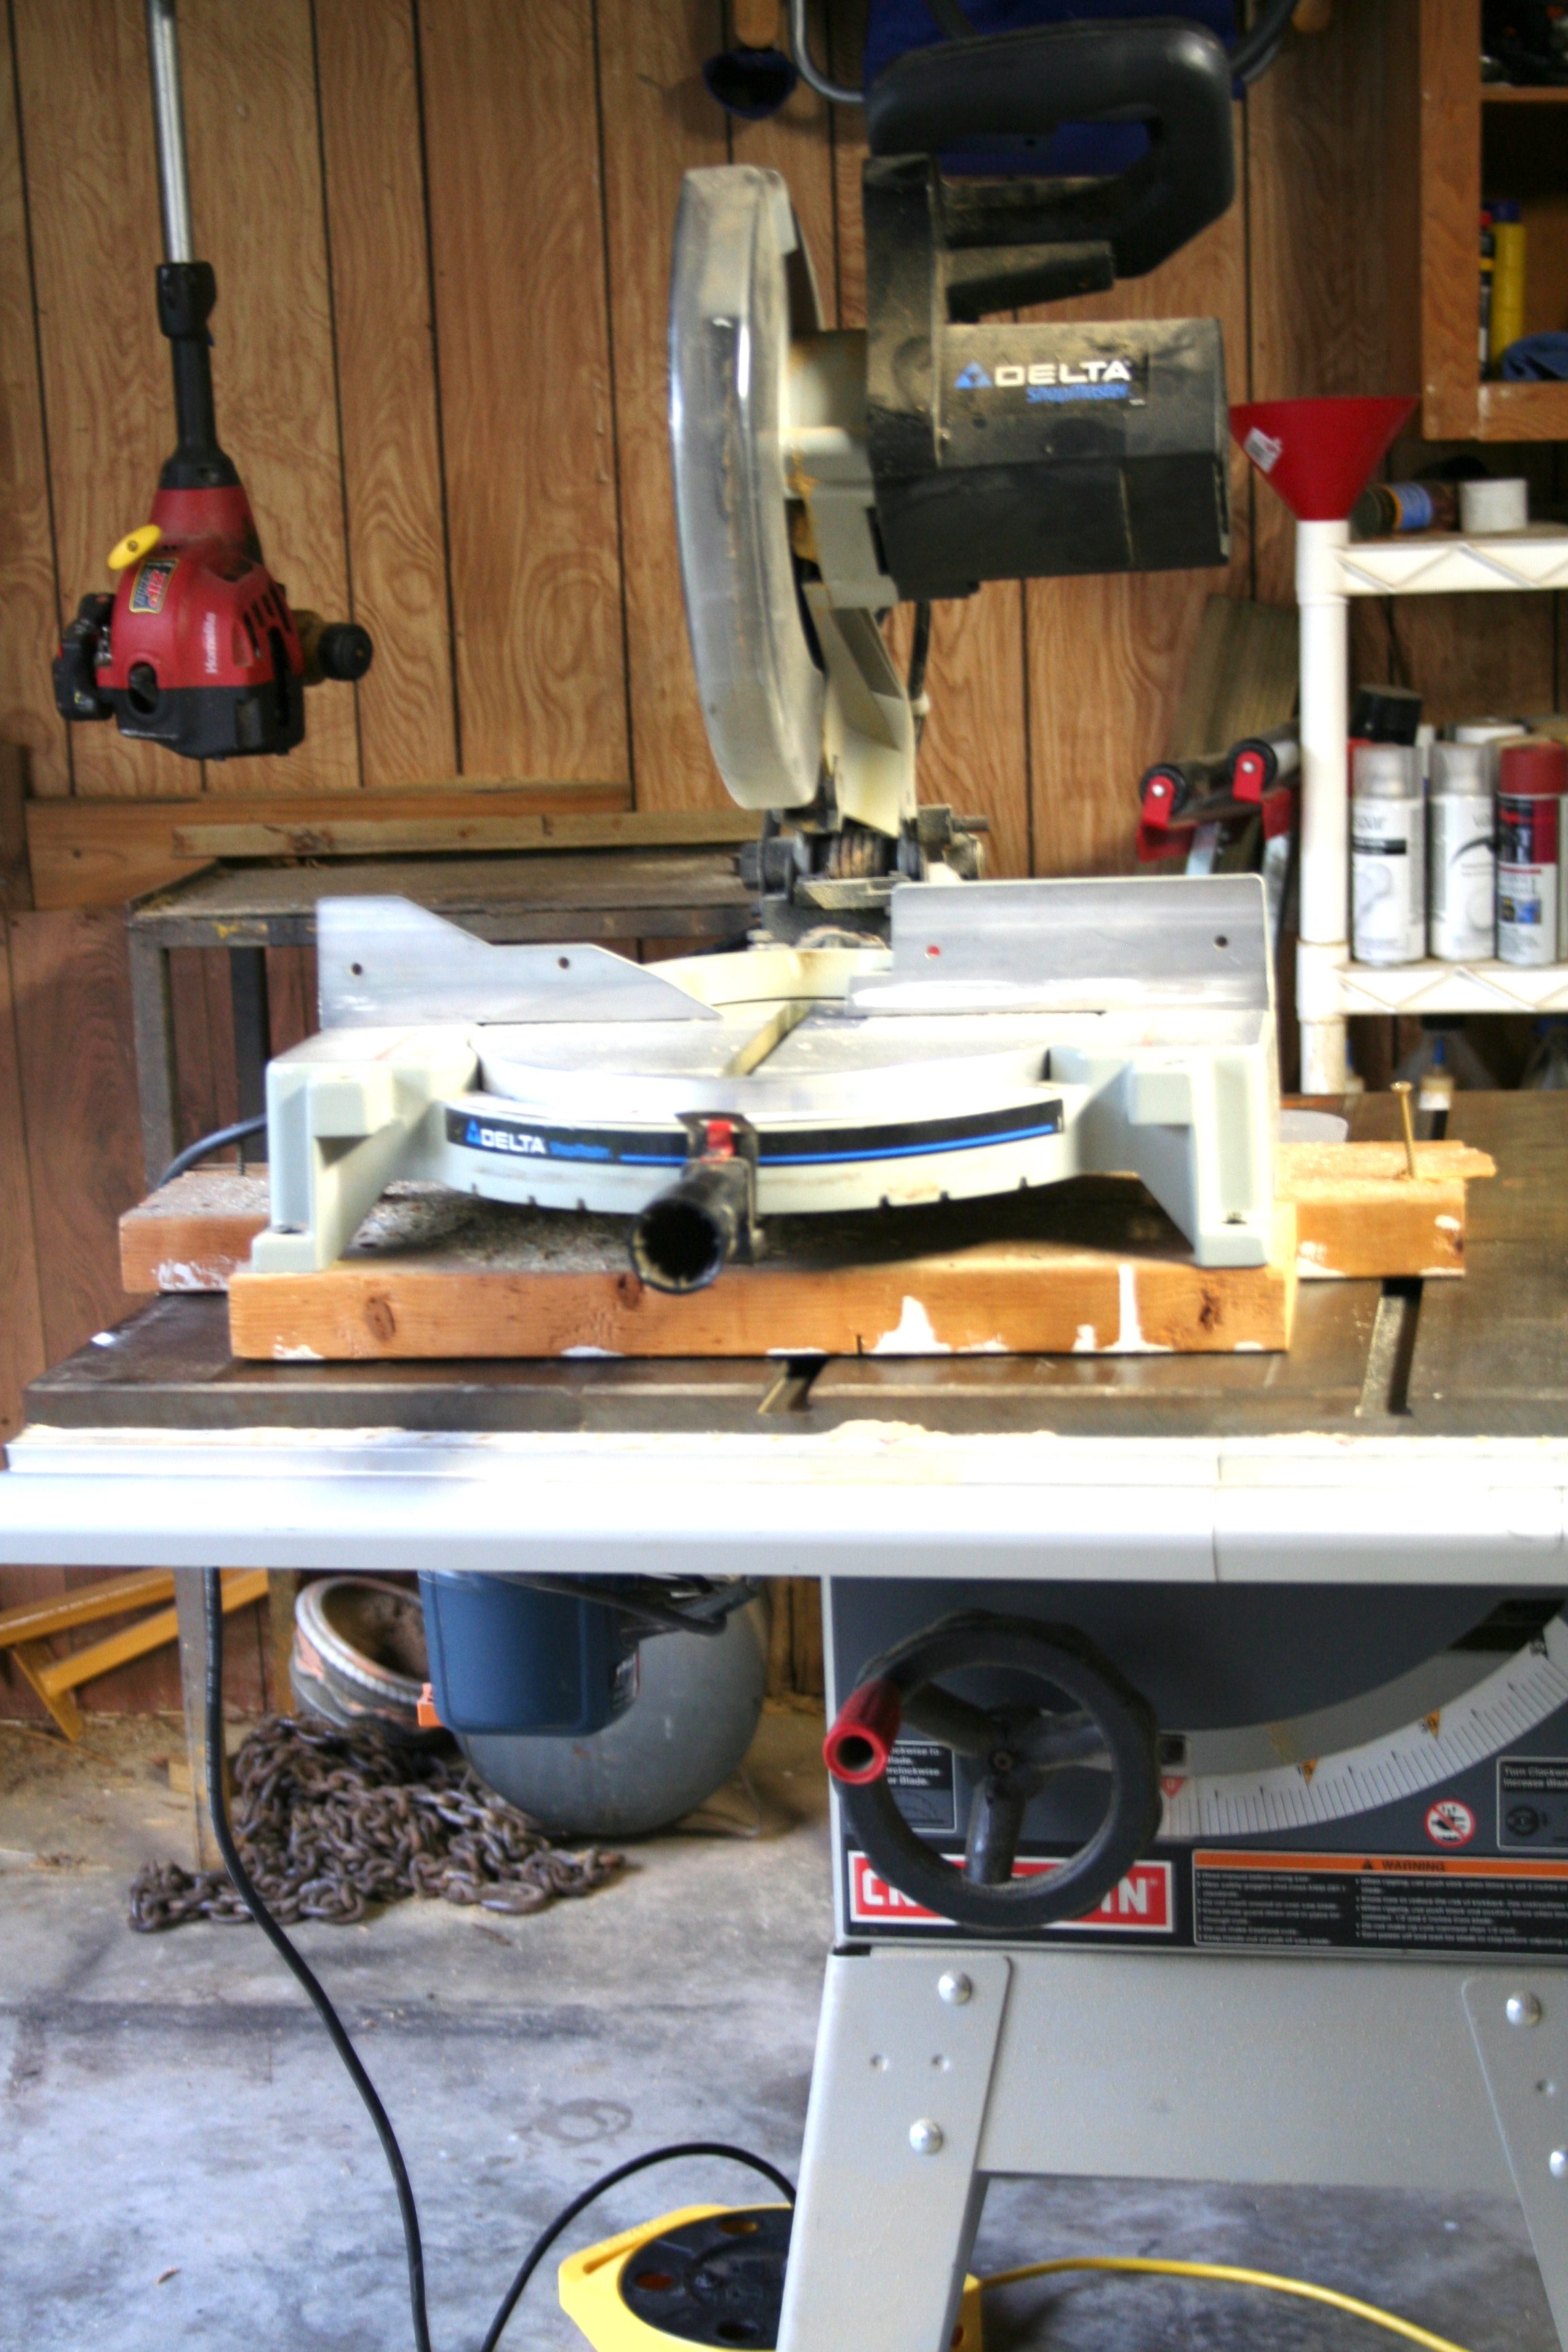
I used my Mr H’s miter saw, to cut them in to manageable pieces to bring back to Georgia.
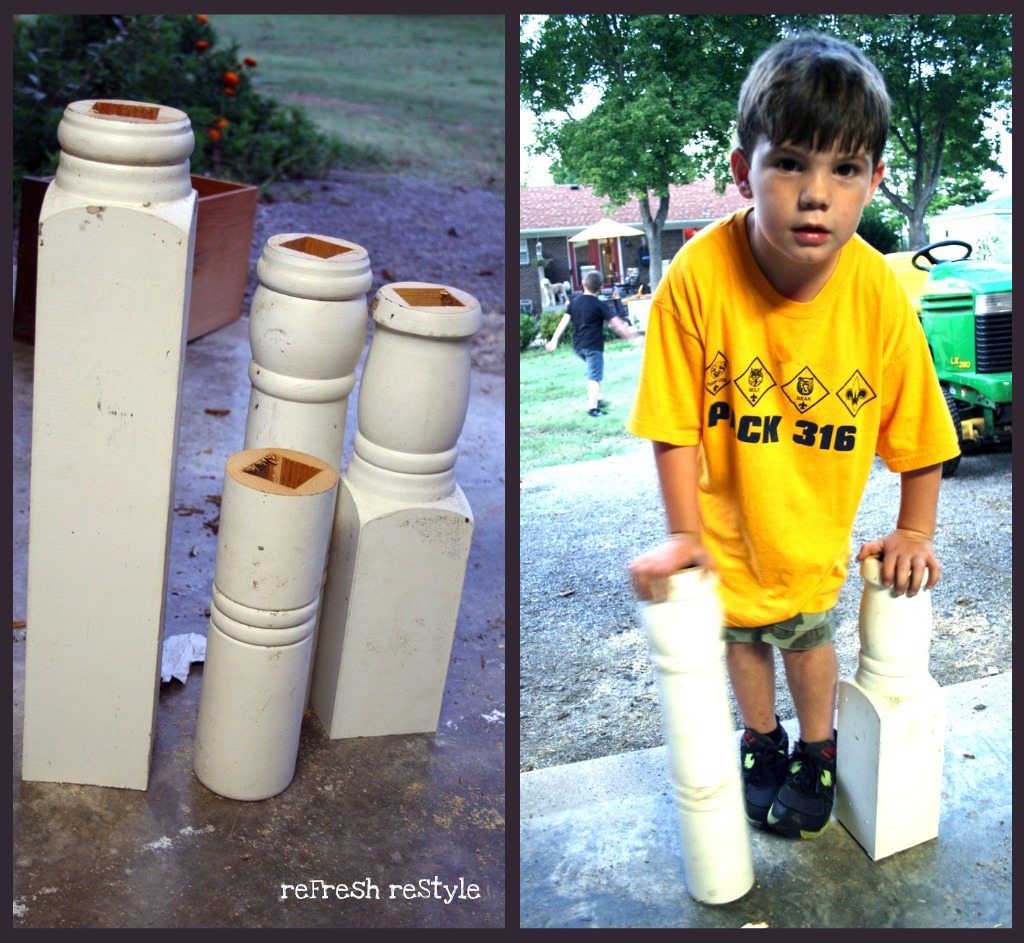
I had some great helpers!
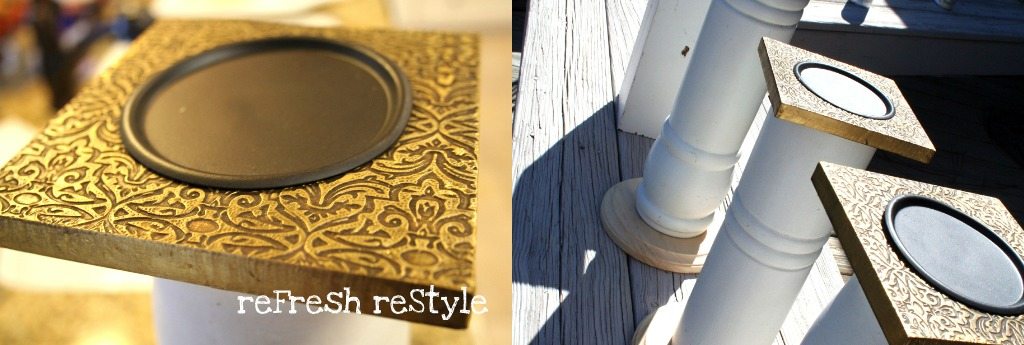
I glued some candle holders to the top and added a wider base to the round pieces.
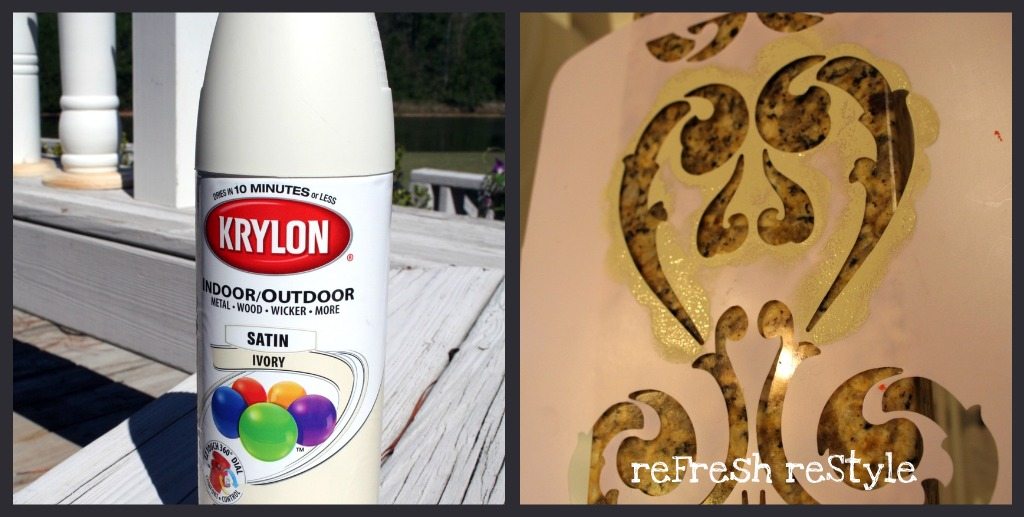 I spray painted and stenciled.
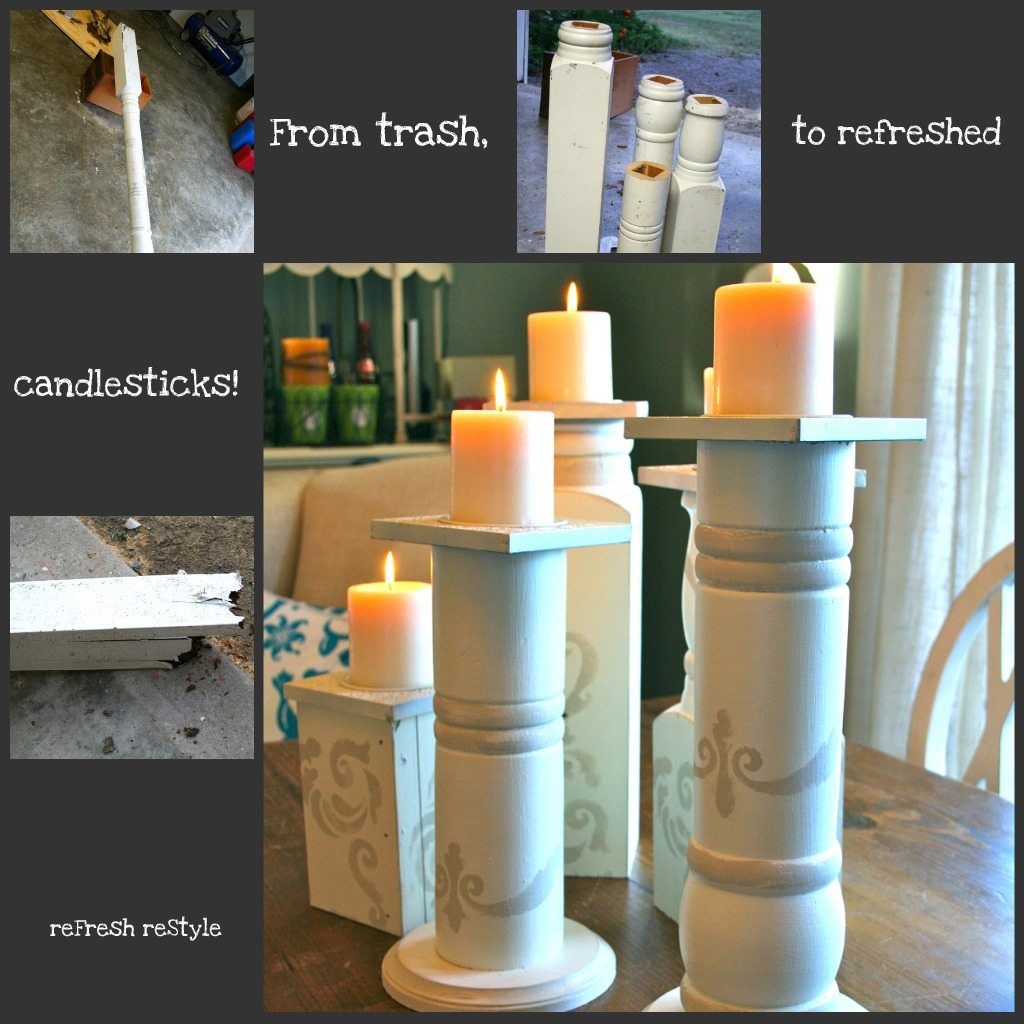
They look rustic and fancy.
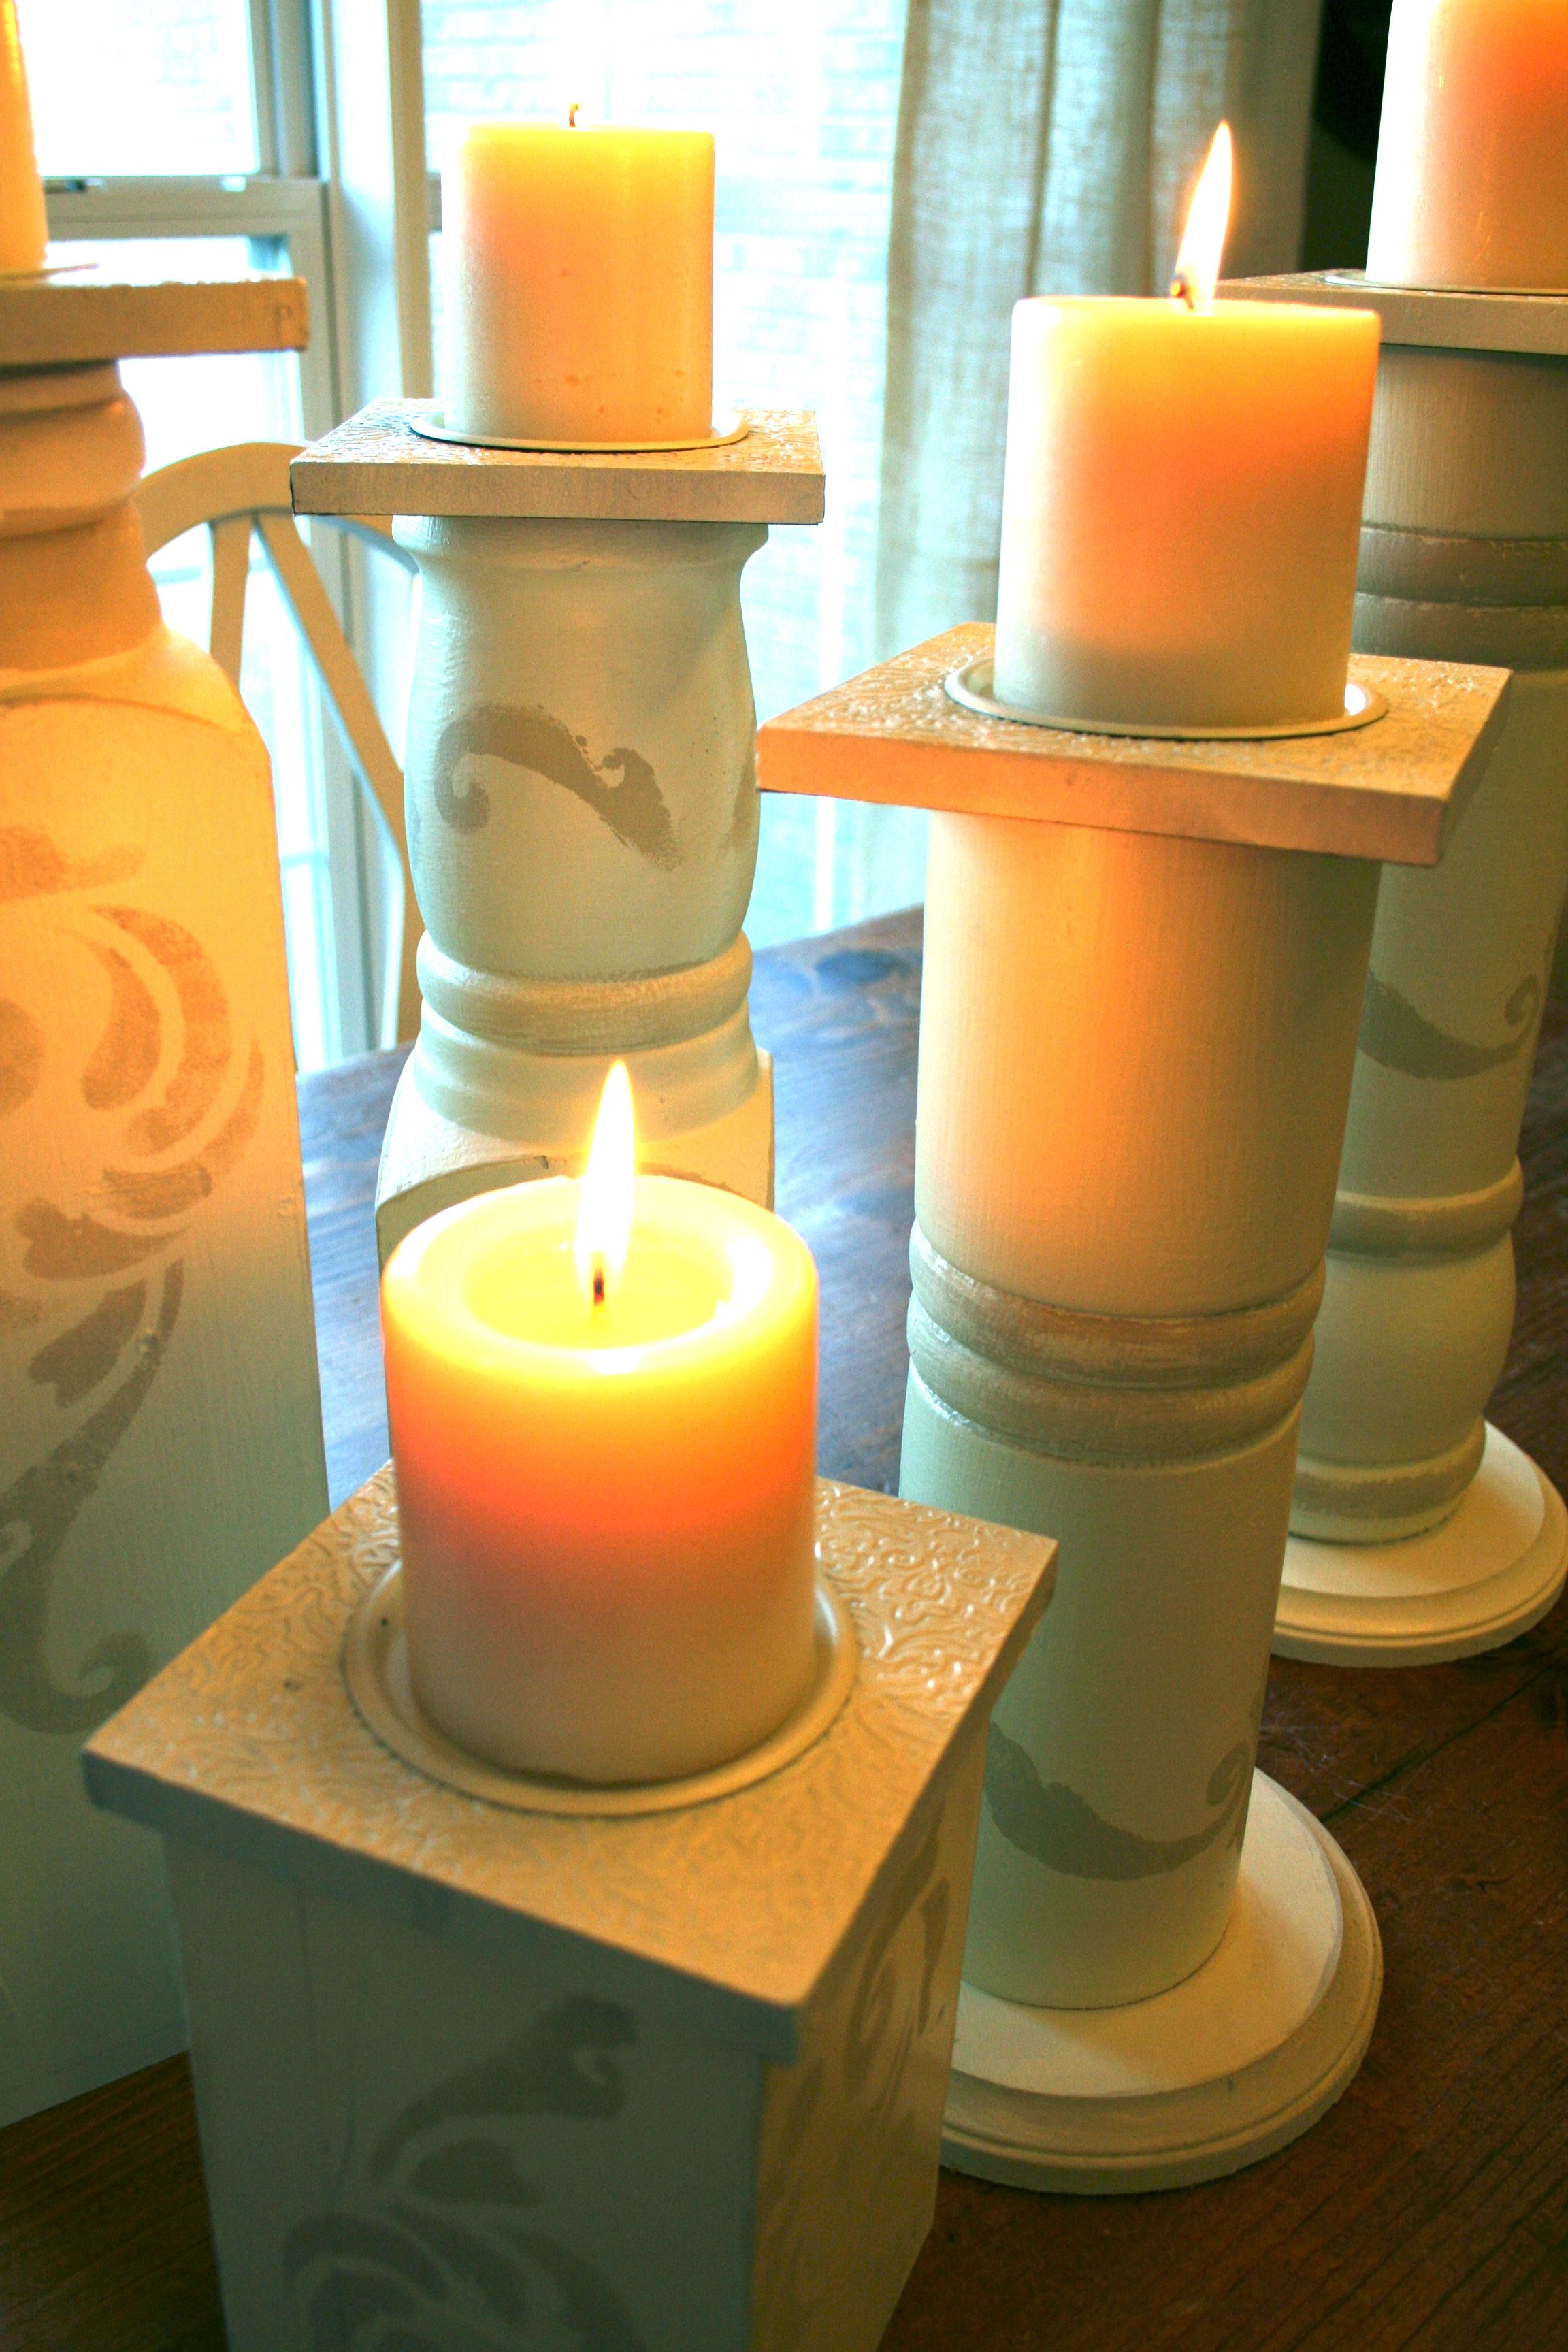
I left the imperfections, even added a little distressing.
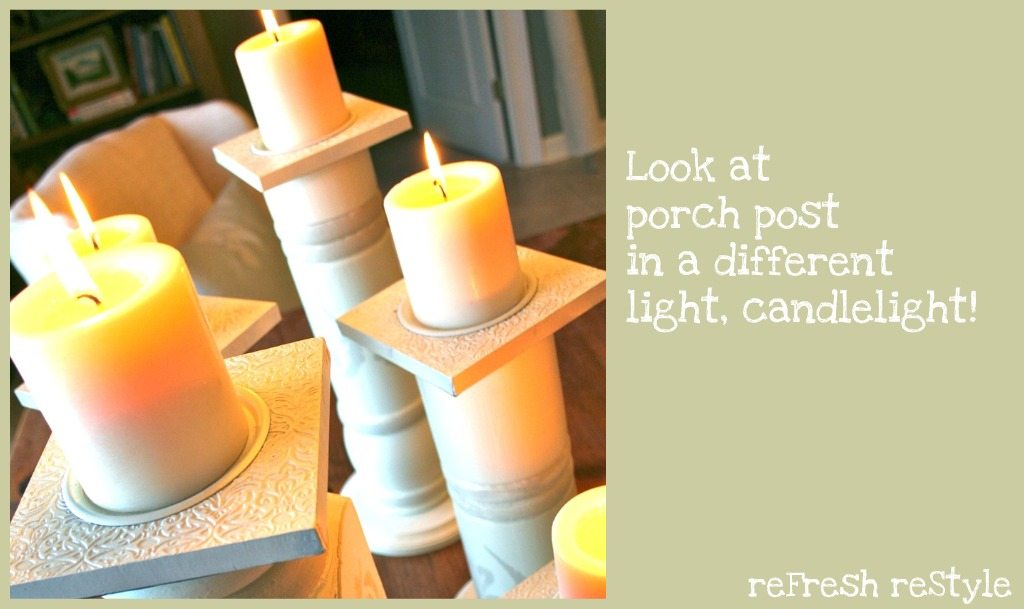
Not too bad for trash.
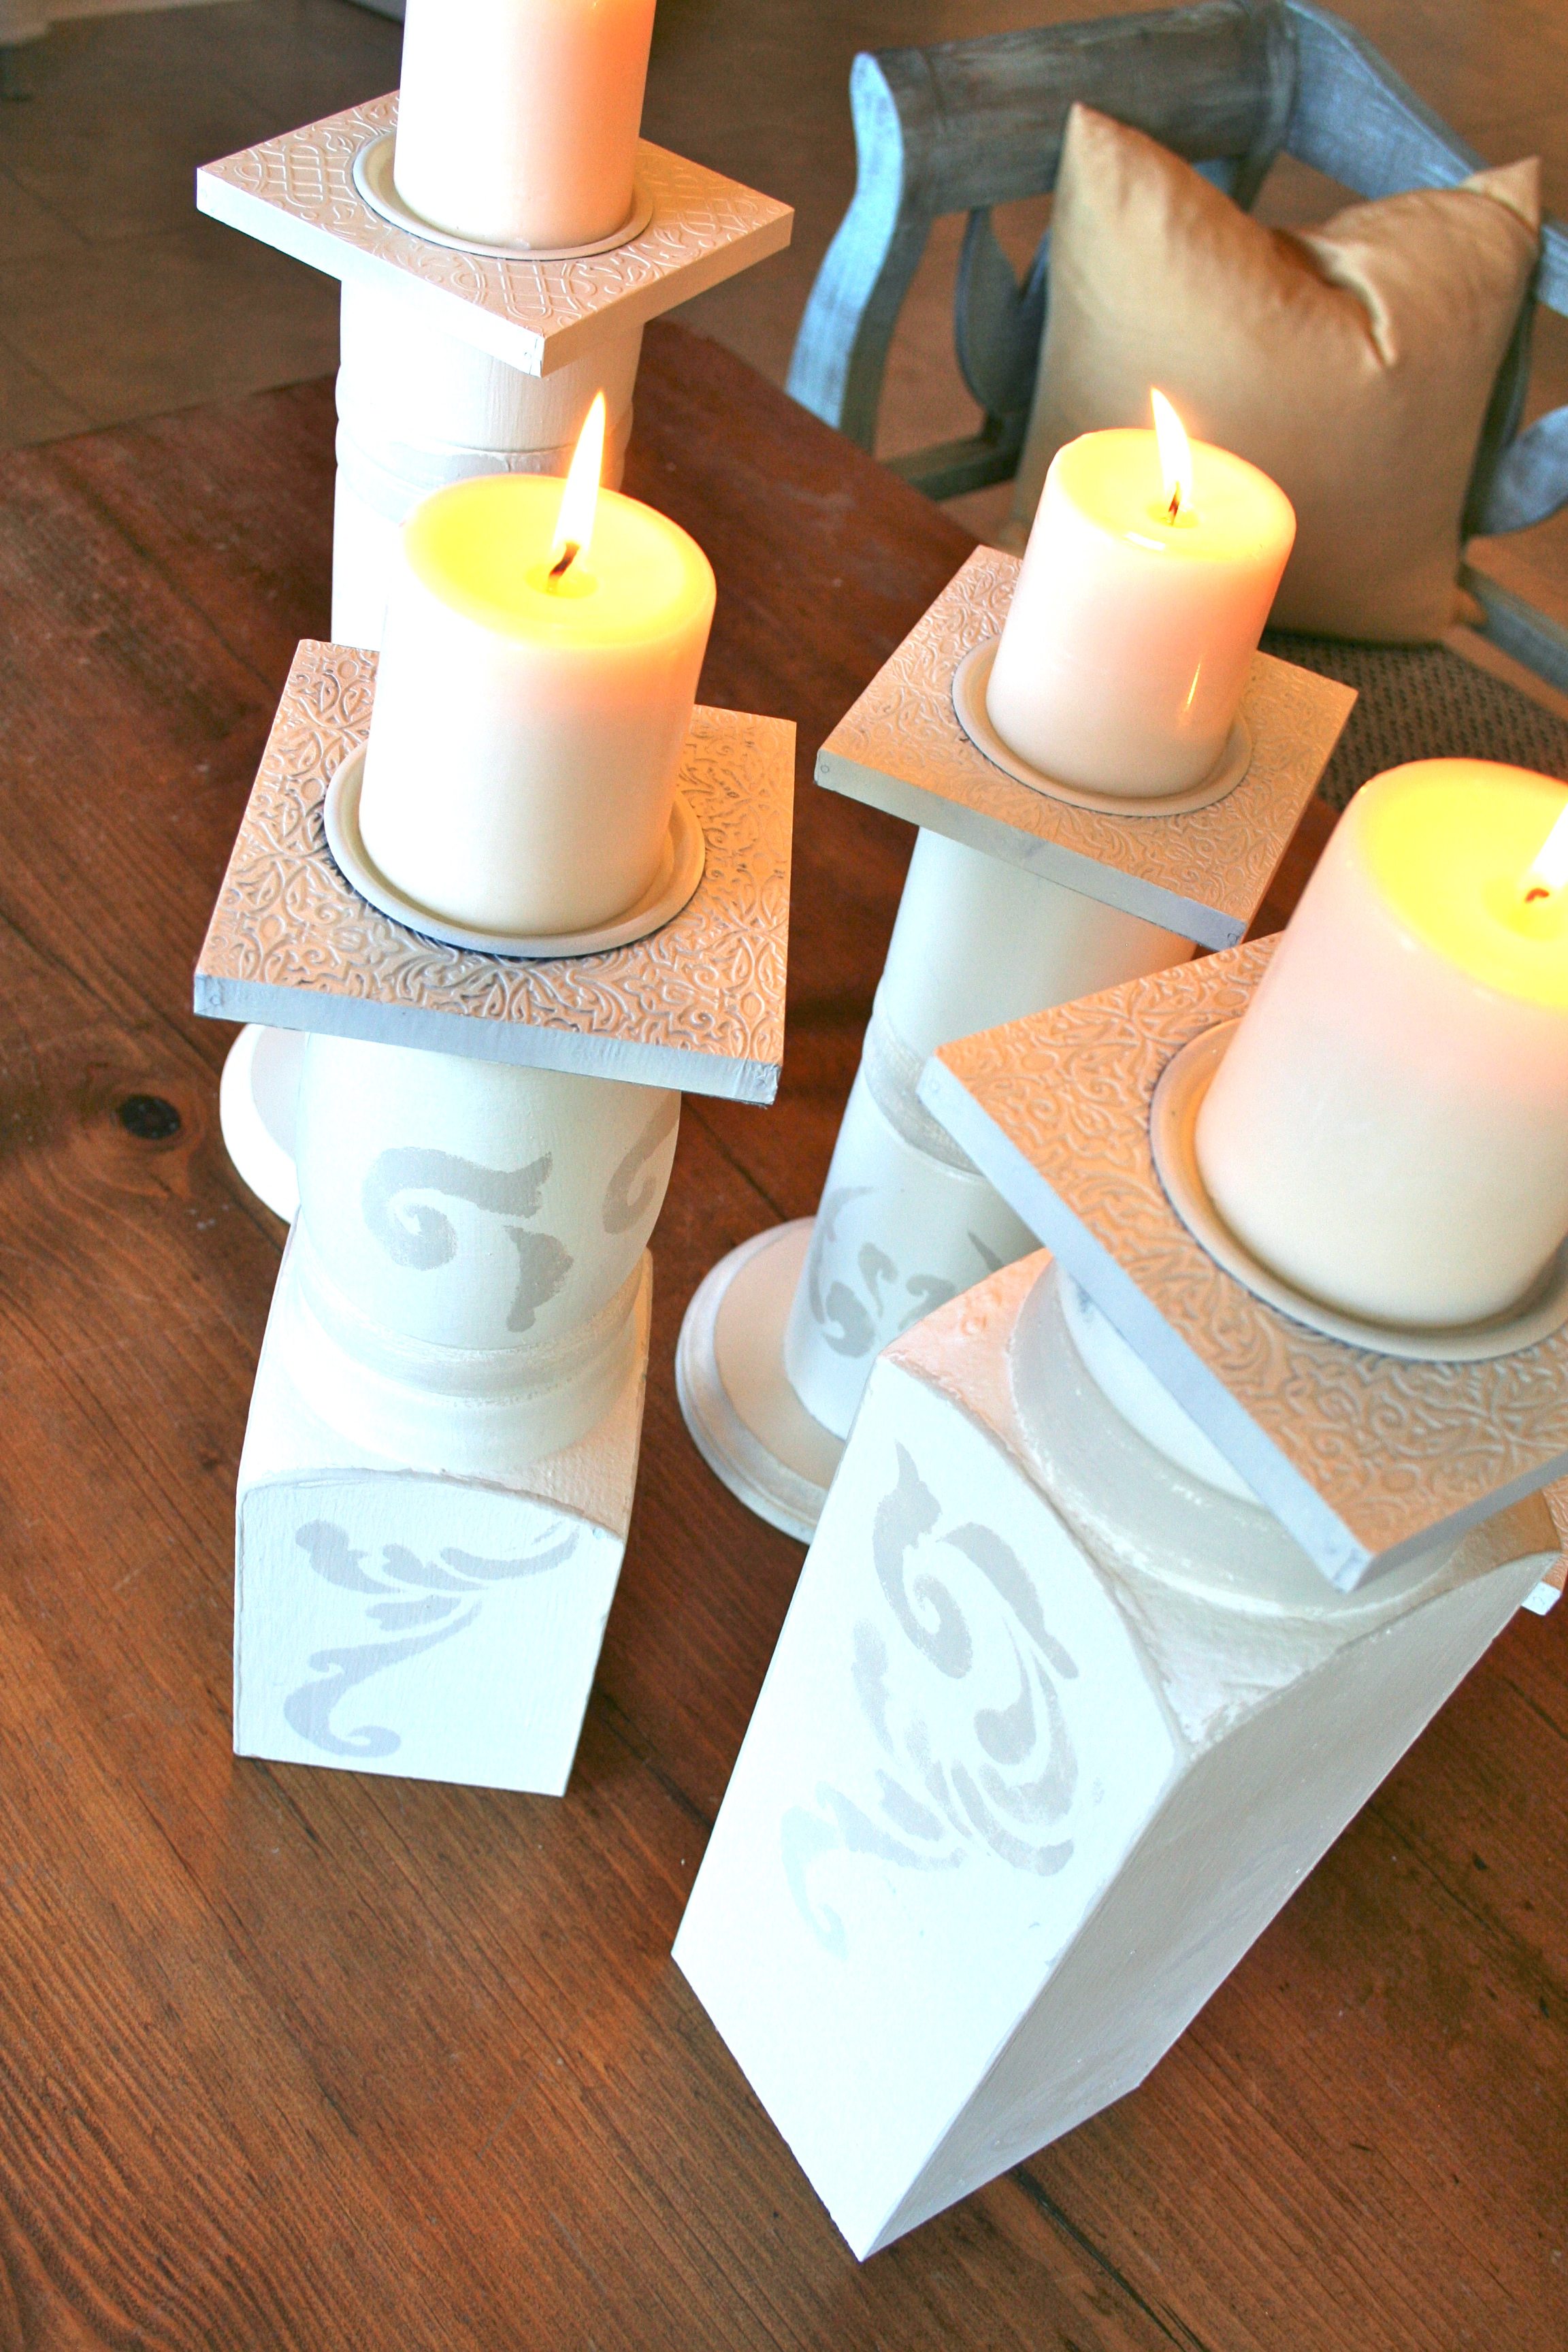
Truly a trash to reFreshed treasure!
Create candle holders from a Porch Post!
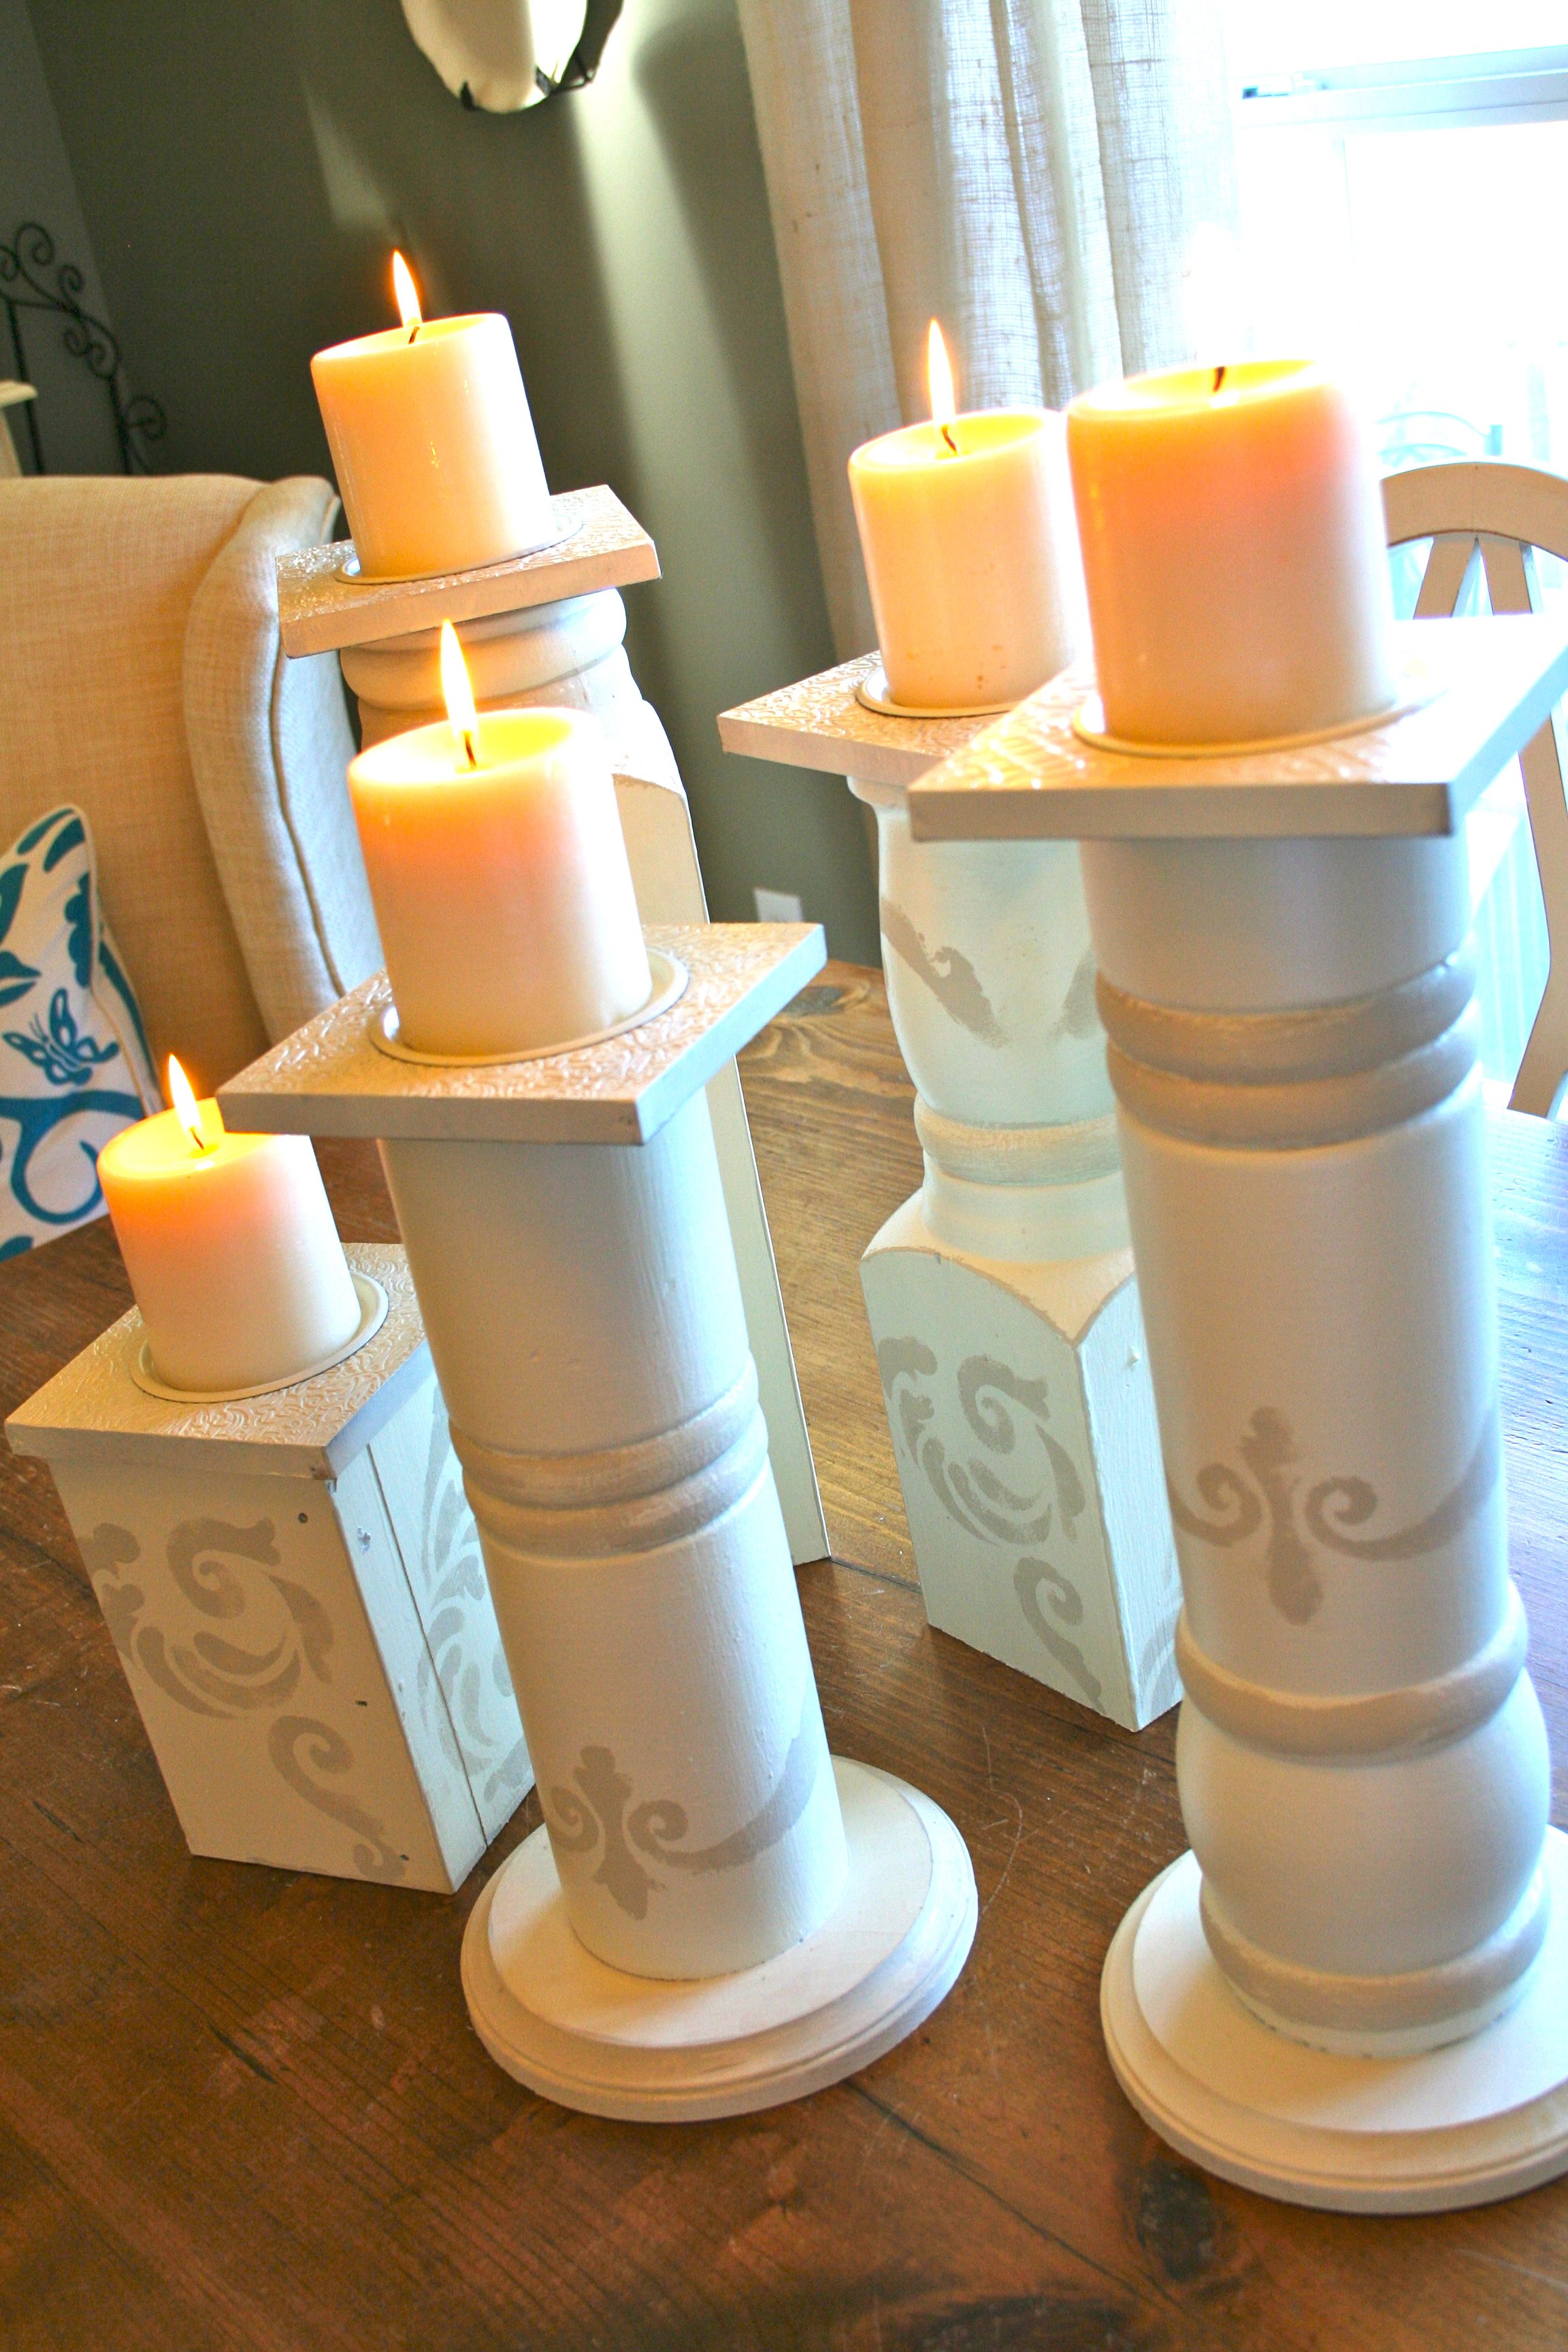
Thanks for checking them out!
Featured here: Sharing here: Inspired By Charm My Uncommon Slice of Suburbia Project Queen Linda’s Coastal Charm The ArtsyGirl Connection Tip Junkie Savvy Southern Style DIY by Design
40 Comments
ArchiveI would have never thought of that. They look fantastic.
They look FABULOUS!
Great idea-and they turned out fantastic!
I love how they turned out. I wouldn't have thought of that. Great idea!
Barb
Wow the after is amazing.
You go girl! lol Very creative and really tasteful!
Wow! How clever are you??? They turned out great! I have a link party starting tomorrow morning at Project Queen - I'd love it if you linked up and shared this amazing project! www.projectqueen.org
Those came out super cute!!
I have to tell you... from the picture on fb, I was like, hmm... "She stenciled her granite?" Are people doing that now? LOL!! (It was early, and I'm blonde) he he
This is just amazing! What a great job and how creative of you! Can you share this on my FB page "Southern Life Beautiful By Sherry Godsey Cates. I'm sorry I don't know how to do it or I would. Thanks for such great ideas and blog.
Southern Life Beautiful By Sherry Godsey Cates
What a great project!! These turned out beautiful. I love when I find a way to make something that's "junk" into something gorgeous! Great job!
Very cute idea! I bet you'll reFresh them again and I can't wait to see what you come up with next. ;)
LOVE THEM, WHAT A GREAT WAY TO REPURPOSE THOSE. BEAUTIFUL!
Love them...:-)
You've just given me the inspiration I needed! I found a solid maple coffee table on the weekend that I've dismantled - now I know exactly what to do with the legs!! TFS!
and thanks for stopping by my blog today :)
You go to the head of the class!! These are amazing! Great idea and gorgeous end result. Love them. I have joined your followers list and invite you to join my followers list; as well,I hope you will grab a blog button. Hugs, Gayle
http://atastefultouch.blogspot.com
Wow - that's an amazing transformation! *insert enthusiastic applause here* Who would have thought it? How clever.....
Great job!
THIS IS AMAZING.... Love it..Officially following ya with smiles.. So much creativity here.. ..Found ya while blog hopping around on Nifty Linky..
PS: I am hoping you could join in and hopefully participate in "Project Pink Blog Day" Please check out this post of mine, I would LOVE to have you be a part of my Project Pink Blog Day if it fits your schedule.. "All blogger's going pink a day for "breast cancer" -- Wishing you a lovely weekend..http://theartsygirlconnection.blogspot.com/2011/10/paint-your-blog-pink-awareness-faith.html
These are too cute! You are so talented and creative :) Guess I'm gonna have to get up earlier here in Tennessee and beat you Georgia girls to the trash! lol
They looks fabulous Debbie. Love the stenciling. Good luck on my stencil giveaway, it sure is a good one!
I have one of those! I'm going to copy you, because that's brilliant! Thanks for the great inspiration!
Cheers, Andrea
Those are fantastic! Aren't you clever! Thanks for stopping by TheDedicatedHouse and your sweet comment. Hope you have a grand day! Toodles, Kathryn
They look great, Debbie. Wonderful job of refreshing, and restyling.
These are truly phenomenal looking. Very skilled work. I am a new follower.
Awesome idea. You did a fantastic job!!! They look great!
I love this. Please link it to my linky party & anything else you have to share. Thanks, Peggy.
http://diycraftstomake.blogspot.com/2011/10/whacha-work-up-wednesday-weekly-linky_25.html
Great idea, love how they turned out!
Tomorrow is trash day!!!! I'd better get out there and start digging!
Thanks for the inspiration!
Hugs,
Patti
I really love how you did your candlesticks! I did some a couple of years ago and they were a LOT of fun.
http://www.myrepurposedlife.net/2010/02/spindle-candlesticks-and-more.html
I love the way you painted and stenciled yours.
gail
ps found you at Roadkill Rescue
You had one great idea here...love how you were thinking outside of the box on this one!!! They are so stunning Debbie.
Blessings,
Linda
These are gorgeous! What an incredibly creative idea for them. And who doesn't love another place for candles! ~Lili
Hi Debbie - I'm featuring your amazing "post" candle holders tomorrow evening from Linky Party #6 "Turning the Daunting into the Do-able" at Project Queen. These turned out fabulous! Thank you so much for sharing them.
Just wondering what you used on top to hold the candle.
Cheryl, they are flat candle holders (purchased at Big Lots).
Thanks!
Hmmm... MOrning. Now I am really going to be on the lookout. They are very nice, want some!
Love it.....great job also.
Thanks Pam!
revisited this post because you shared it on FB. I pinned! I also shared on fb. Still loving your candlesticks.
gail
Great job. Love them.
I Love this! What I am wondering is what you used for the top... are those two pieces a tin looking round piece of something and an embossed wood something?
I used some flat candle holders. Thanks!