
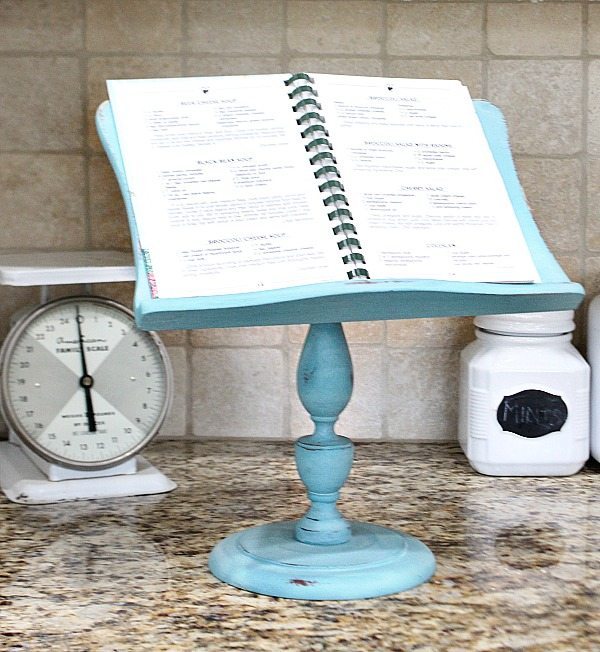
Can you believe it, I was asked to be part of the Thrifty Style Team! They must know me really well, I love thrifty finds! I can’t wait to share my latest thrift store find. Be sure to see all the savvy ideas from my friends at the end of the post! Trendy farmhouse iPad and Recipe holder all in one with this thrifty makeover. I spotted this little podium I knew exactly where I would use it! That doesn’t happen often,.
 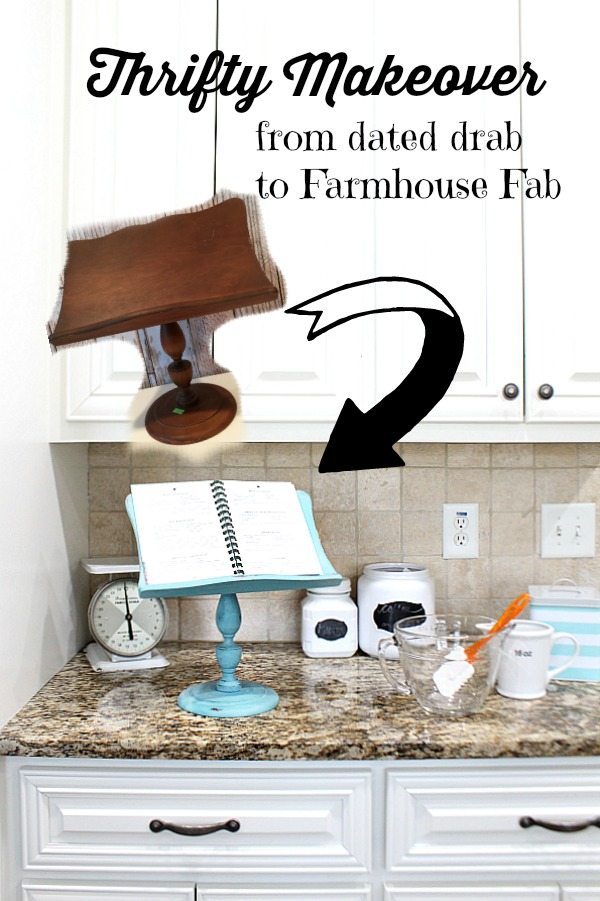 I knew this little $4 investment would look great dressed in blue sitting on my counter.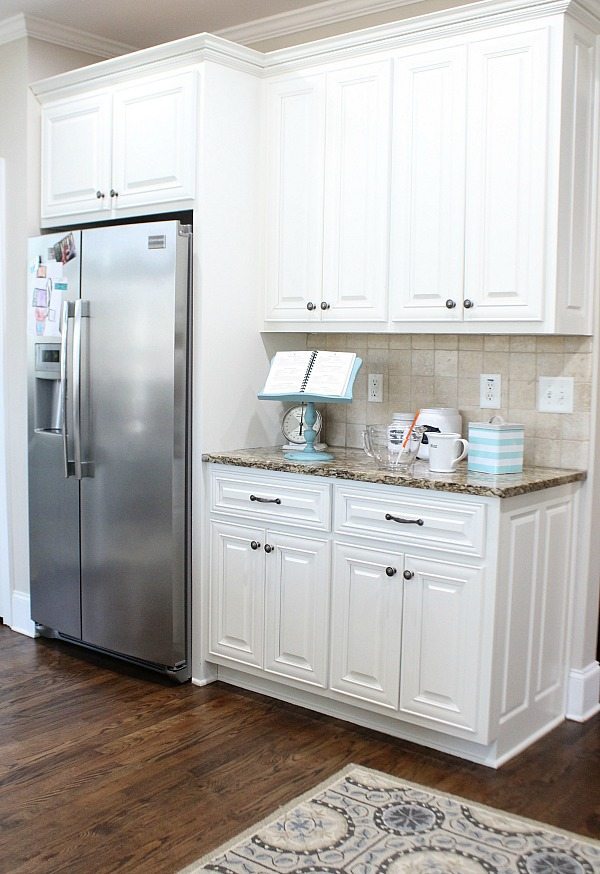
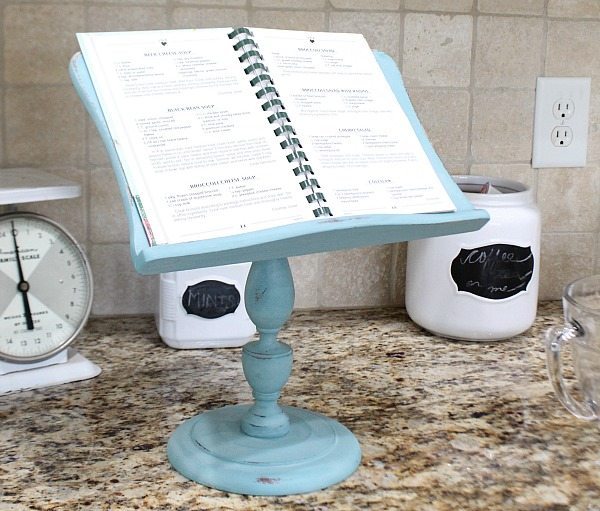

- thrifted stand - clean with vinegar/water mixture
- paint brush (Purdy)
- paint (Folk Art Chalk Paint)
- 120 grit sand paper or sanding block
- wax or top coat ( Folk Art White Wax)
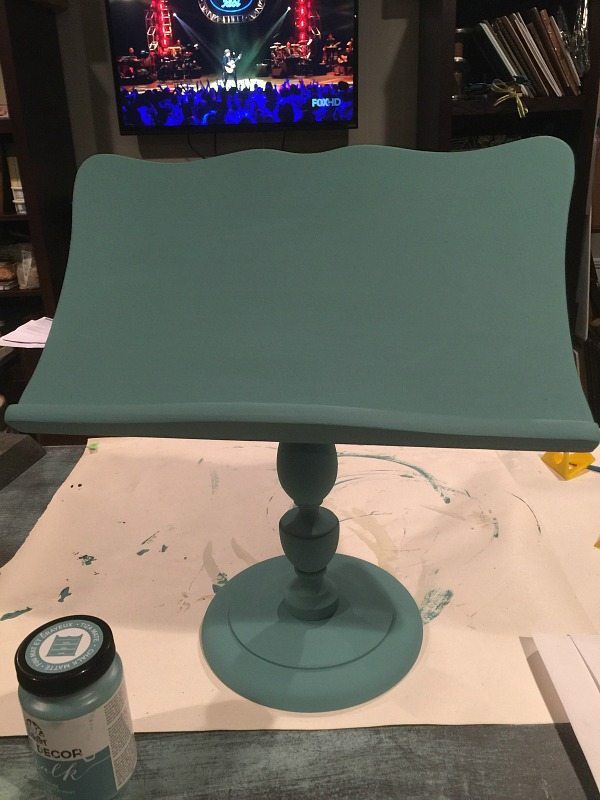
Clean your stand, make sure it’s dry. Stir your paint well and grab your (Purdy) paintbrush and start paining. Apply one or two coats of chalk paint, depending on your desired look. After the paint dries, use the sand paper to create a worn, distressed look. Wipe to remove dust. Use an old t-shirt or lint free cloth and apply the wax. I used the Folk Art white wax and love it! It’s perfect for toning down a color. I just love the look! 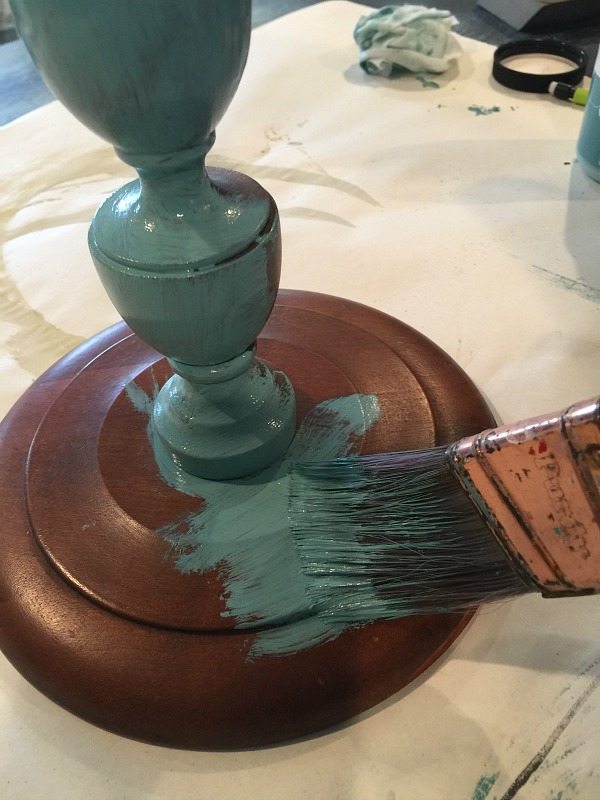
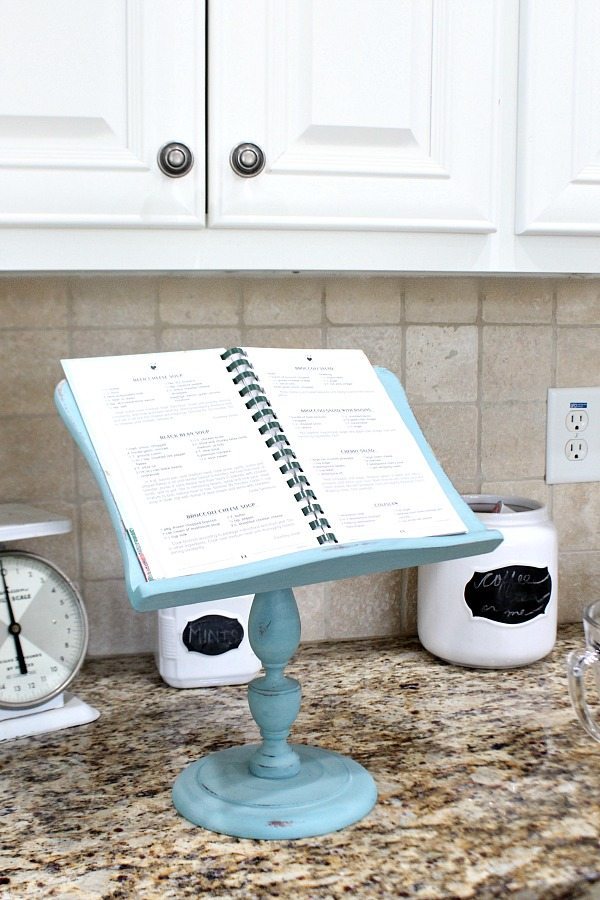 These kind of makeovers are super easy! Turn a Grandma dated wood piece in to a seriously trendy treasure. Don’t get me wrong, I’m a Grandma, I don’t want the Grandma’s attacking me! Now go find your iPad recipe holder, I know it’s out there! Check Goodwill ;) See what the other Thrifty Style Team members are doing with their thrifty finds:

15 Comments
ArchiveNo grandma attacking allowed! lol You chose the perfect color, Debbie! So happy you joined our team!
hahaha Thanks Julie ;)
What a super fun makeover, Debbie! Not sure I would have thought of it, but I'm now on the hunt for a cute little podium! Great color, too.
Oh yes, everyone needs one ;)
I love it Debbie! So creative and the perfect color!
Thank you!
That is super cute!! I am going to have to find one for myself!!
Thank you, I was tickled when I saw it in the store!
I love your recipe holder stand thingy! The paint color is beautiful and the distressing is perfect. (I'm so bad at that)
super cute!
gail
Thank you! I was excited to find it! I usually use my iPad in the kitchen and it works great!
I hope that it’s okay to help you....you said that you are not good at distressing so I want to share with you that is super easy an i actually found it on here! You will need a brush, Vaseline, old rag, and paint of your choice (even spray paints). The first step is to take your brush and use a thick coat of Vaseline where you would like to distress. Second step is to paint and let dry. Lastly take an old rag and wipe all areas where you applied the Vaseline. You can also use sandpaper if you want the distressing to be more in depth. I just prefer an old rag it’s so easy and I hope this helps.
Debbie, I absolutely love this stand. I have looked and I’ve tried to find one but no luck. So I improvised lol. I found an old chunky candlestick, and then an old wooden tray that resembles the top of your stand and used wood glue and nails to make certain it would hold up and have a little tilt and then distressed. Also if you are unable to find something like what I’m describing you could use the candlestick and then a wooden cutting board and for the lip you could use a small piece of accent molding that mimics the shape of the whole piece that you found. I hope this was helpful. I love my crafty friends and learning knew things and finding all of our creativity and creations!
Love the color and the height of the stand. Thanks for sharing at the Monday Funday Party!!
Thanks Emily!
I like the cookbook stand idea. I print my recipes on full sheets of paper now. Do you have any ideas on how to store them other than a binder? Thanks, Debbie
Hi Jenni, I think using using 2 or 3 - 1" binders, one for desserts, one for main dishes, one for meats is a great idea.