
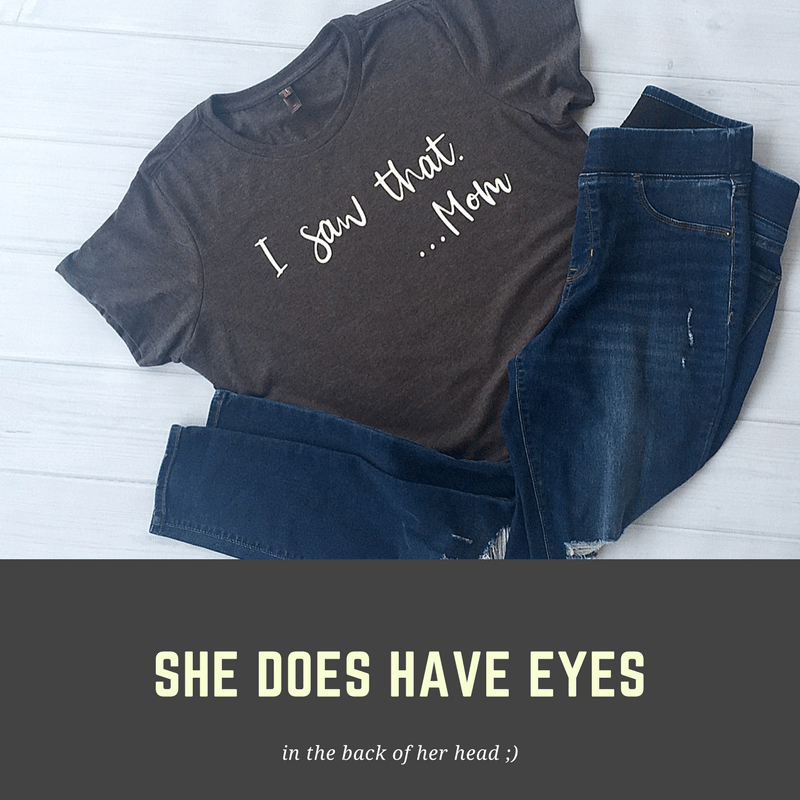
Jenni is back today with how to make a mom t-shirt, one that we all need! I can’t remember how many times I heard this as a kid, I Saw That. Of course while sitting in the back seat of the car, I looked closely at the back of Mama’s head to see if she really did have eyes back there! Happy Crafters for provided this super soft t-shirt and vinyl for this project. We’ve included affiliate links to the products used. And thanks to Happy Crafters we’re having an awesome give away!
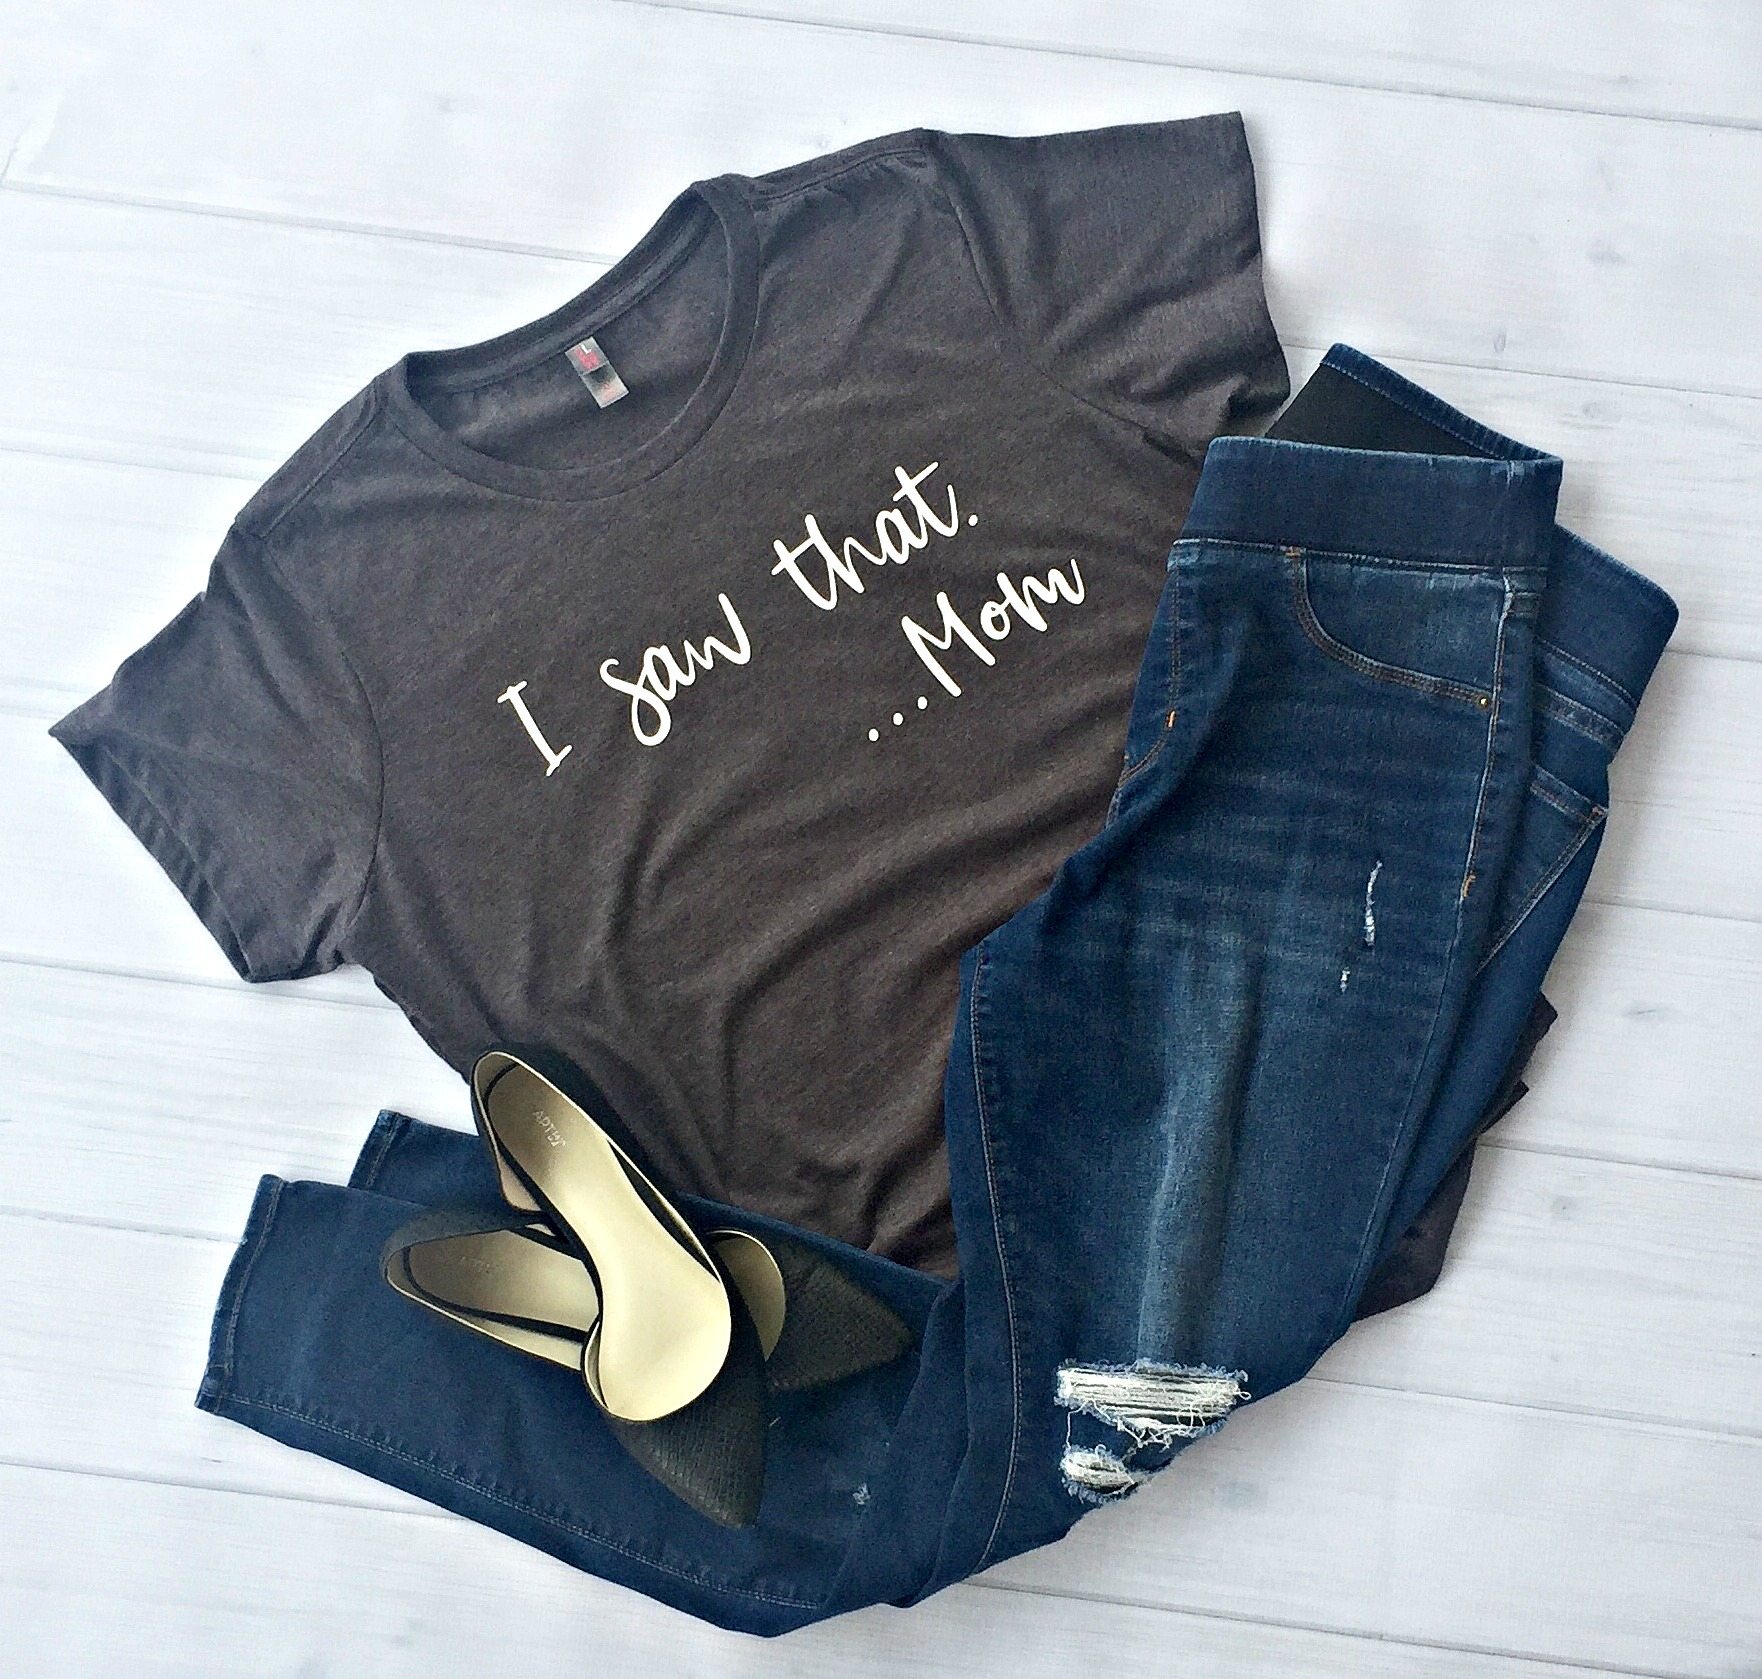
I just love t-shirts with fun sayings on them. And I think this one is pretty fun. Mom’s always seem to see everything…eyes in the back of their heads and all that. So in honor of that, I made this “I saw that -Mom” t-shirt. I hope you enjoy it. I am sure going to have some fun wearing it. It’s just a fun shirt!
Thanks for joining us for this months Cricut challenge, we have so much more to share, see my friends ideas at the bottom of this post and don’t forget to enter the giveaway!
`
Mom T-Shirt Supplies:
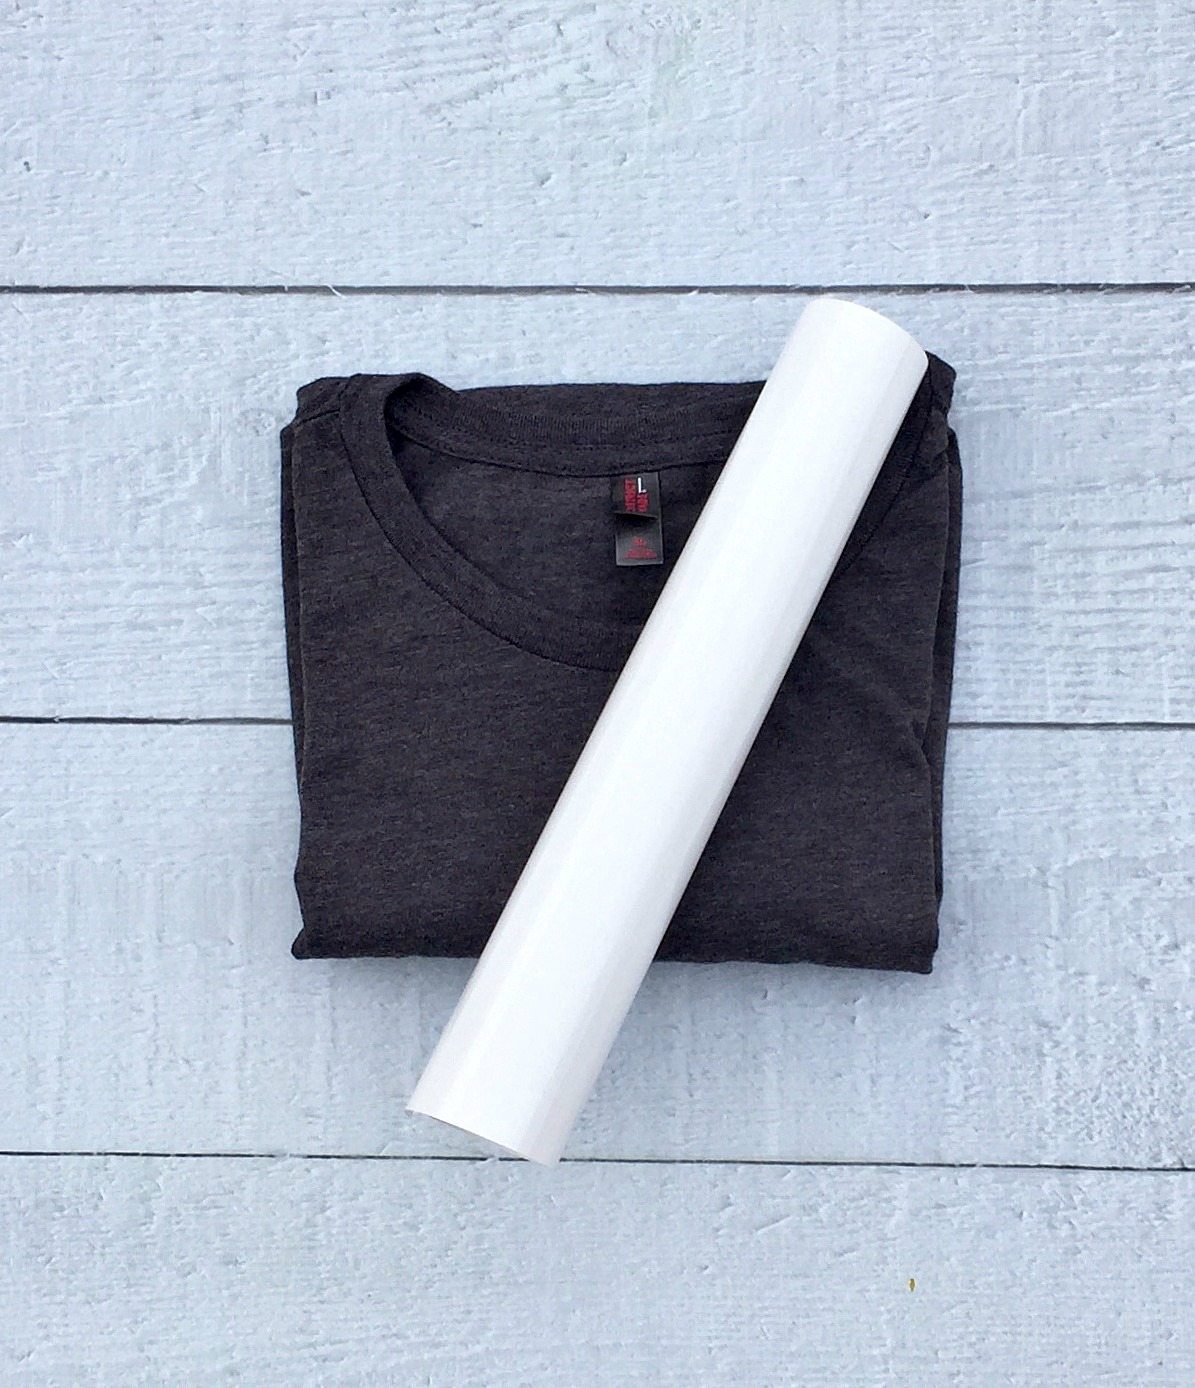
- Heathered Charcoal T-shirt
- White Heat Transfer Vinyl
- Heat Press or Iron
- Vinyl Tools
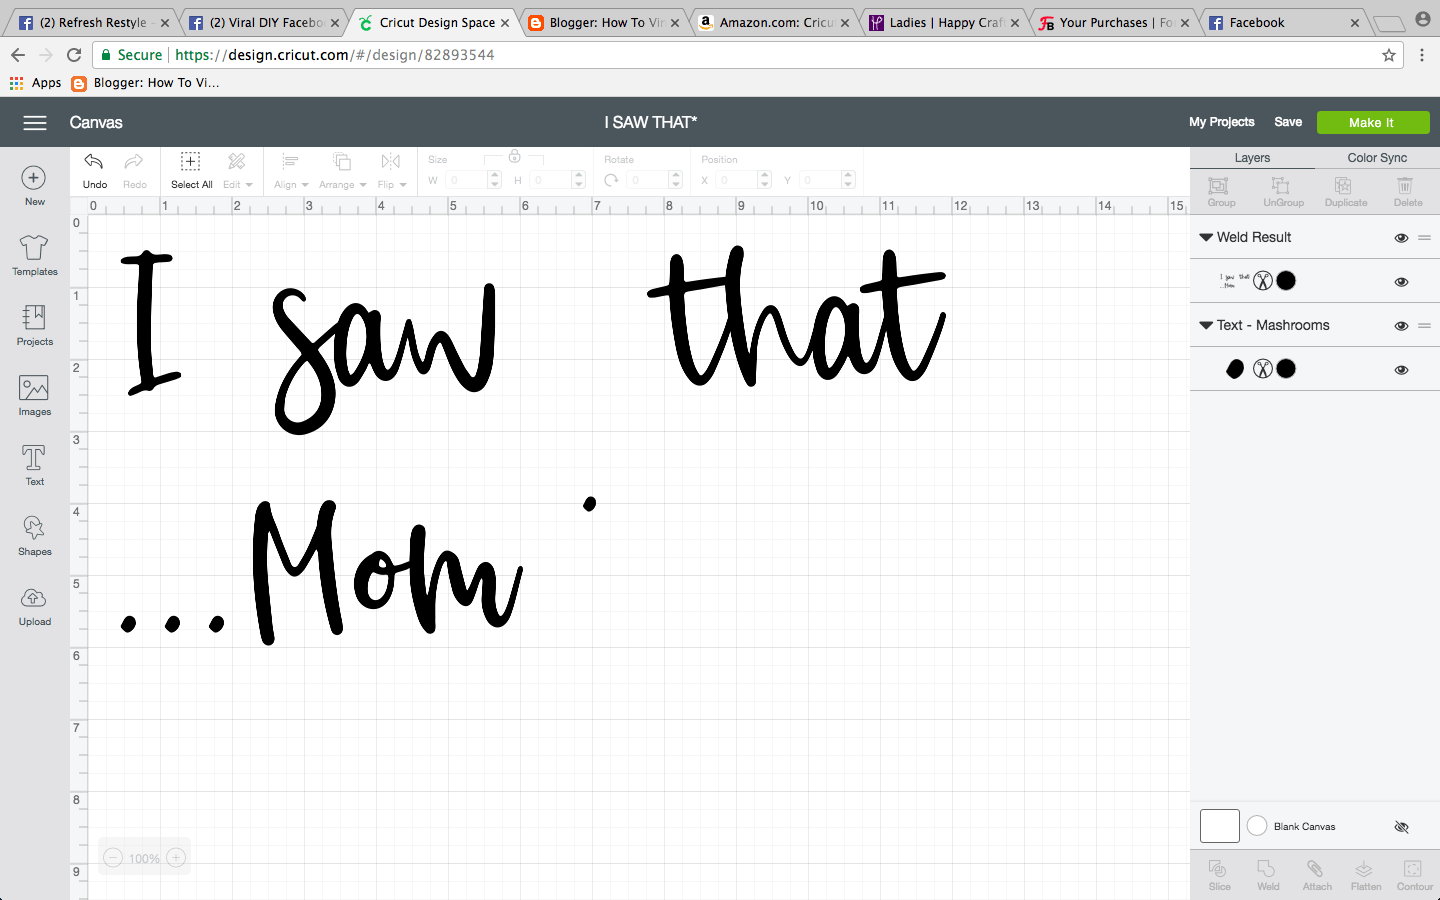
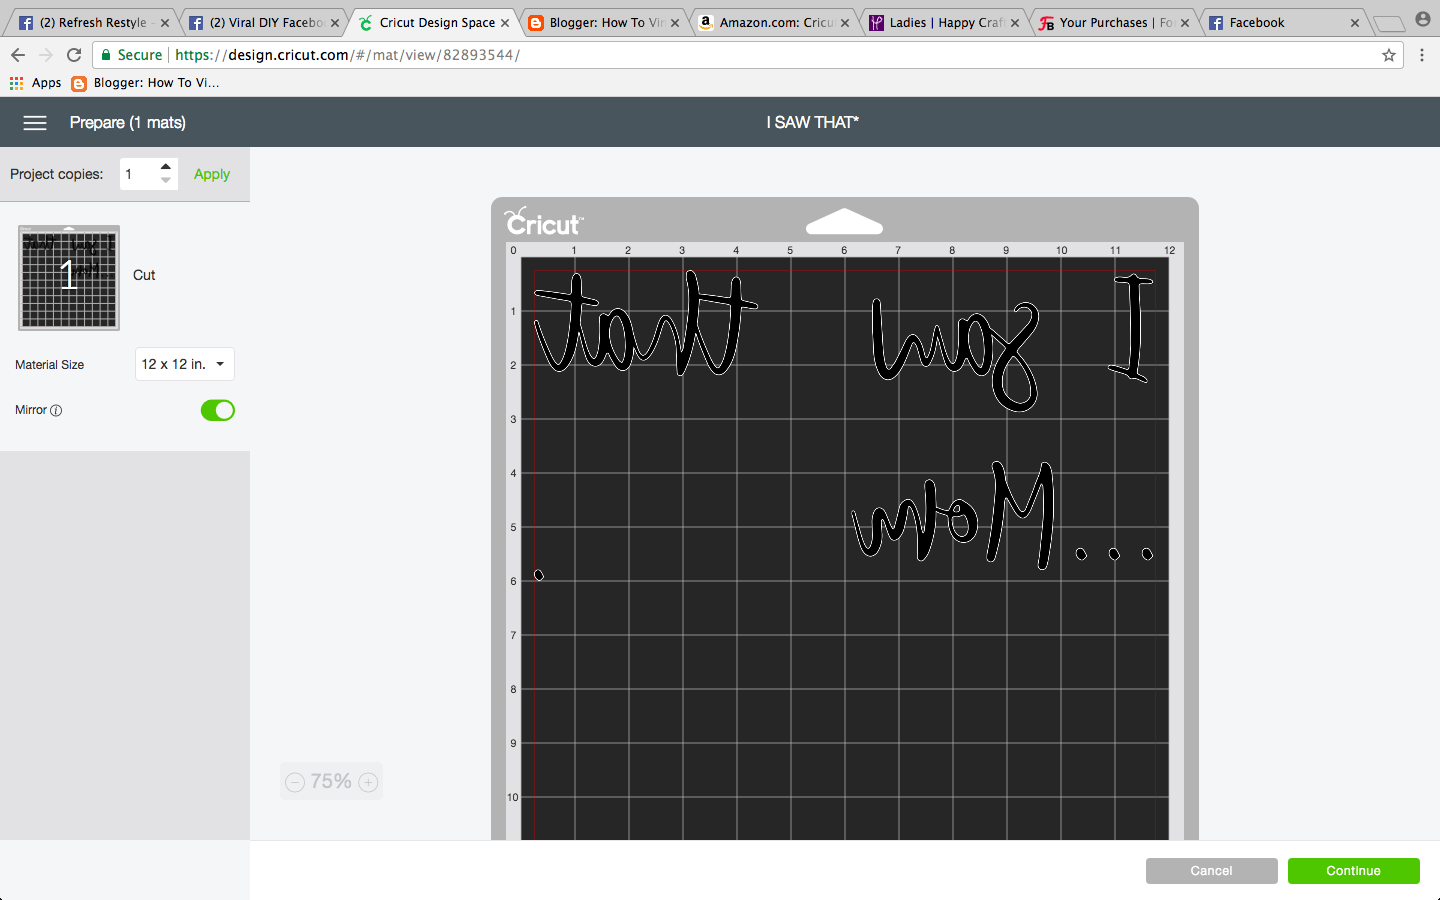
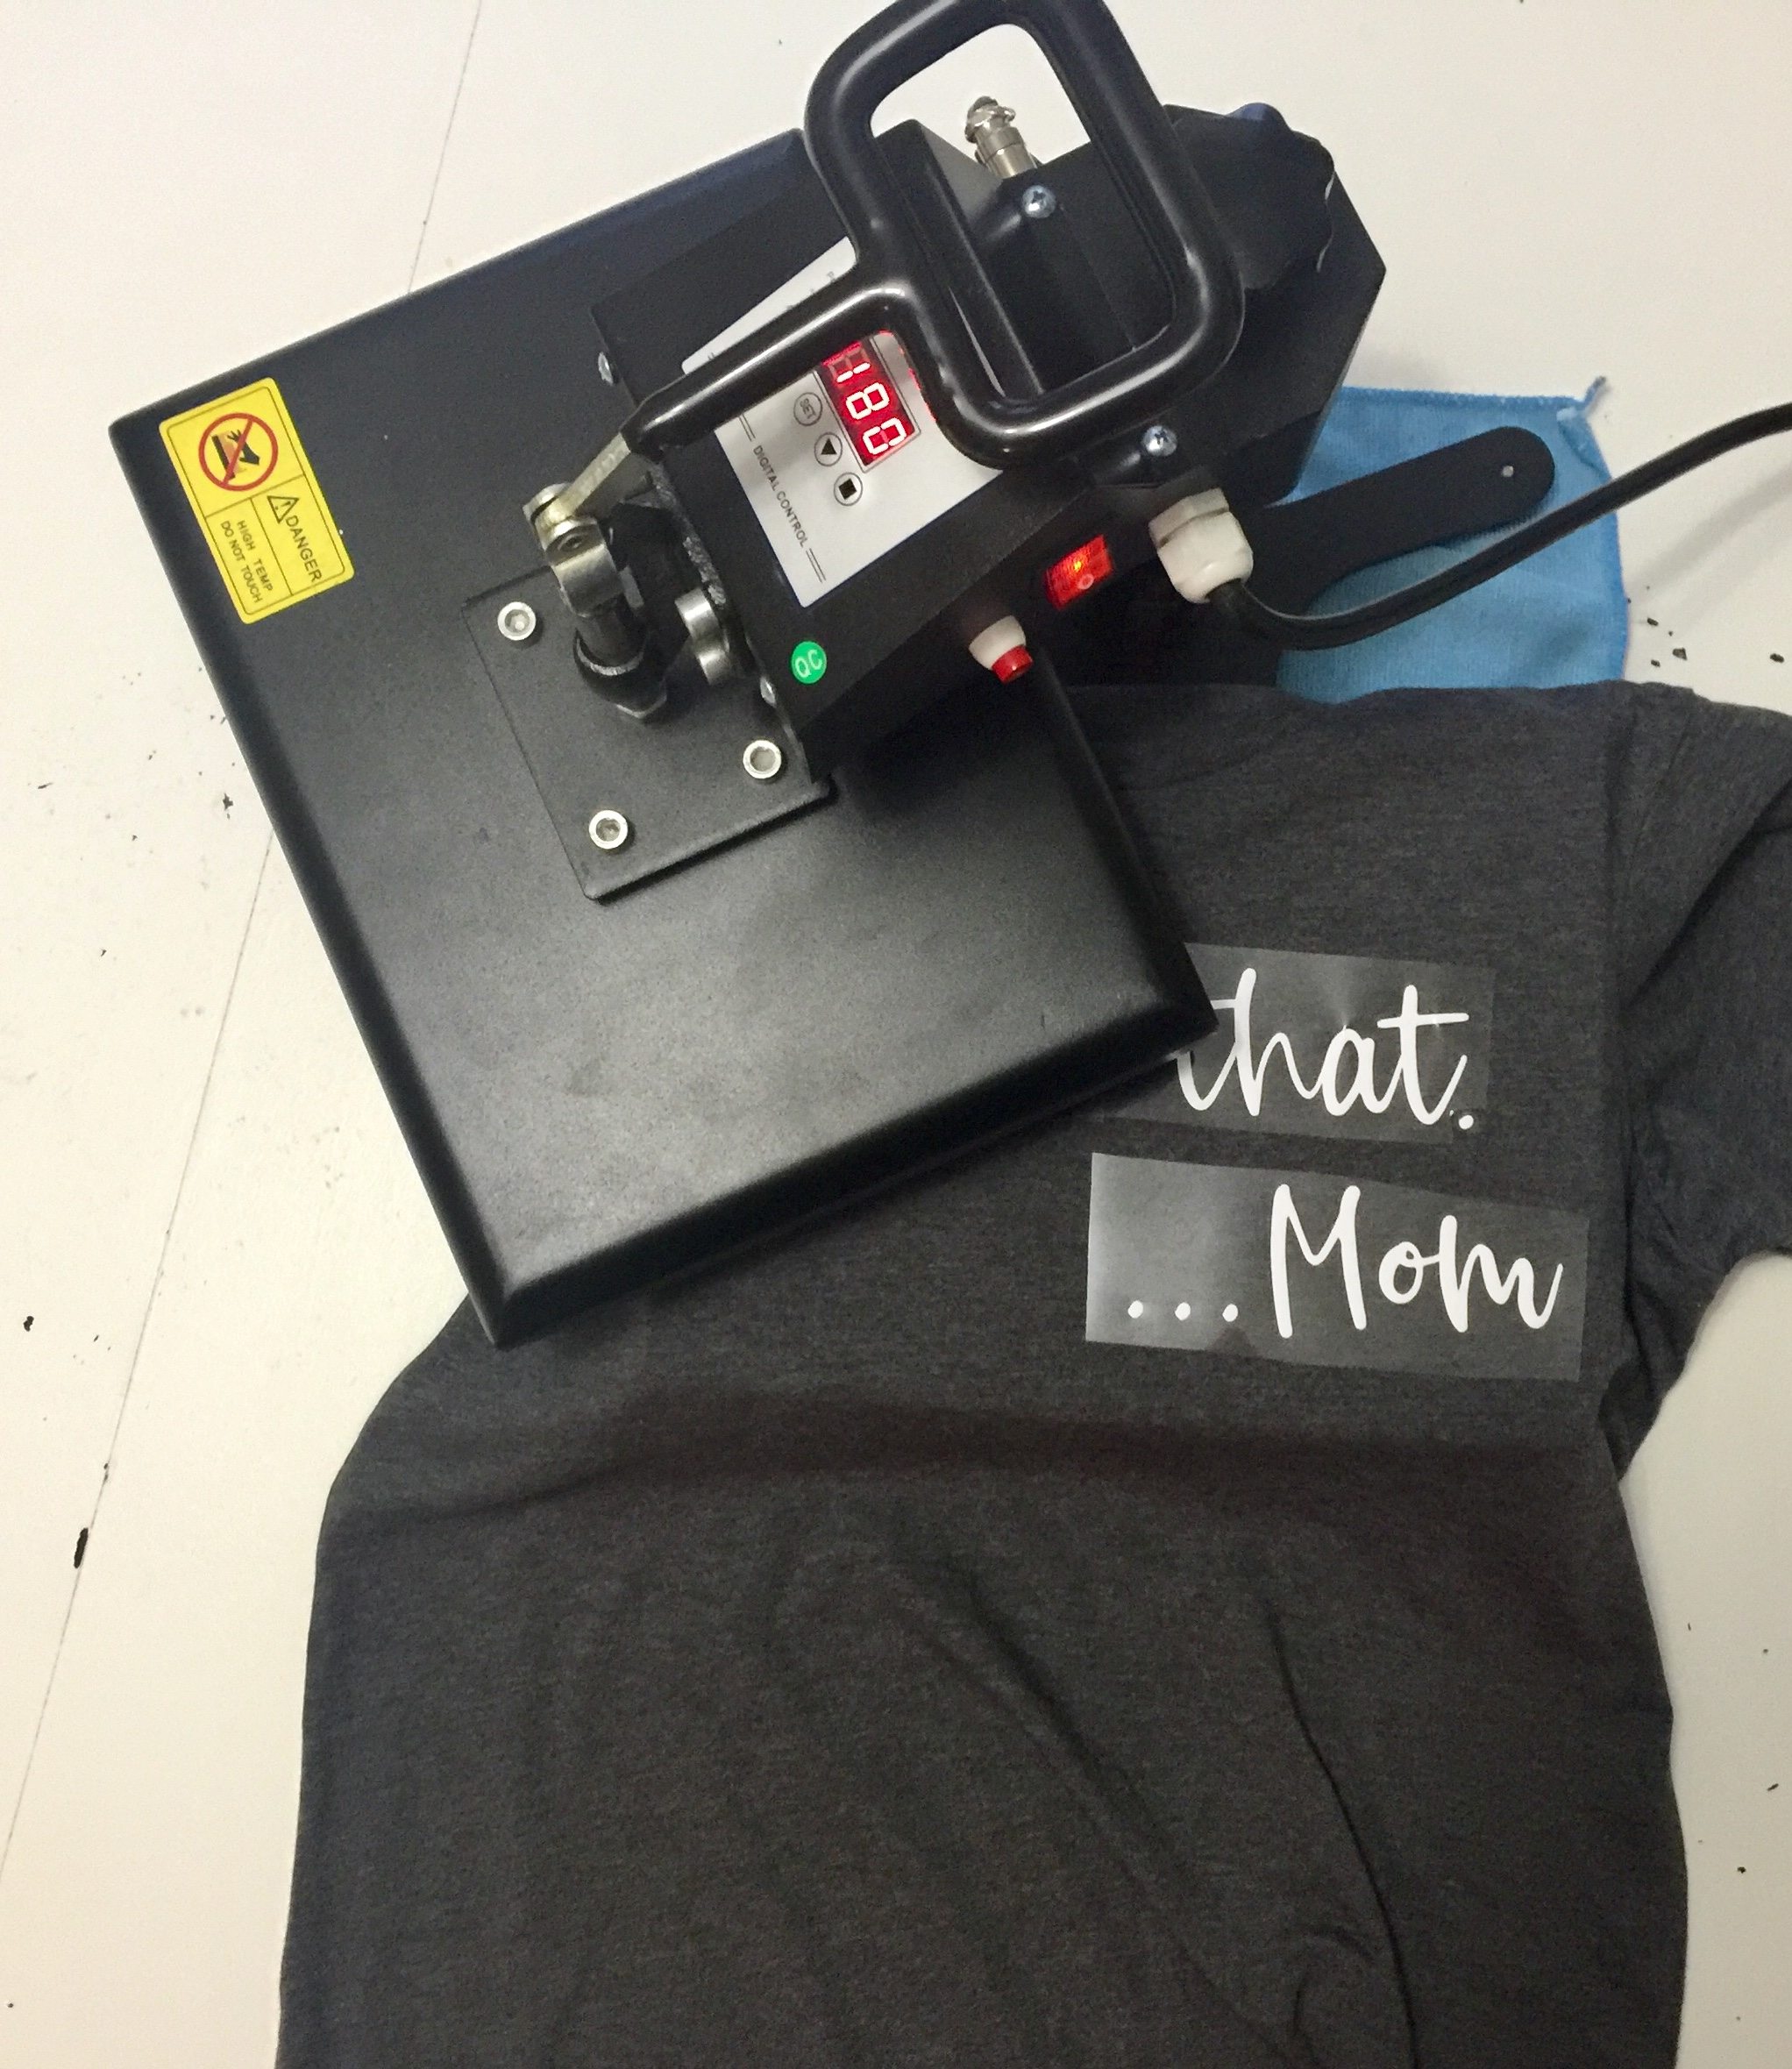
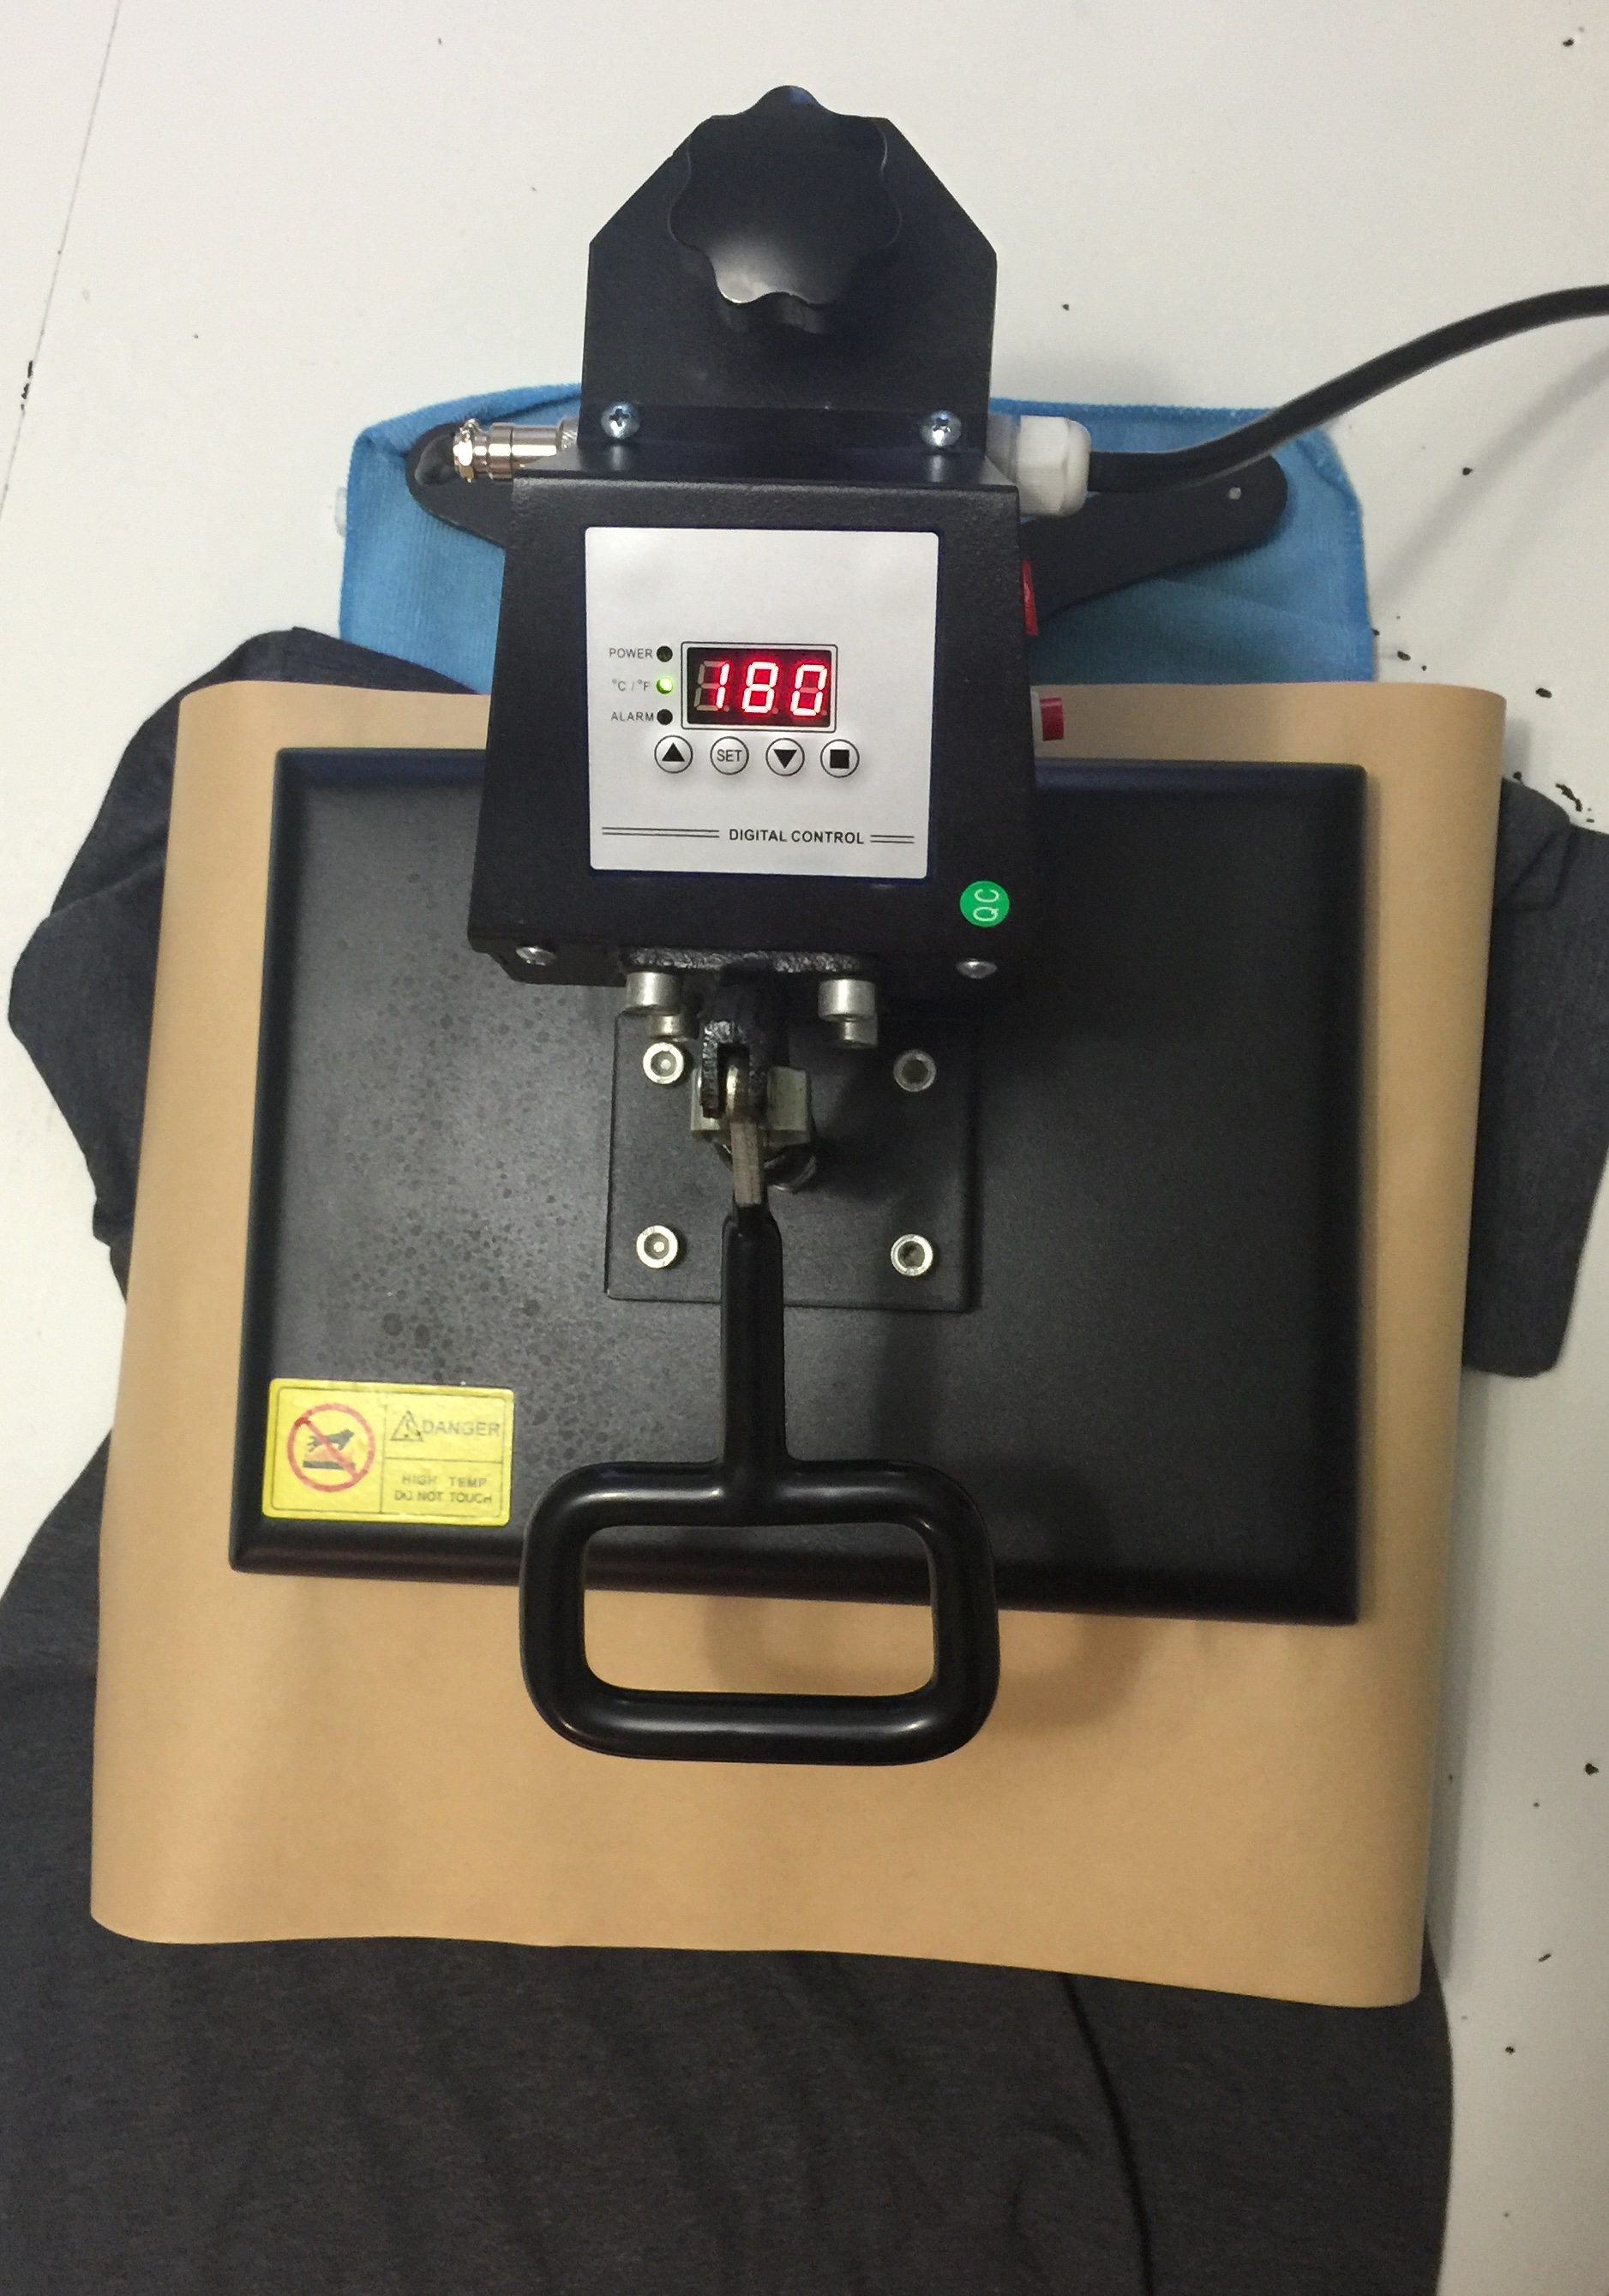
I used my Cricut Explore Air 2 to cut the phrase “I saw that…Mom”; however, you can use any vinyl cutting machine you wish. Since this will be ironed on a t-shirt you will have to tell your machine to mirror the image so that once it’s ironed on it will be legible. I used the font Mashrooms which I purchased in one of the bundle deal on font bundles. After you have cut your image you will use your weeding tool to remove all the excess vinyl, just leaving behind the design you want to apply to your shirt. Next it’s time to place the image on your shirt, for the placement of my design I chose the chest area. I don’t use any special measurements, I just eyeball it. Once you have got your image where you want it you will use you preheated heat press or iron to press the image in place. For my heat press I have it set around 300 degree F and press it for about 10-15 seconds. If you are using an iron, use the cotton setting on your iron and press as hard as you can for 20-25 seconds. After pressing your design, allow it to cool to touch and slowly peel off the carrier paper making sure the design is adhered to your shirt, if it didn’t place the design back in place and press for a little longer.
I hope you have enjoyed this tutorial and I hope that it has inspired you to get to work on some Heat Transfer Vinyl T-shirts of your own.
 Time to enter the giveaway sponsored by Happy Crafters: a Rafflecopter giveaway CLICK on the links or CLICK on each photo to see all the Cricut T-Shirt ideas: A Turtle’s Life for Me • Weekend Craft • Create and Babble • Happy Go Lucky • Refresh Restyle • Daily DIY Life • Happily Ever After, etc • Cookies, Coffee and Crafts• The Kim Six Fix • See Lindsay • Dragonfly & Lily Pads • PS I Love you Crafts • Our Crafty Mom • Doodle Craft Blog • Real Girls Realm • Upright and Caffeinated• That Sweet Tea Life • Smiling Colors • Tastefully Frugal • The Inspiration Vault • The How-To Home • Evey’s Creations
4 Comments
ArchiveI love this shirt!! As a mom- I would totally wear this. ALL the time!
A shirt that every mom would love to have! I love it and we love love having you as part of our monthly challenges Jenni! You have such good ideas! Pinning!
This shirt is perfect! I have no idea how many times I say that a day! Every mom does need this!
Hahah this was so my mom she knew everything!